Chapter 10: Camera setup
74
TruVision NVR 11 User Manual
Snapshots
You can define the image quality and resolution of snapshots for each camera.
Snapshots can be taken at any time during live view or playback. They can also be
created when an alarm occurs and sent by email or sent to an FTP server.
To configure snapshots:
1. From the menu toolbar, click
Camera Setup
>
Snapshots
.
2. Select the desired camera.
3. Select the snapshot resolution from the drop-down list.
Select QCIF, CIF, 4CIF, or Maximum for the recording resolution. If you select
“Maximum” and the original resolution is higher than 1080P, it will be compressed to
1080P. If the original resolution is less than 1080P, it will stay its original size.
4. Select the snapshot quality from the drop-down list (low, medium or high).
5. Click
Apply
to save the settings.
6. Click
Exit
to return to live view.
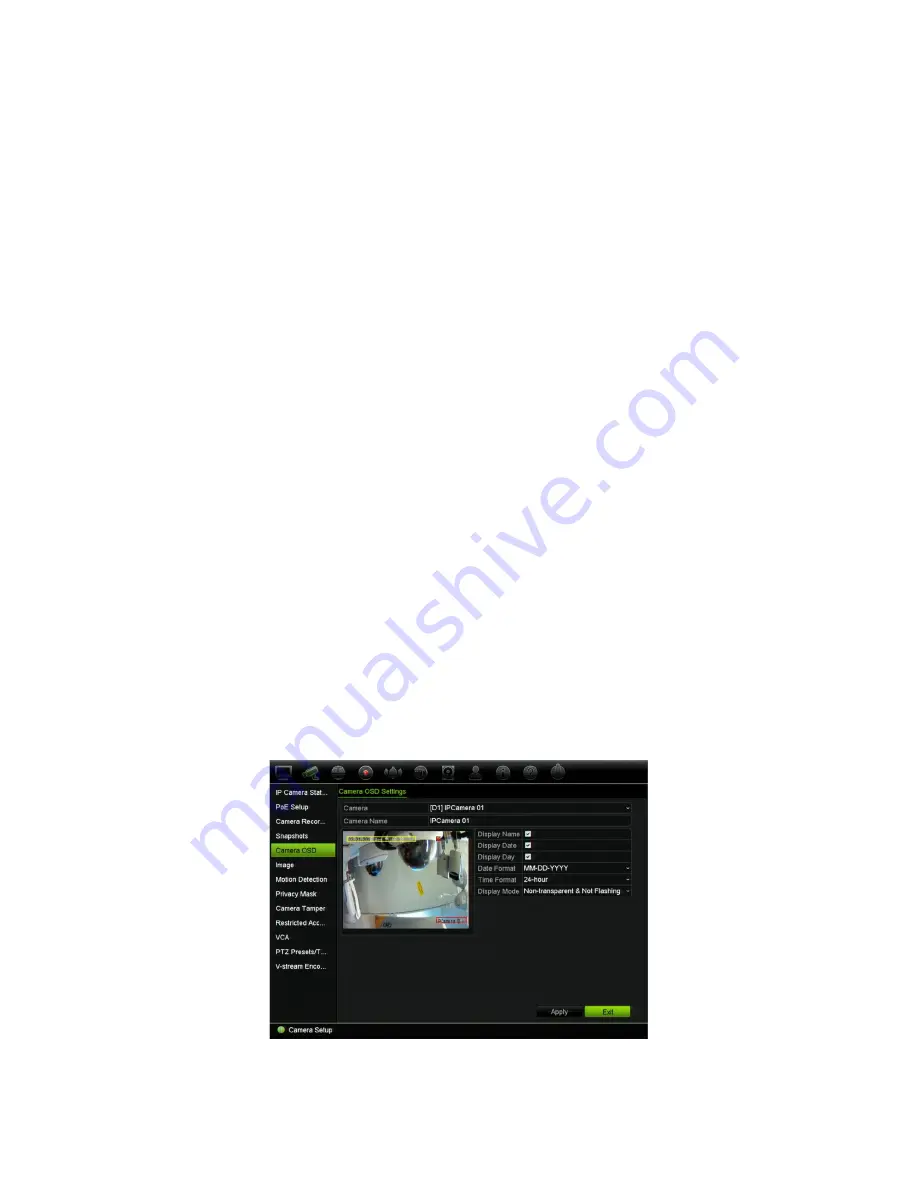
Camera OSD
The recorder lets you configure which information is displayed on-screen for each
individual camera.
The on-screen display (OSD) settings appear in live view mode and include the camera
name, time and date. They are part of the image and are therefore also recorded.
To configure the OSD settings:
1. From the menu toolbar, click
Camera Setup
>
Camera
OSD
.
2. Under
Camera
, select the desired camera.


