


Chapter 13: Alarm and event setup
114
TruVision NVR 11 User Manual
Click
Apply
to save the settings. Click
OK
to return to the main window.
4. Click
Apply
to save the intrusion panel setup parameters.
5. Click
Exit
to return to live view.
To set up the zones in an alarm panel:
1. From the menu toolbar, click
Alarm & Event Setup
>
Intrusion Zone Setup
.
2. Under
Select Intrusion Panel
, select intrusion panel 1, 2 or 3.
3. Select the desired ID of a zone. The maximum is 32. The number does not have to
match the zone number.
4. Under
Zone Number
, select the desired zone number. The zone number can be
any valid number of the panel, which does not need to match the zone number.
5. Click
Action
to define the actions for the selected zone number.
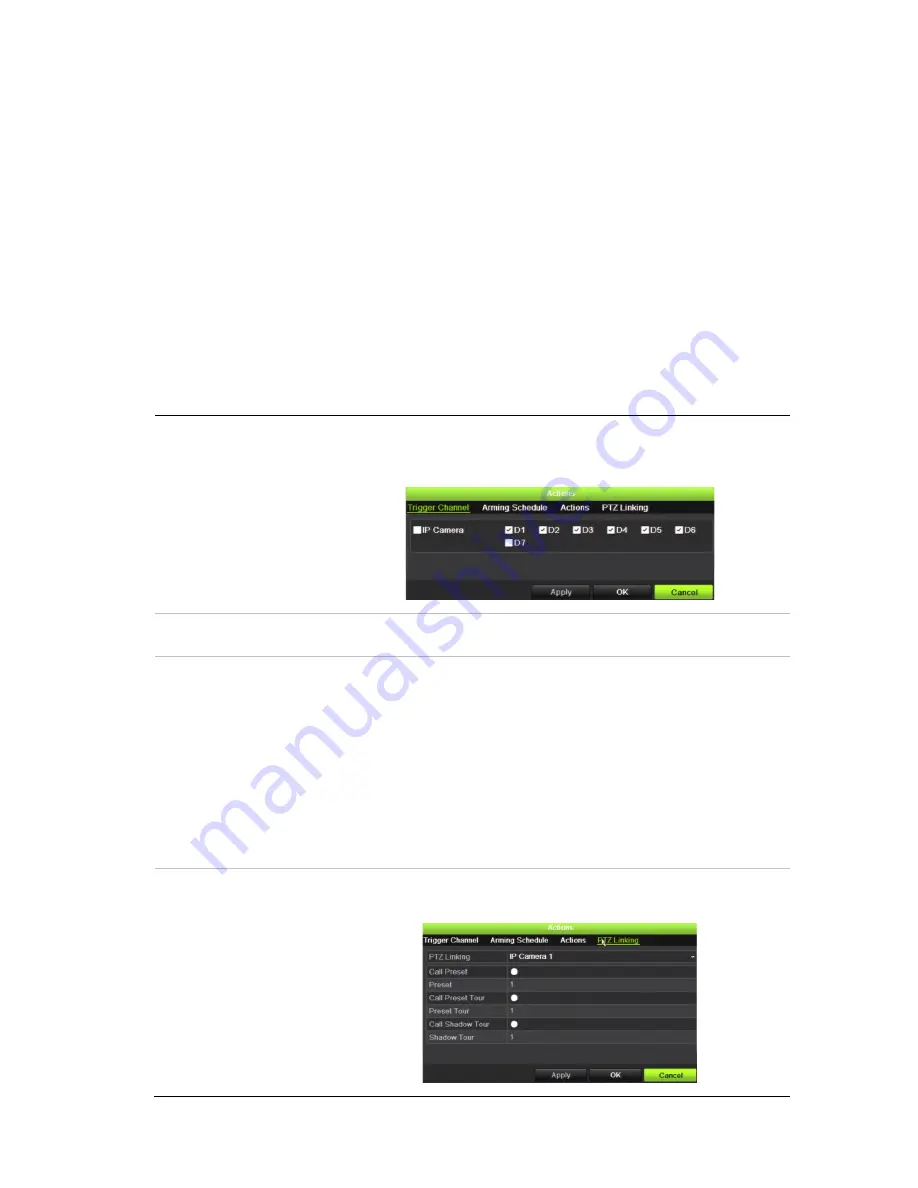
Trigger Channel:
Select the cameras that will record when an alarm event is received.
The cameras will record following the main stream (alarm) parameters.
The recordings will be 10 seconds for each assigned camera.
Arming Schedule:
Define the alarm schedule for the actions. You can schedule up to
eight periods in a day. Default is 24 hours.
Actions:
Check the required action that needs to be executed when an alarm is
received:
Full-screen Monitoring
Enable Alarm Audio
Notify the alarm host (supported by TruVision Navigator 7.0 and
higher)
Send Email
Upload Snapshots to FTP
Trigger Alarm Output
PTZ Linking:
Select the PTZ camera as well as the preset, preset tour, and/or
shadow tour that is triggered when the alarm/event is detected.