26
To set up a stripe set:
1. Verify that you are logged on with Administrator privileges.
2. From the Windows NT Start menu, go to Administrative Tools/Disk Administrator.
NOTE
For detailed information on using Disk Administrator, refer to the printed Microsoft
documentation and to Disk Administrator’s online help.
3. From the View menu, verify that Disk Configuration is selected. This displays a
graphical representation of the workstation’s disks and partitions.
4. Select Disk 1.
5. Press
CTRL
, then select Disk 2, Disk 3, and Disk 4.
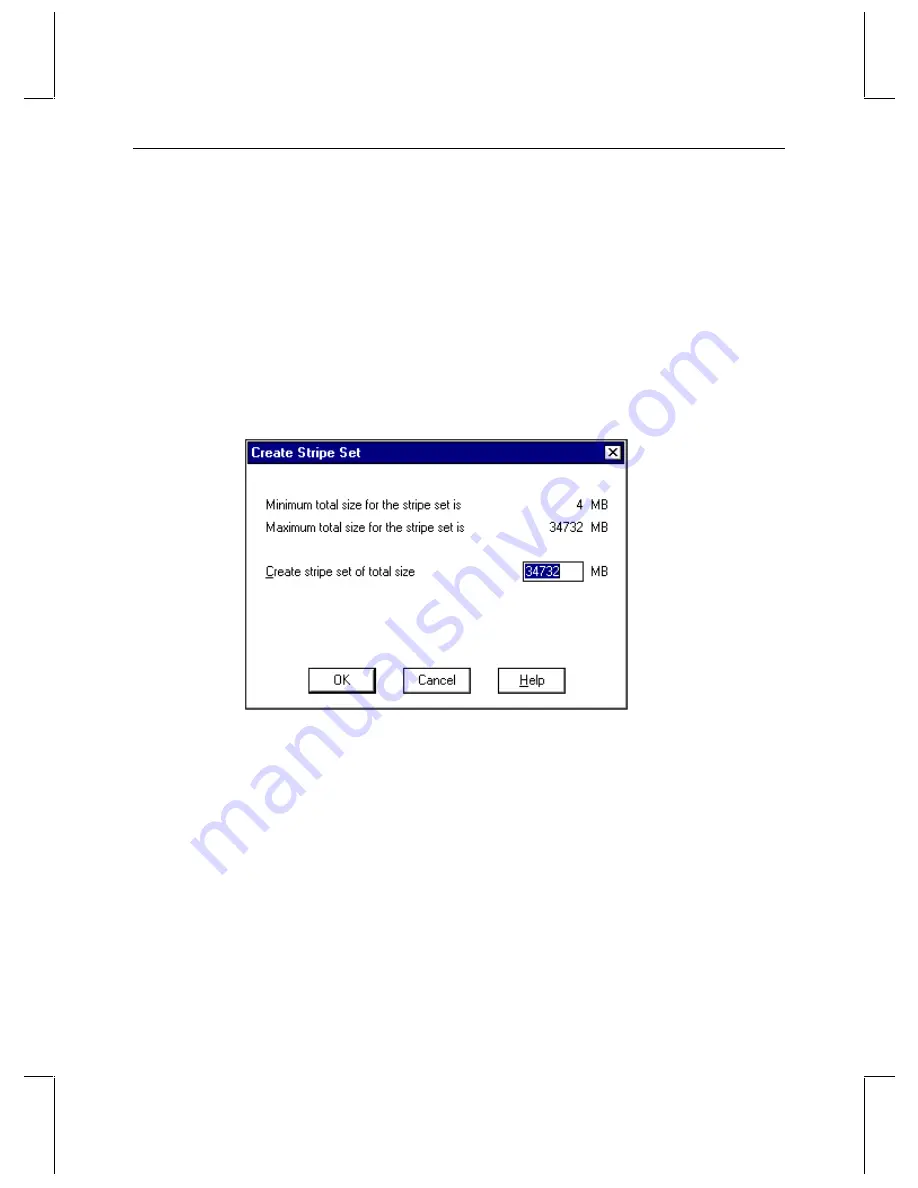
6. From the Partition menu, select Create Stripe Set to display the stripe set sizes.
7. Click OK to create the stripe set and dismiss the dialog box.
NOTE
The size of the partition is determined by the size of the smallest disk and the number of
drives in the stripe set. The drive letter for the stripe set has to be ‘D’ for Softimage DS.
8. From the Partition menu, select Commit Changes Now and click Yes when prompted
for confirmation.
9. If prompted, click Yes to confirm that you want to restart the computer.
10. When prompted that the disks were updated successfully, click OK.
11. When prompted to restart the computer, click OK.
12. When the system has restarted, log on to Windows NT as Administrator.
13. From the Windows NT Start menu, go to Administrative Tools/Disk Administrator.


