


Upgrading
41
Removing a Processor
1. Observe the safety and ESD precautions at the beginning of this chapter and the additional
cautions given here.
2. Unplug the heat sink fan.
3. Detach the heat sink clip from the processor socket. See the documentatio n that shipped with
your processor for more detail.
4. Remove the heat sink from the processor.
5. Raise the locking bar on the socket.
6. Remove the processor from the socket.
7. If you removed the processor from the secondary socket and are not replacing it, you must
install a terminator in its place.
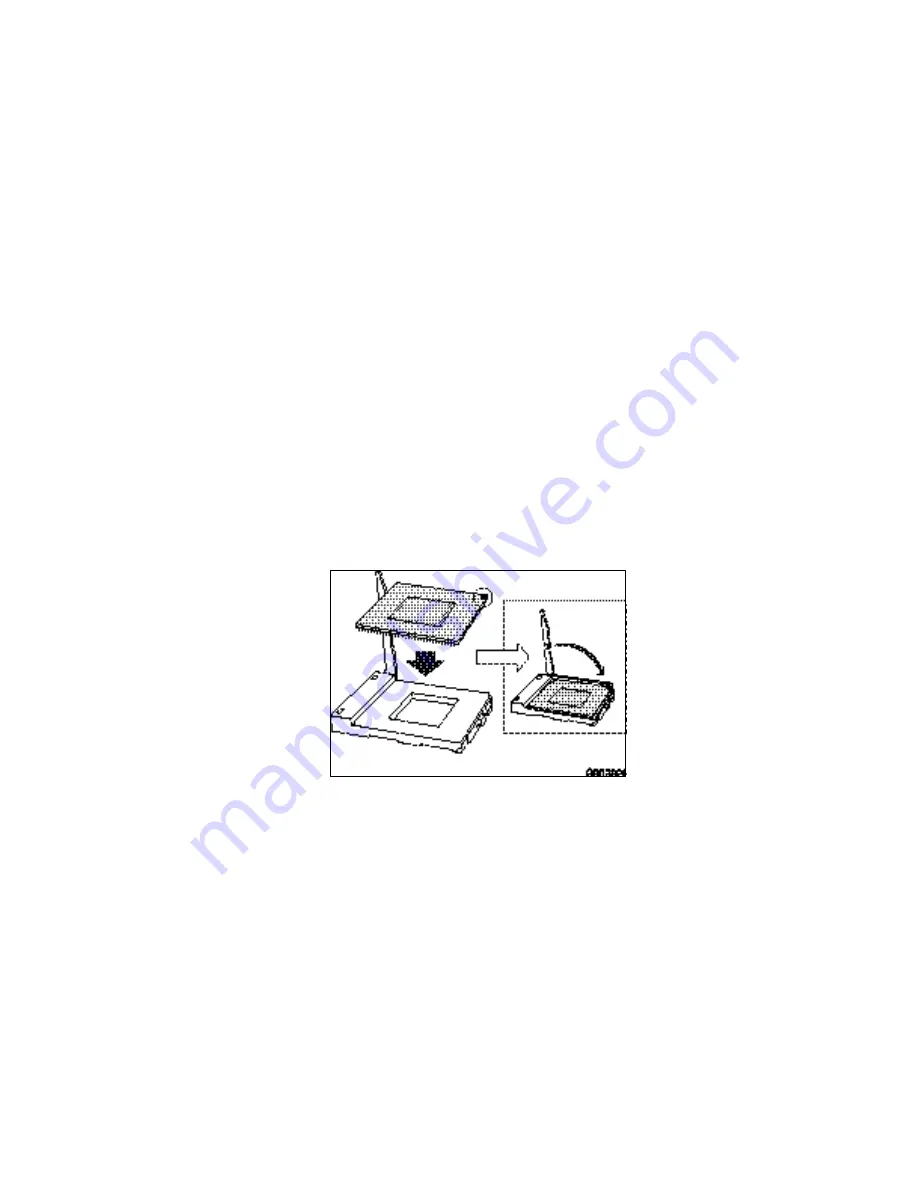
Installing or Removing a Terminator
1. Observe the safety and ESD precautions at the beginning of this chapter and the additional
cautions given here.
2. Raise the locking bar on the socket.
3. Aligning the corner mark on the terminator with the “handle -side” of the processor socket,
insert the terminator into the socket.
4. Lower the locking bar completely.
Do these steps in reverse to remove the terminator.
Figure 25. Installing a Terminator
/
NOTE
It is not necessary to install a heat sink on the processor terminator.
Summary of Contents for SDS2
Page 8: ...2 Intel Server Board SDS2 Product Guide Back Panel Connectors Figure 1 Back Panel Connectors...
Page 20: ...14 Intel Server Board SDS2 Product Guide...
Page 40: ...34 Intel Server Board SDS2 Product Guide...
Page 50: ...44 Intel Server Board SDS2 Product Guide...
Page 88: ...82 Intel Server Board SDS2 Product Guide...
Page 94: ...88 Intel Server Board SDS2 Product Guide...
Page 100: ...94 Index...


