THE FORCE/2
Maintenance, Cont.
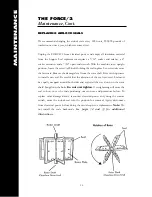
REPLACING AIRLOCK SEALS
We recommend changing the airlock seals every 300 hours, 200,000 pounds of
insulation or once a year, whichever comes first.
Unplug the FORCE/2 from electrical power and empty all insulation material
from the hopper. Seal replacement requires a 7/16" socket and ratchet, a 6"
socket extension and a 7/16" open-end wrench. With the machine in an upright
position, locate the seven
1
⁄
4
*
20 bolts holding the seal in place. Loosen and remove
the fasteners. Remove the damaged seal from the rotor shaft. Reverse the process
to install a new seal. Be careful that the direction of the seal is correct. Seal must
be equally wrapped around both sides and seated all the way down on the rotor
shaft! Snug down the bolts. Do not overtighten. Overtightening will cause the
seal to bow out at the ends producing uneven wear and premature failure. To
replace other damaged seals, reconnect electrical power and, using the remote
switch, move the airlock seal into the position for removal. Again, disconnect
from electrical power before doing the actual repair or replacement. Note: Do
not install the seals backwards.
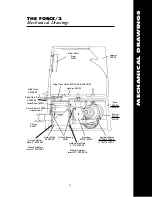
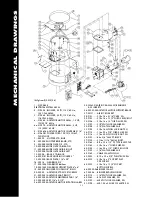
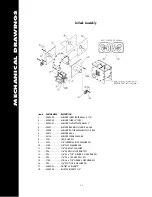
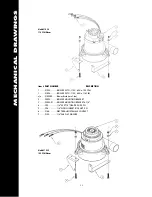
See pages 32 and 33 for additional
illustrations.
M
A
I
N
T
E
N
A
N
C
E
20
Summary of Contents for FORCE/2 HP
Page 2: ......
Page 4: ...MACHINE INFORMATION 2 ...
Page 46: ...ELECTRICAL DRAWINGS 44 Wiring Diagram Manufactured from 8 02 Present Electrical with GFCI ...
Page 49: ...ELECTRICAL DRAWINGS 47 Wiring Diagram Mfg from 9 02 Present Electrical With Remote Disconnect ...
Page 50: ......
Page 52: ...ELECTRICAL DRAWINGS FORCE 2 Electrical Drawings Cont d ...


