30
December 2008 - InnoMedia
© 2001 InnoMedia. All rights reserved.
InnoMedia iPBX Administrative Guide
4.5.2
Adding new users in an ad hoc mode
1.
Login to iPBX admin web console
2.
Go to the page at: Telephony
Settings
Users
3.
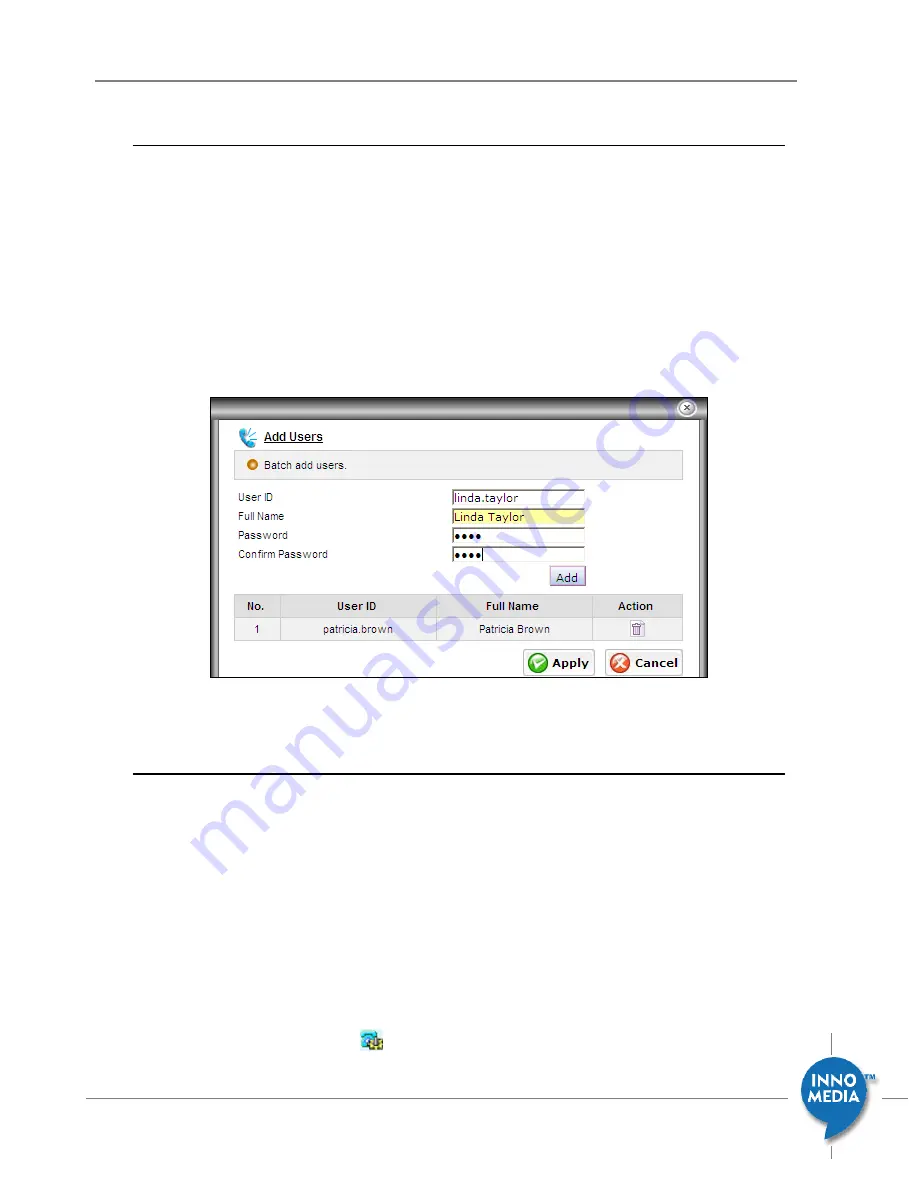
Click the ‘Add’ button and input users
4.
In the dialog box, type the User ID, Full name, and Password. Once done, click the ‘Add’ button below
to add the new user list. Note that the ID and Password is for users to login to their individual iPBX
user self-care page.
5.
Click ‘Apply’ button to conclude the setting, or ‘cancel’ to drop.
Figure 5.2 Adding users one at a time
4.6
Assigning an Extension Number to a New User
Once you add users to iPBX database, you may start to assign them extension numbers. One user may
have one or more extension lines.
1.
Login to iPBX admin web console
2.
Go to the page at: Telephony
Settings
Ext. IP Phones
3.
Choose the extension number that you assign to this user, and highlight that record. The edit box
displays at the bottom of current page. At the following example, choose ext. 5002 for user
<patricia>, giving this user a phone of MTA6308-SL model. The associated MAC address of this phone
is automatically extracted from iPBX Device database. Choose the one that you plan to assign to
Patricia, and then click <Action>
button to confirm this configuration.


