


The StellarMate Plus Manual
139 / 227
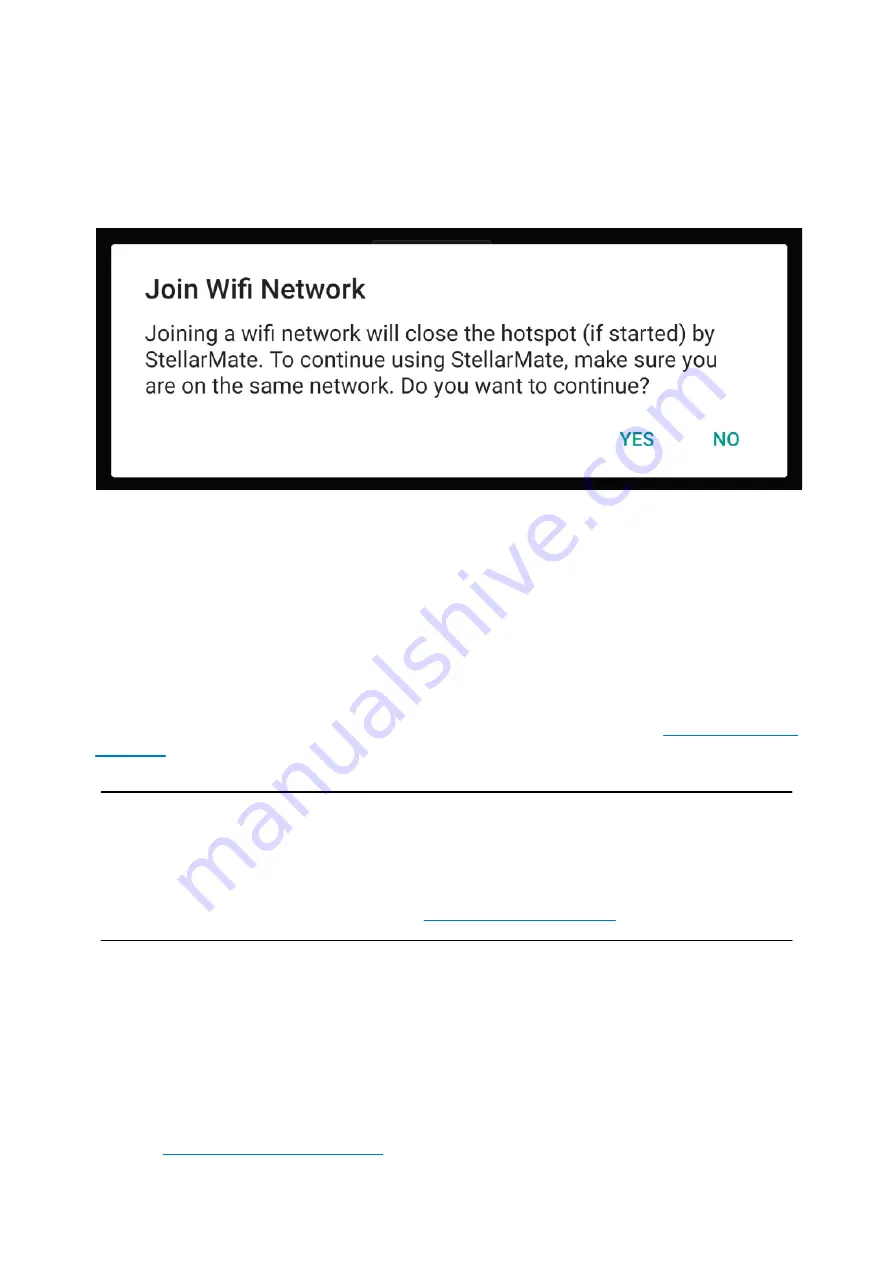
infrastructure mode is displayed, press Yes to continue. The App will command StellarMate
to join the WiFi network and then begins to scan for StellarMate in the local network. This
assumes your phone/tablet will automatically switch to your home WiFi network since it will
be disconnected from the hotspot and in most cases this causes Android/iOS to fall back
to the next available network. If this does not happen, then go to Network Settings in your
mobile OS and connect to the same WiFi network selected above.
This process can take up to 2 minutes. If successful, the device IP address is going to
change the new WiFi IP address. Go back to the setup page to make sure the device is
connected. If not, double click on the device to ensure it is connected properly.
Once StellarMate is joined to a WiFi network, it will always try to connect to this network
unless it is out of range. In this case, it will default back to the HotSpot.
StellarMate Address
Whether you are accessing StellarMate from PC, Mac, or Mobile, you can always reach it
by the address
stellarmate.local
This is the address that should be used in Ekos if you
are using Ekos on a PC/Mac to connect remotely to Ekos. To access
, type in
stellarmate.local:8624
Note
When accessing StellarMate directly via Hotspot (Access Point), the unit IP
address is always 10.250.250.1. Therefore, if you are having an issue accessing
the unit via its hostname, you can simply use the IP address in your browser to
access StellarMate Web Manager (http://10.250.250.1:8624).
Connecting your equipment
StellarMate supports connecting to your equipment via WiFi, Ethernet, Bluetooth, or USB.
USB is the primary connection method for most astronomical devices. Make sure all
equipment is sufficiently powered and initialized before connecting them to StellarMate.
For mounts, most mounts need to be already aligned before you connect them to
StellarMate.
To learn more about connecting your equipment to StellarMate, find out more in the
detailed
.
Summary of Contents for Stellar Mate Plus
Page 50: ...The StellarMate Plus Manual 50 227 First Capture First Rotation...
Page 51: ...The StellarMate Plus Manual 51 227 Second Capture...
Page 52: ...The StellarMate Plus Manual 52 227 Second Rotation Third Capture...
Page 109: ...The StellarMate Plus Manual 109 227 Search Results...
Page 114: ...The StellarMate Plus Manual 114 227...
Page 123: ...The StellarMate Plus Manual 123 227...
Page 160: ...The StellarMate Plus Manual 160 227 2 WiFi Infrastructure Bluetooth...
Page 186: ...The StellarMate Plus Manual 186 227 4 Web Manager 5 Network Manager 6 Device Manager...
Page 219: ...The StellarMate Plus Manual 219 227 6 Select the MicroSD card you wish to write your image to...


