


Configuration via OSD
Draco Multiview 4K60
38
5.2 Log out of the OSD
To log out a user, press
<F10>
again.
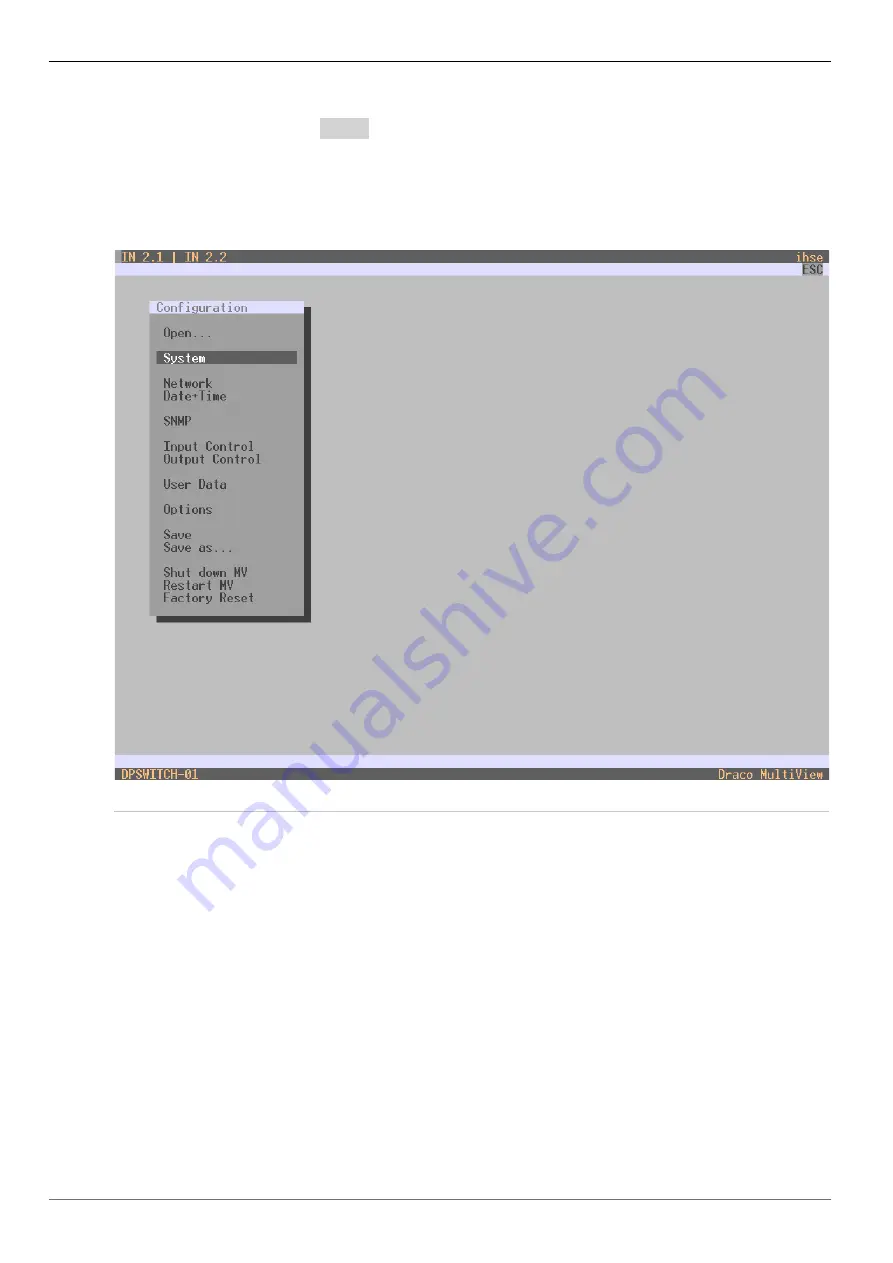
5.3 System Settings
Various options for system setting are available in the configuration menu. In addition, the options
for saving, restarting, shutting down and resetting to factory settings are available here.
Fig. 27 Menu
Configuration