47
If you turn off the Time Sync function, then it does not synchronize with the time even if
you change the channels by pressing [ ], or press
▽
“
->
(Play)” or “
|>
(Move forward by
1 frame)” after changing the channel. But, if you switch into 4-channel mode and press
“
->
(Play)” or “
|>
(Move forward by 1 frame)”, then the files are synchronized with the
exact or closest time regardless of the Time Sync ON, OFF. The reason for
synchronizing all the files with the time is to match the video with the audio being
played.
4-3-6. SYNC MSG: ON
This function is to decide whether to display the massage, “Sync…” on the screen while
synchronizing the files.
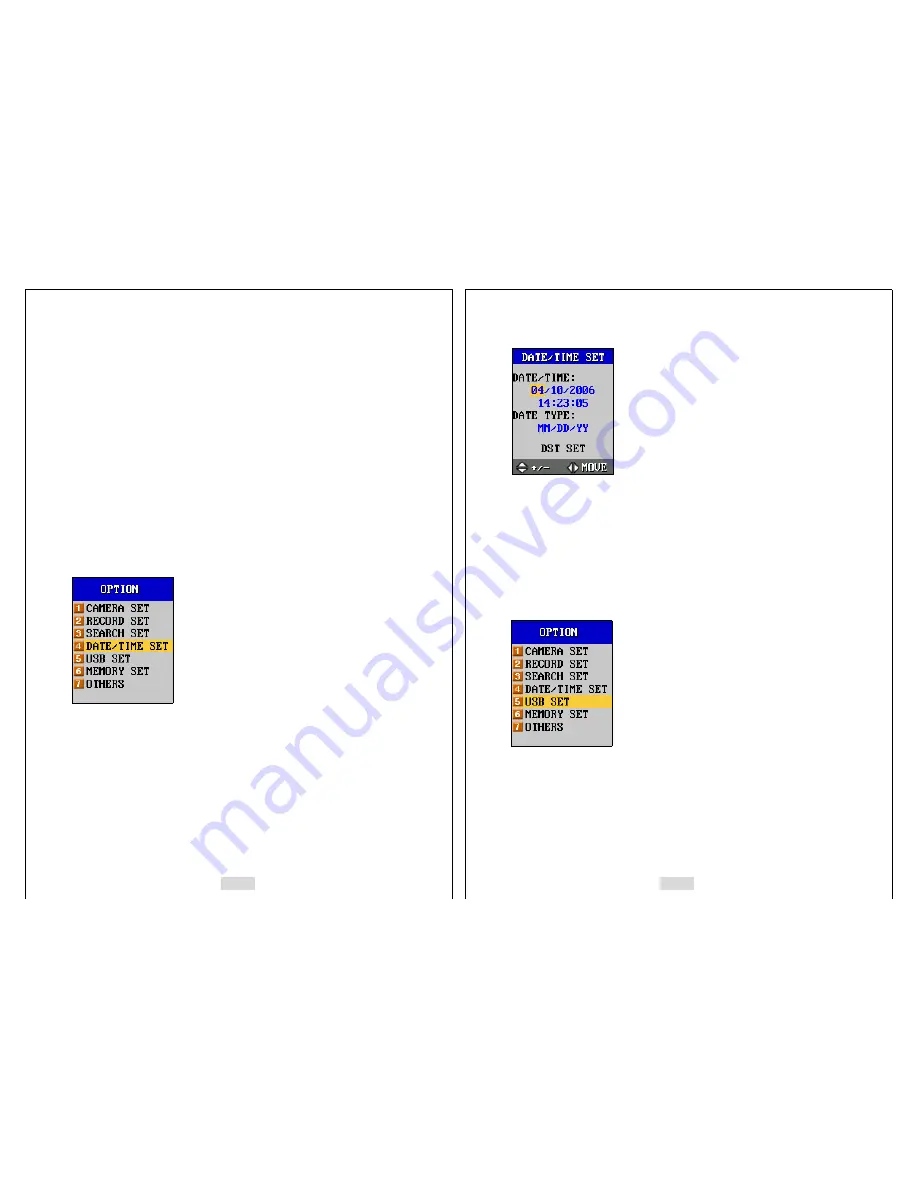
4-4. DATE/TIME SET
Select “4.DATE/TIME SET” using the direction buttons, and press [ENT]. Then the next
screen appears in the LCD as below.
48
Using [ ]
◁
and [ ]
▷
, you can move the cursor to the Date, Month, Year, and the Time.
Use [ ] and [ ]
△
▽
to change the variables.. There are three ways to arrange this
DATE/TIME setting, and it varies in different localities.
Move the cursor to “TYPE” using [ ]
◁
and [
▷
], and press [ ] and [ ]
△
▽
to change among
three different types. The types will be changed in regular sequence (DD/MM/YY
→
MM/DD/YY
→
YY/MM/DD) as you press [ ]
△
or [ ]
▽
. Press [ENT] to register the settings.
4-5. USB SET
Select “5.USB SET” using the direction buttons, and press [ENT]. Then the next screen
appears in the LCD as below. To go to the previous menu, press [ESC].


