Installing the ThinkPad Features Program
WIN
Installing for Windows
If you are going to use Windows, install the ThinkPad Features
program for DOS first (see page 181); then do the following to
install the ThinkPad Features program for Windows.
1
Turn on the computer and start Windows.
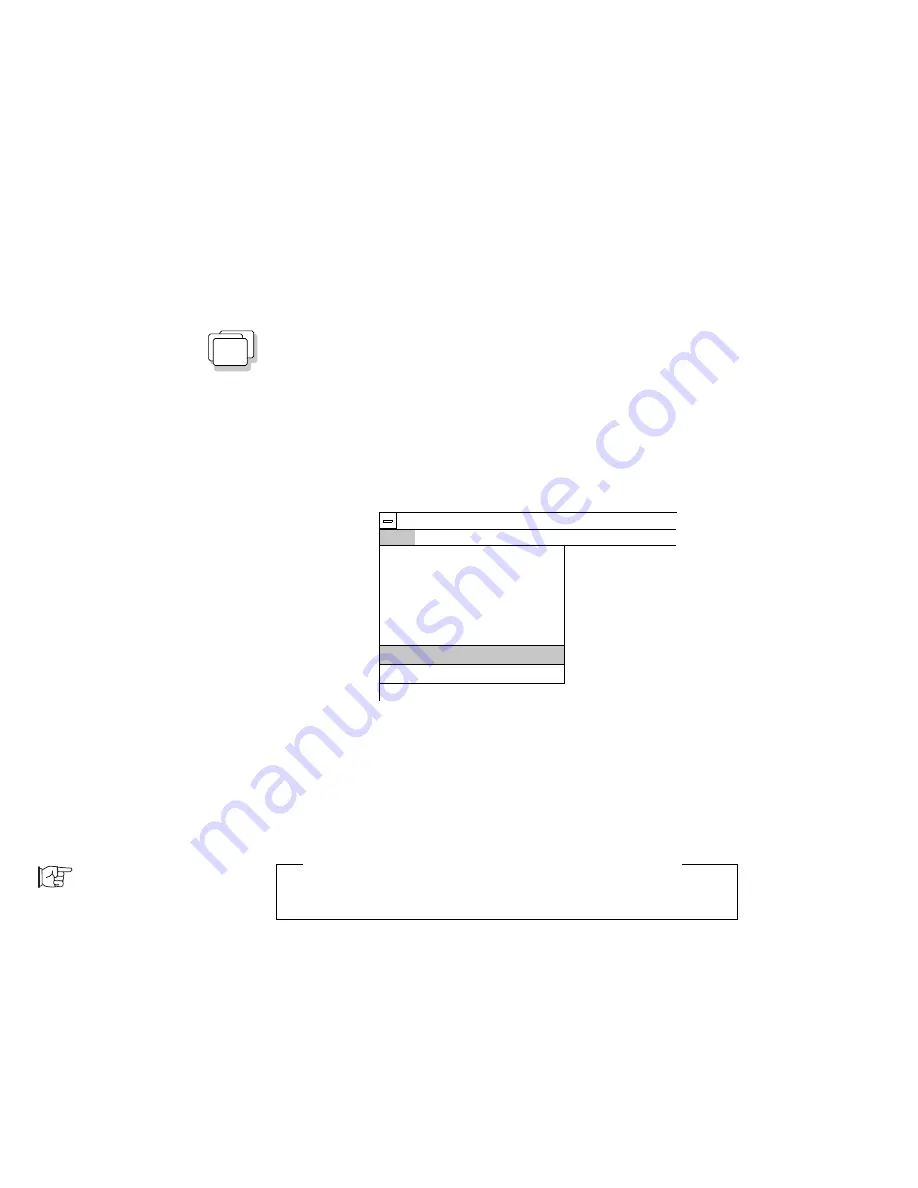
2
Select File from the Program Manager window; then
select Run... from the pull-down menu.
Options
Windows Help
Program
New...
Open
Move...
Copy...
Delete...
Properties...
Exit
Alt+Enter
Enter
F7
F8
Del
File
Run...
3
Insert the Utility Diskette into the diskette drive.
4
Type A:\INSTALLW; then press Enter.
Follow the instructions on the screen.
You have completed the installation of the ThinkPad Features
program.
PS2 command:
Page 41.
Using PS2 command in the Windows Environment
To use the PS2 command in the DOS session of Windows, install the
program at the DOS full screen. (See page 181.)
Go to “Installing the PCMCIA Device Driver” on page 183.
182
IBM ThinkPad 755CX User's Guide
Summary of Contents for ThinkPad 755CX
Page 1: ...i ...
Page 6: ...vi IBM ThinkPad 755CX User s Guide ...
Page 16: ...xvi IBM ThinkPad 755CX User s Guide ...
Page 23: ...Getting Started 2 Right Side View 2 1 1 2 2 1 3 3 1 Chapter 1 Getting Started 7 ...
Page 25: ...Getting Started 2 3 1 4 5 6 7 Chapter 1 Getting Started 9 ...
Page 26: ...Getting Started 10 IBM ThinkPad 755CX User s Guide ...
Page 30: ...Locations and Functions InsideView RearView Bottom View 6 14 IBM ThinkPad 755CX User s Guide ...
Page 48: ...Carrying the Computer 32 IBM ThinkPad 755CX User s Guide ...
Page 214: ...Installing the Infrared Device Driver 198 IBM ThinkPad 755CX User s Guide ...
Page 242: ...Getting Service 226 IBM ThinkPad 755CX User s Guide ...
Page 246: ...Avoiding Hardware Conflicts 230 IBM ThinkPad 755CX User s Guide ...
Page 264: ...Additional Information for Telephony Function 248 IBM ThinkPad 755CX User s Guide ...