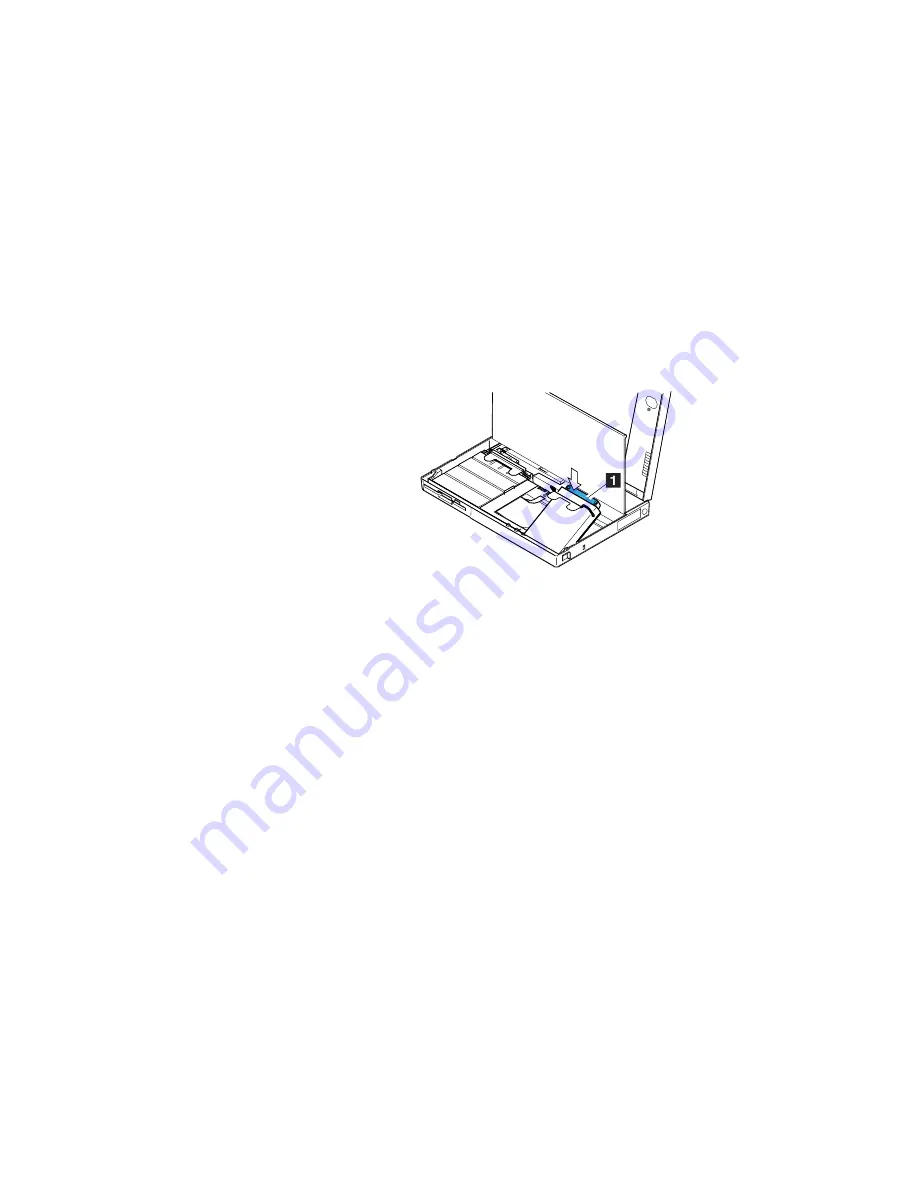
Replacing the Hard Disk Drive
5
Insert the replacement drive. Press on the shaded area
1
as shown until the drive snaps into the connector;
then close the keyboard.
6
Connect the AC Adapter to the computer; then turn on
the computer.
You have completed the replacement of the hard disk drive. To
install your operating system and other necessary software, see
“What You Need for Your Computer” on page 174.
Chapter 6. Installing and Removing Options
149
Summary of Contents for ThinkPad 755CX
Page 1: ...i...
Page 6: ...vi IBM ThinkPad 755CX User s Guide...
Page 16: ...xvi IBM ThinkPad 755CX User s Guide...
Page 23: ...Getting Started 2 Right Side View 2 1 1 2 2 1 3 3 1 Chapter 1 Getting Started 7...
Page 25: ...Getting Started 2 3 1 4 5 6 7 Chapter 1 Getting Started 9...
Page 26: ...Getting Started 10 IBM ThinkPad 755CX User s Guide...
Page 30: ...Locations and Functions InsideView RearView Bottom View 6 14 IBM ThinkPad 755CX User s Guide...
Page 48: ...Carrying the Computer 32 IBM ThinkPad 755CX User s Guide...
Page 214: ...Installing the Infrared Device Driver 198 IBM ThinkPad 755CX User s Guide...
Page 242: ...Getting Service 226 IBM ThinkPad 755CX User s Guide...
Page 246: ...Avoiding Hardware Conflicts 230 IBM ThinkPad 755CX User s Guide...
Page 264: ...Additional Information for Telephony Function 248 IBM ThinkPad 755CX User s Guide...


