


7. Press Enter to start the update process.
8. Press Enter to confirm that you want to update the system BIOS. When the update process
completes, you will be prompted to remove the diskette and press Enter to restart the system.
9. Remove the diskette and go to “Removing the shuttle and processor housing.”
Removing the shuttle and processor housing
Complete this procedure to remove the shuttle and processor housing.
1. Remove all media (diskettes, CDs, optical discs, or tapes) from the drives.
2. Turn off the server and any attached devices.
5
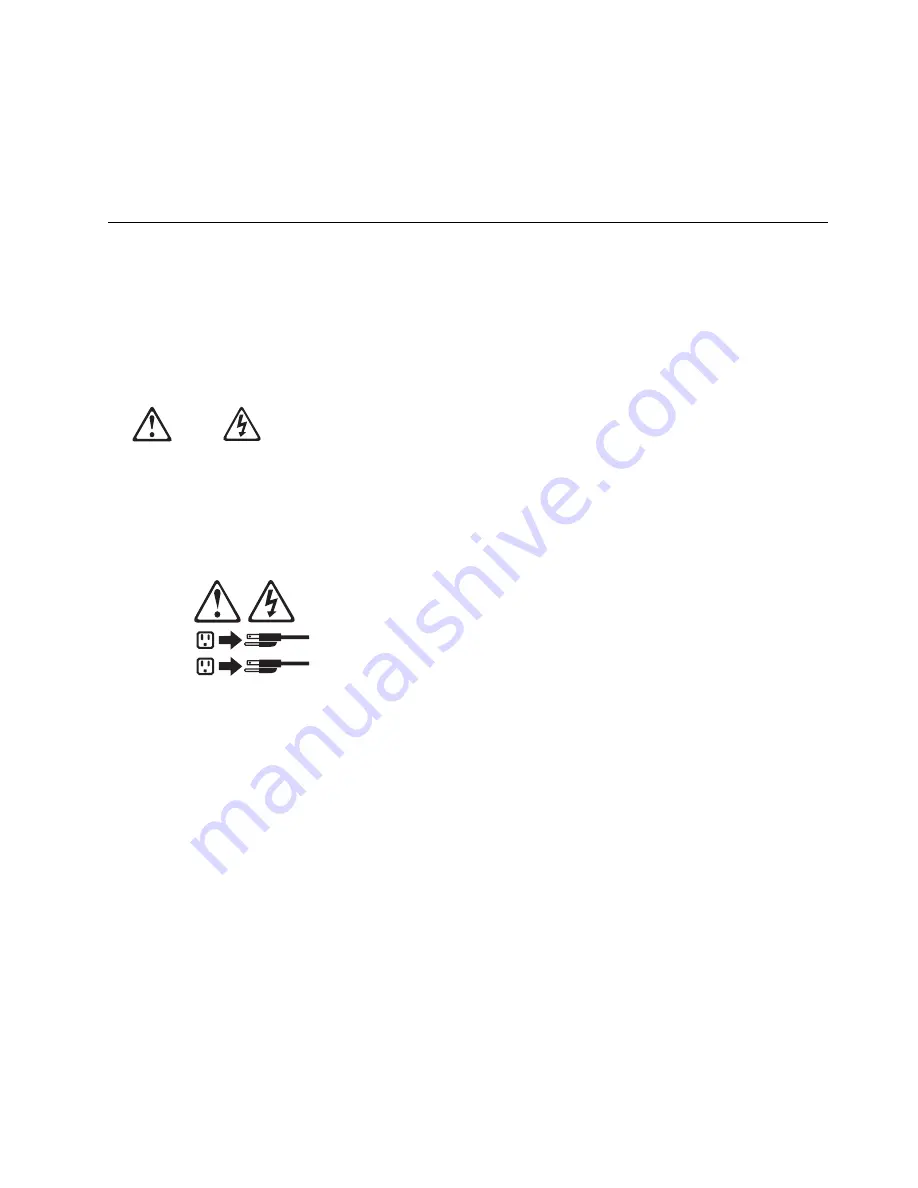
CAUTION:
The power control button on the device and the power switch on the power supply do
not turn off the electrical current supplied to the device. The device also might have
more than one power cord. To remove all electrical current from the device, ensure that
all power cords are disconnected from the power source.
1
2
3. If you are in the United Kingdom and have a modem or fax machine attached to your server, you must
disconnect the telephone line from the server
before unplugging any power cords (also known as
power cables). When reassembling your server, you must reconnect the telephone line
after you plug
in the power cords.
4. Disconnect all power cords (cables) from electrical outlets.
5. Disconnect all power cords from the server.
Note: The power cords used with your server are compatible with this option. Keep a power cord
nearby for use after the upgrade is installed.
6. Disconnect all communication cables from external receptacles.
7. Note the location of the remaining cables and cords; then, disconnect them from the server.
Upgrade installation
5
Summary of Contents for Netfinity 1000
Page 1: ...IBM Netfinity Four Way Processor Upgrade Kit Installation Instructions...
Page 2: ......
Page 3: ...IBM Netfinity Four Way Processor Upgrade Kit Installation Instructions...
Page 8: ...vi Processor Upgrade Instructions...
Page 43: ......
Page 44: ...IBM Part Number 01K7672 Printed in U S A 1K7672...


