Installing
the
blade
server
cover
To
install
the
blade
server
cover,
complete
the
following
steps.
Statement
21:
CAUTION:
Hazardous
energy
is
present
when
the
blade
server
is
connected
to
the
power
source.
Always
replace
the
blade
cover
before
installing
the
blade
server.
Blade-Cover
Release
Cover
Pins
Blade-Cover
Release
Important:
The
blade
server
cannot
be
inserted
into
the
BladeCenter
unit
until
the
cover
is
installed
and
closed.
Do
not
attempt
to
override
this
protection.
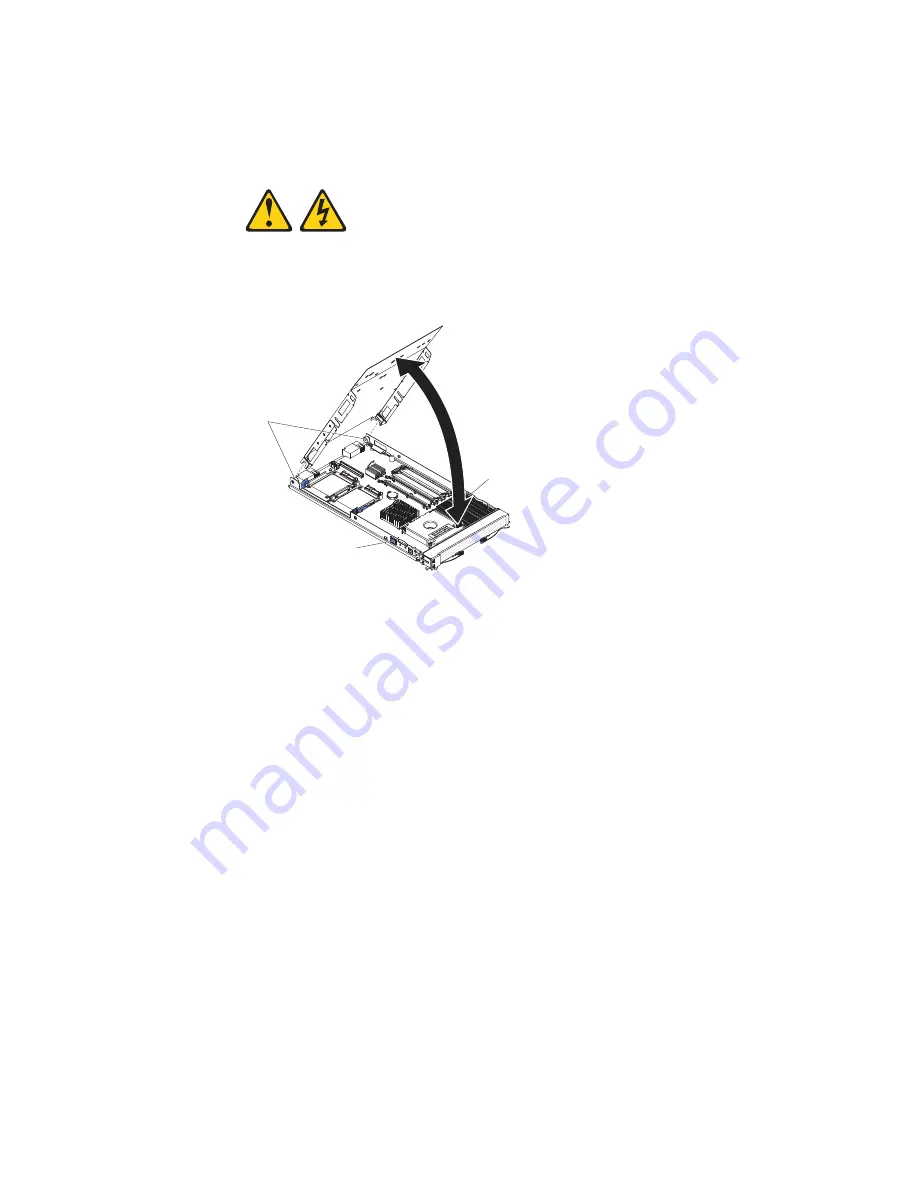
1.
Read
the
safety
information
that
begins
on
page
vii
and
“Installation
guidelines”
on
page
55.
2.
Lower
the
cover
so
that
the
slots
at
the
rear
slide
down
onto
the
pins
at
the
rear
of
the
blade
server.
Before
closing
the
cover,
check
that
all
components
are
installed
and
seated
correctly
and
that
you
have
not
left
loose
tools
or
parts
inside
the
blade
server.
3.
Pivot
the
cover
to
the
closed
position
until
it
clicks
into
place.
4.
Install
the
blade
server
into
the
BladeCenter
unit.
See
“Installing
the
blade
server
in
a
BladeCenter
unit”
on
page
58
for
instructions.
60
BladeCenter
HS20
Type
7981
and
1884:
Problem
Determination
and
Service
Guide
Summary of Contents for eServer BladeCenter HS20 Type 8832
Page 1: ...BladeCenter HS20 Type 7981 and 1884 Problem Determination and Service Guide ...
Page 2: ......
Page 3: ...BladeCenter HS20 Type 7981 and 1884 Problem Determination and Service Guide ...
Page 8: ...vi BladeCenter HS20 Type 7981 and 1884 Problem Determination and Service Guide ...
Page 16: ...xiv BladeCenter HS20 Type 7981 and 1884 Problem Determination and Service Guide ...
Page 68: ...52 BladeCenter HS20 Type 7981 and 1884 Problem Determination and Service Guide ...
Page 98: ...82 BladeCenter HS20 Type 7981 and 1884 Problem Determination and Service Guide ...
Page 110: ...94 BladeCenter HS20 Type 7981 and 1884 Problem Determination and Service Guide ...
Page 111: ......
Page 112: ... Part Number 31R1716 Printed in USA 1P P N 31R1716 ...


