Chapter 3: Analog Port Operation
43
Click the checkbox next to the servers you wish to scan.
-or-
Double-click on a server’s name or port.
-or-
Press
Alt
and the number of the server you wish to scan. You can select up
to 16 servers.
4. In the Scan Time box, type the number of seconds (from 3 to 99) of desired
time before the scan moves to the next server in the sequence.
5. Click
OK
.
To remove a server from the scan list:
1.
In the
Scan
dialog box, deselect the checkbox next to a server to be removed.
-or-
Double-click on a server’s name or port.
-or-
Click the
Clear
button to remove all servers from the scan list.
2. Click
OK
.
To start the scan mode:
1. If OSCAR is not open, press
Print Screen.
The Main dialog box will appear.
2. Click
Commands
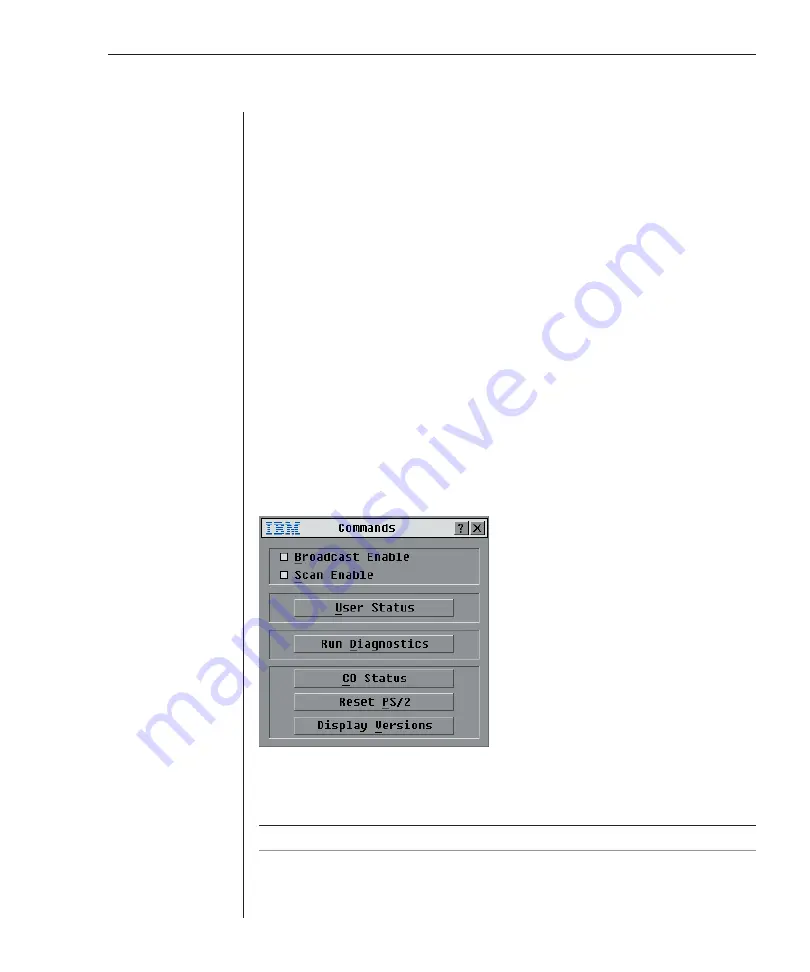
. The Commands dialog box appears.
Figure 3.20: Commands Dialog Box
3. Select
Scan Enable
in the Commands dialog box.
4. Click
X
to close the Commands dialog box.
NOTE:
Scanning will begin as soon as
Scan Enable
is checked.
Summary of Contents for 1735R16
Page 3: ......
Page 5: ...RCM Installer and User Guide...
Page 6: ......
Page 8: ...Contents Features and Benefits 3 Safety Precautions 5 1 Product Overview...
Page 9: ......
Page 14: ...Contents Getting Started 9 Installing Your RCM 10 Cabling the RCM 13 2 Installation...
Page 15: ......
Page 29: ...22 RCM Installer and User Guide...
Page 31: ......
Page 53: ...46 RCM Installer and User Guide...
Page 54: ...Contents Configuring the Terminal Menu 49 4 Terminal Operations...
Page 55: ......
Page 59: ......
Page 70: ......
Page 71: ...59P2181 Rev C 590245001B...


