


To configure view tampering detection schedule, follow instruction in Motion Detection Schedule section.
2.6.5.2. Associate View Tampering Detection with Control Output
In addition to being able to generate alarm logs based on view tampering detection, it is also possible to associate view
tampering detected on the selected channel with one or more control outputs.
To associate view tampering with one or more control outputs, follow instruction in Associate Motion Detection with
Control Output section.
2.6.6. Privacy Masking Setup
Annexxus module allows creating up to 4 privacy masking areas for each connected video channel. One of the example
applications of this feature would be blocking the teller monitors in the bank if they come in the camera view in order to
protect bank customer privacy.
Note that once the privacy mask areas are configured and set, the portion of the video covered by the privacy mask is
lost and cannot be restored or retrieved after the fact.
Note that this setup will be enabled for all Annexxus modules, even when internal storage devices are not supported or
not available. In this case, live video and video recorded by SRX-Pro/iP-Pro Server will be affected by this privacy mask
settings
To configure Annexxus Privacy Mark, do the following:
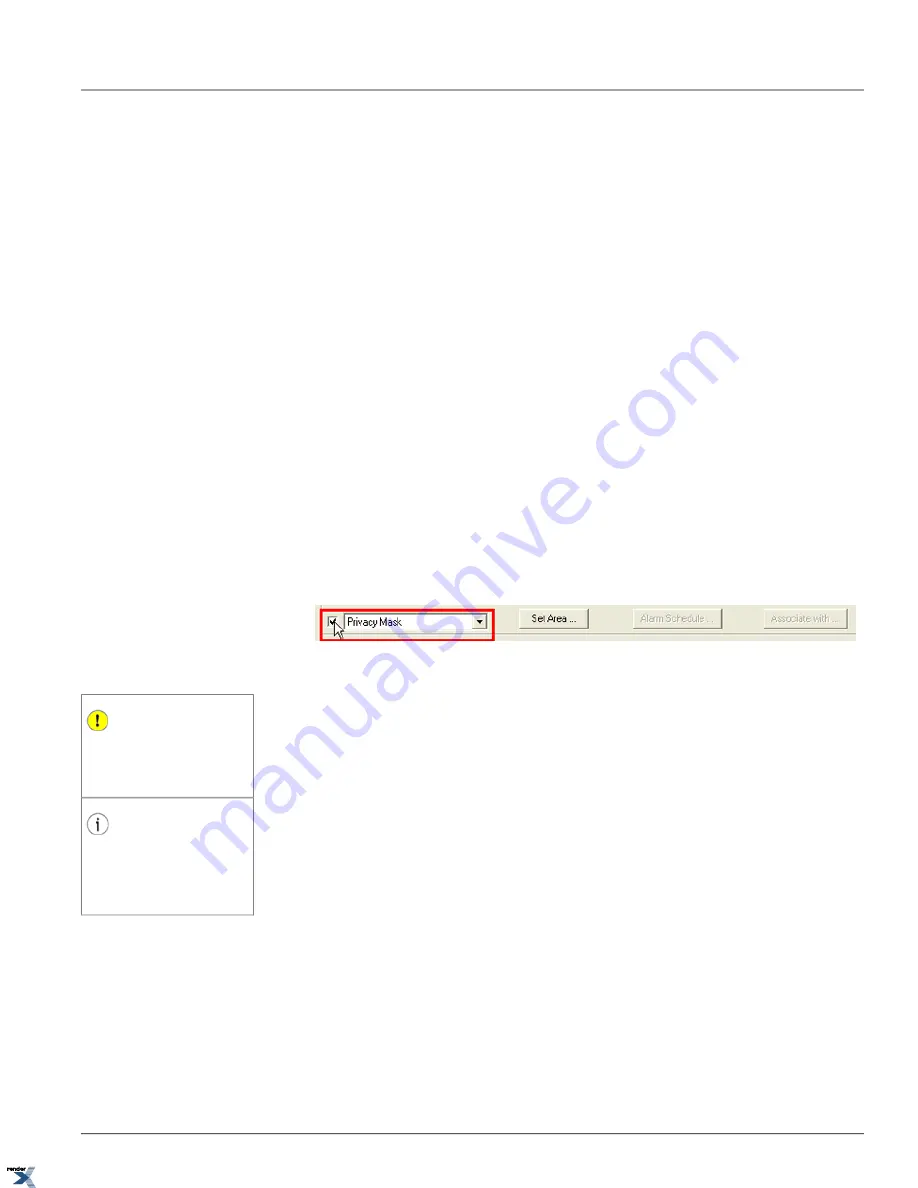
1. Enable privacy masking by first selecting Privacy Mask from the drop-down menu and then checking off the checkbox
located to the left of the menu (see image below).
2. Configure privacy masking area(s). Click
Set Area...
The Set Privacy Mask Area window will be displayed.
Important
The users of multiple monitors must make
sure that the Set Privacy Mask Area win-
dow is positioned in the primary display
monitor.
3. Draw the privacy masking area by first positing the mouse cursor at the starting position, then hold down the left
mouse button and drag the mouse cursor until the desired area is covered. The white box will be displayed over the
selected area (see image below). The video image covered by the white box will be irreversibly lost and will not be
Tip
Once the privacy masking area has been
drawn, it can be moved on the screen.
Move the mouse cursor over the created
area, hold down the left mouse button, drag
and release the area to its new position.
retrieved.
43
Privacy Masking Setup
Chapter 2. Remote Connection via SRX-Pro/iP-Pro
Server
XML to PDF by RenderX XEP XSL-FO Formatter, visit us at