Hardware options installation 69
WARNING:
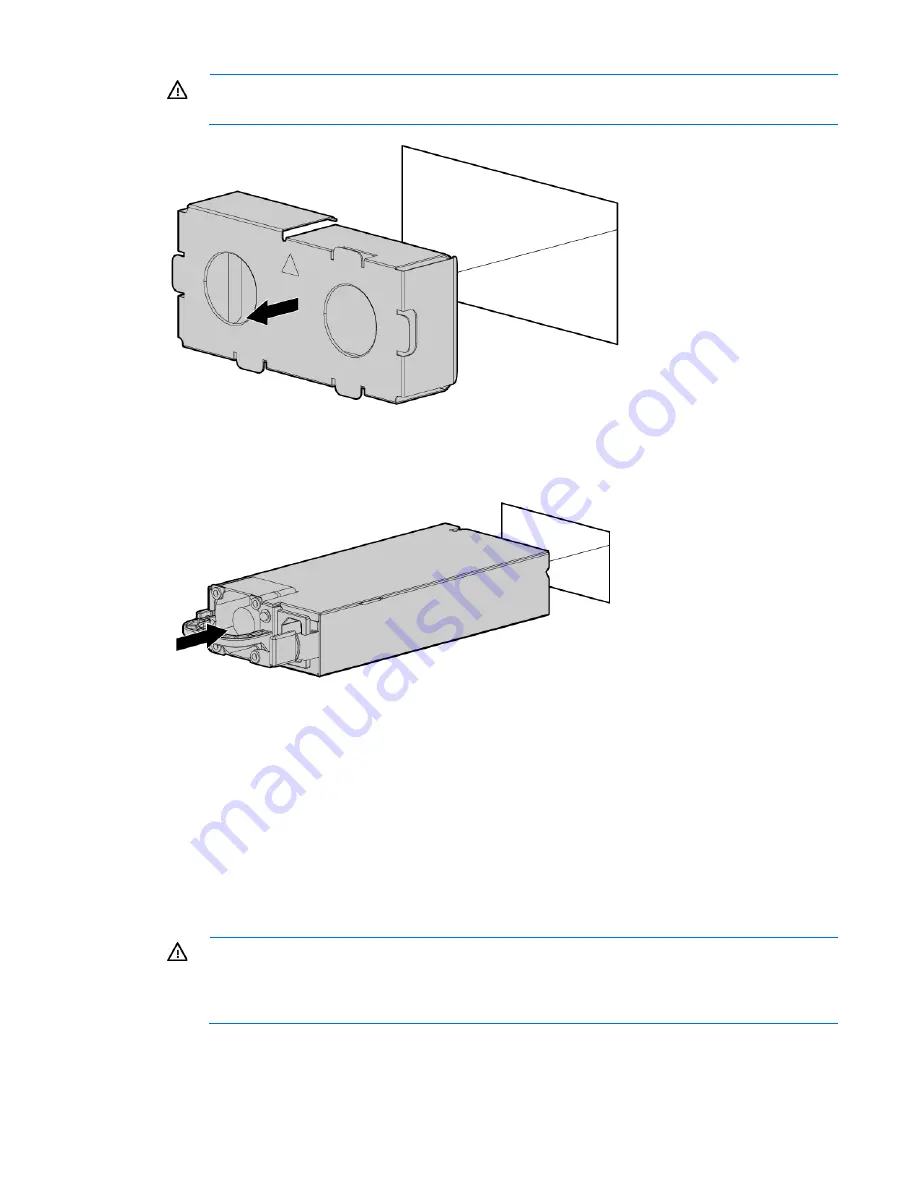
To reduce the risk of personal injury from hot surfaces, allow the power supply or
power supply blank to cool before touching it.
3.
Insert the power supply into the power supply bay until it clicks into place.
4.
Connect the power cord to the power supply.
5.
Route the power cord. Use best practices when routing power cords and other cables. A cable
management arm is available to help with routing. To obtain a cable management arm, contact an HP
authorized reseller.
6.
Connect the power cord to the AC power source.
7.
Be sure that the power supply LED is green.
FlexibleLOM option
WARNING:
To reduce the risk of personal injury, electric shock, or damage to the equipment,
remove the power cord to remove power from the server. The front panel Power On/Standby
button does not completely shut off system power. Portions of the power supply and some internal
circuitry remain active until AC power is removed.
Summary of Contents for ProLiant DL385p Gen8
Page 6: ...Contents 6 Documentation feedback 132 Index 133 ...
Page 65: ...Hardware options installation 65 o 8 or 16 drive SFF o 8 drive LFF ...
Page 91: ...Cabling 91 LFF hard drive cabling Optical drive cabling ...
Page 92: ...Cabling 92 FBWC cabling 8 or 16 drive SFF 8 drive LFF ...
Page 127: ...Support and other resources 127 ...
Page 128: ...Support and other resources 128 ...


