Chapter 5
Troubleshooting
48
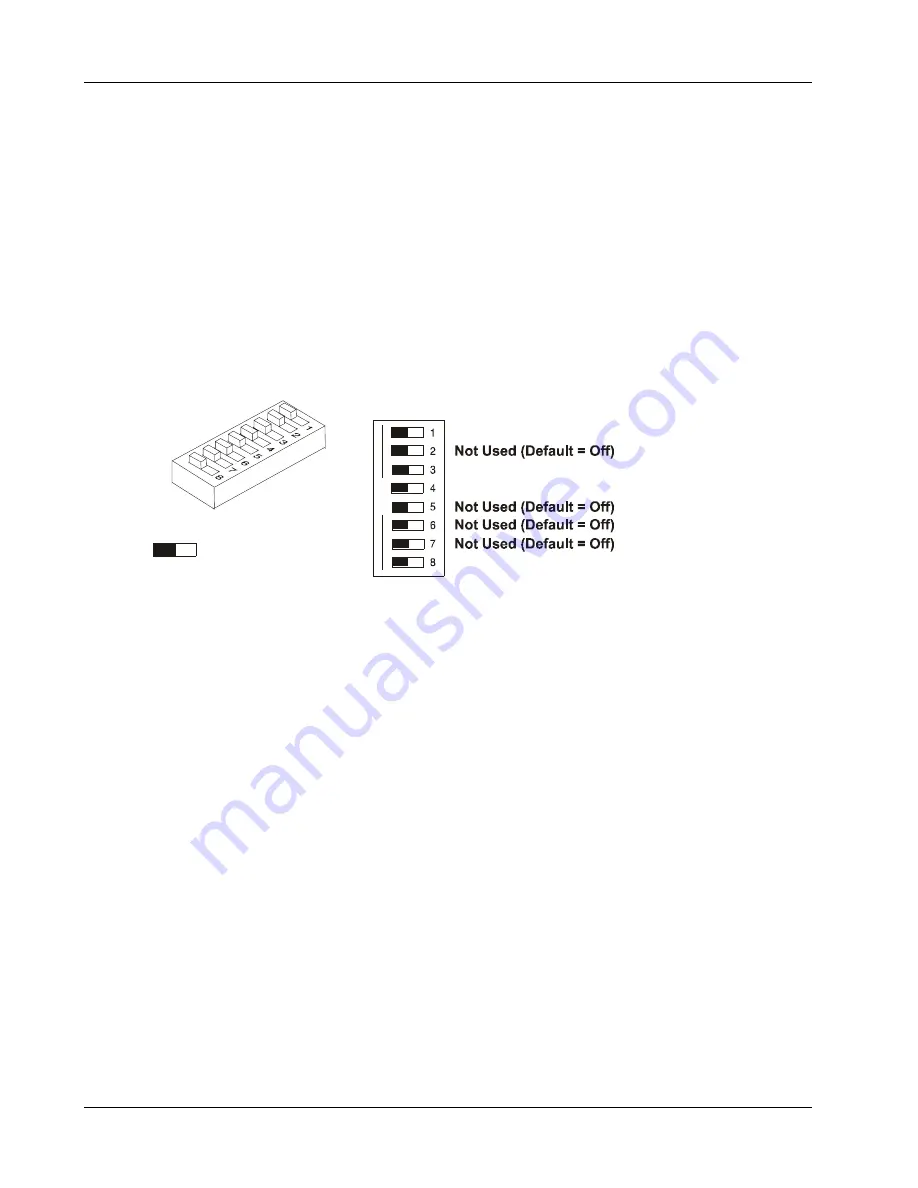
3. Move switch 3 in the configuration switch on the system board (labeled "Clear Password") to the
ON position.
4. Turn on power to the NetServer and allow it to complete its startup routine.
The old password will be erased.
5. Turn off power to the NetServer.
6. Return switch 3 in the configuration switch on the system board to the OFF position.
7. Replace the NetServer cover.
8. Turn on power to the NetServer and allow it to begin its startup routine.
9. If you wish to set a password again, press
[F2]
to start the Setup Utility.
10. Set the new Administrator password.
11. Choose the Exit option and save the changes to save the new password.
Clear CMOS
Clear Password
Op
en
Shaded rectangle
represents the position
of switch.
Open = Off Closed = On
Not Used (Default = Off)
Not Used (Default = Off)
Bottom of Chassis
General NetServer Problems
No lights are on and no error message appears
If the NetServer does not work (no lights are on, including backlighting on models with LCDs) and no error
message appears, check the following:
1. Verify that power is good and available
2. Make sure that the NetServer is turned on (the power-on light should be green and the fans
should be on).
3. Turn the NetServer off and unplug the power cords. Wait 30 seconds and plug the power cords
in and turn the NetServer on. Verify the failure.
4. Verify all boards are installed properly and seated firmly in the slots with cables firmly
connected.
5. If the NetServer stopped working after you installed a new accessory, remove the accessory
and turn on the server. If the NetServer now works, go to step 8.
6. If the NetServer still does not work, remove all accessory that you have installed (do not remove
the flexible or hard disk drives) and turn on the server.
7. If the NetServer now works, turn off the NetServer; add one accessory at a time to determine
which one is causing the problem. Turn on the NetServer after installing each board or option.
When the problem returns, the last board or option installed is defective.
Summary of Contents for NetServer e 800
Page 1: ...HP NetServer E 800 Service Manual Online Version 1 0 Last Updated May 2000 ...
Page 27: ...21 3 Parts Information Exploded View Cover and Bezel 1 2 3 4 ...
Page 28: ...Chapter 3 Parts Information 22 Exploded View Drives Shelf Mount 5 6 7 8 9 ...
Page 29: ...Chapter 3 Parts Information 23 Exploded View Power Supply and Drives Cage Mount 10 13 11 12 ...
Page 30: ...Chapter 3 Parts Information 24 Exploded View Exhaust Fan and System Board 14 15 ...
Page 100: ...Chapter 6 Replacing Parts 94 ...


