To install processors on the other side of the server blade, turn the server blade over, and
repeat the
“Removing and Replacing a Processor” (page 124)
procedure.
10. Place the server blade back into the enclosure and power it up.
See
“Replacing the Server Blade in the Enclosure” (page 115)
.
Removing and Replacing the SAS Backplane
The following procedures details how to remove and replace a failed SAS backplane. The backplane
supports four SAS disk drives on the SAS backplane.
Removing the SAS Backplane
Use the following procedure to remove the failed SAS backplane from the server blade.
1.
Power off the server and remove it from the enclosure.
See
“Preparing the Server Blade for Servicing” (page 113)
.
2.
Remove the SAS disk drives or disk drive blanks.
See
“Removing a SAS Disk Drive” (page 111)
, or
“Removing a Disk Drive Blank” (page 112)
.
3.
Remove the right access panel.
See
“Removing the Right Access Panel” (page 116)
.
4.
Unplug the SAS cable from the system board.
5.
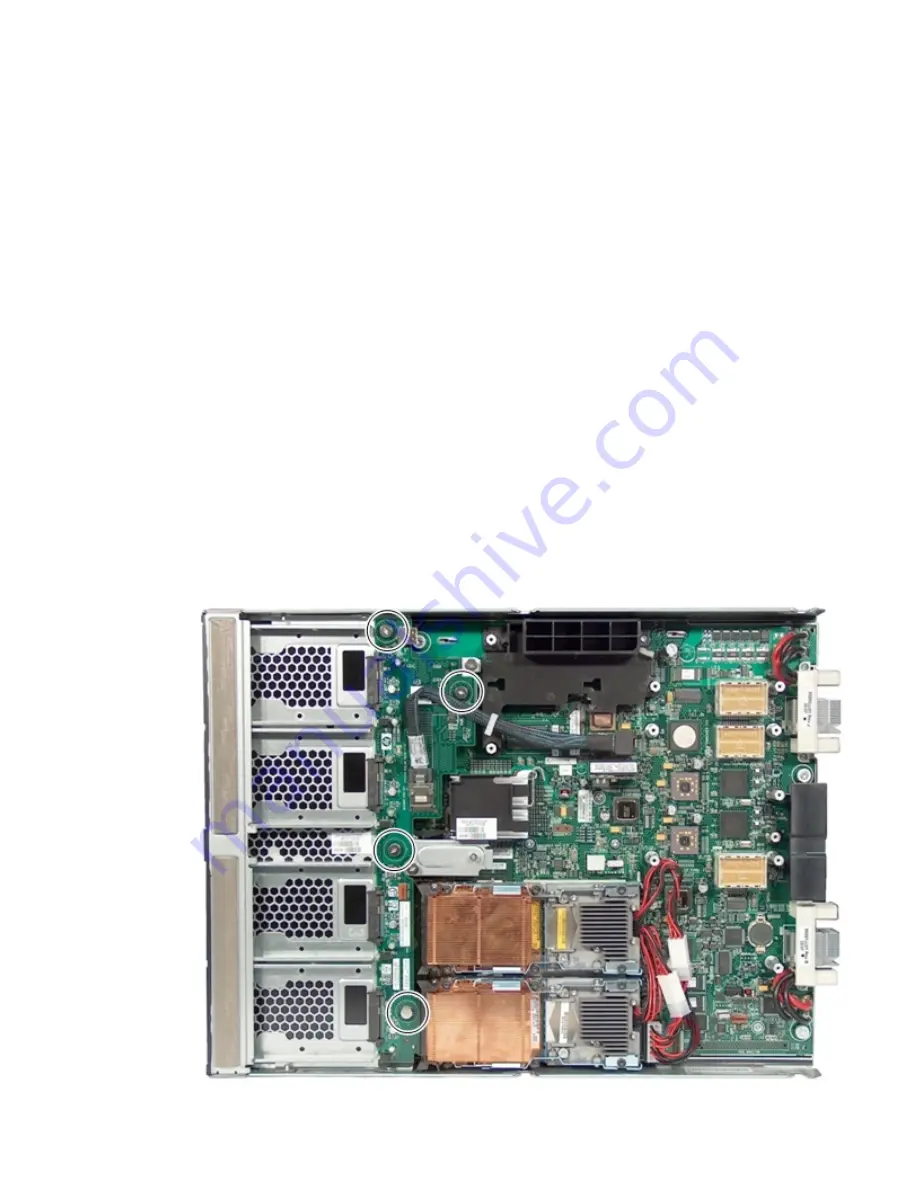
Loosen the four captive thumbscrews that hold the SAS backplane to the system board.
See
Figure 56 (page 129)
for the thumbscrew locations.
6.
Lift the SAS backplane out of the server blade.
Figure 56 Removing the SAS Backplane
Removing and Replacing the SAS Backplane
129


