Installing a redundant hot-plug power supply
Installing a redundant hot-plug power supply
Prerequisites
Prerequisites
Before installing this option, be sure you have the following:
The components included with the hardware option kit
Procedure
Procedure
1. Observe the following alerts:
CAUTION:
CAUTION: All power supplies installed in the server must have the same output power capacity. Verify that all
power supplies have the same part number and label color. The system becomes unstable and may shut down when
it detects mismatched power supplies.
CAUTION:
CAUTION: To prevent improper cooling and thermal damage, do not operate the server unless all bays are
populated with either a component or a blank.
2. Access the product rear panel ( Release the cable management arm ).
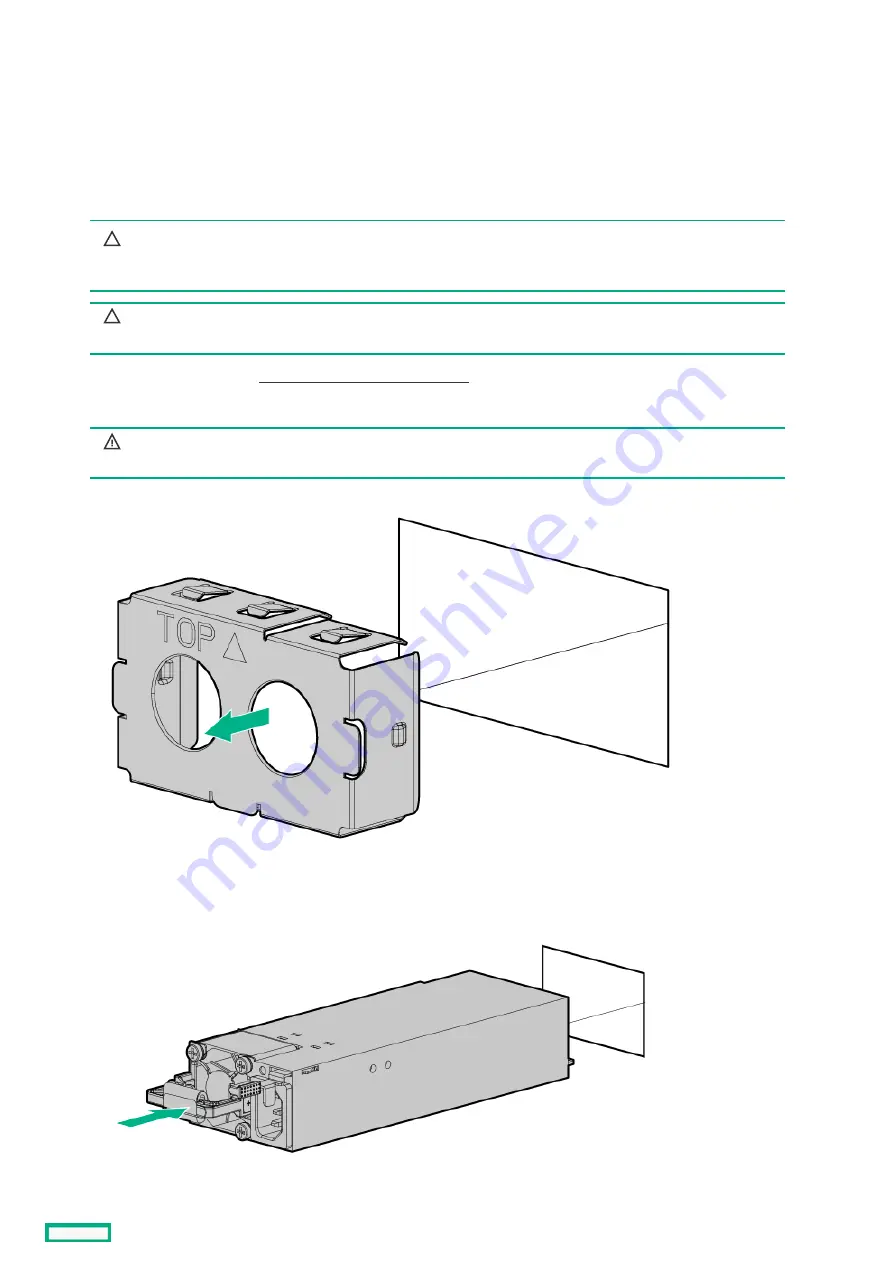
3. Remove the blank.
WARNING:
WARNING: To reduce the risk of personal injury from hot surfaces, allow the power supply or
power supply blank to cool before touching it.
4. Insert the power supply into the power supply bay until it clicks into place.
5. Connect the power cord to the power supply.
Installing a redundant hot-plug power supply
65
Summary of Contents for HPE ProLiant DL365 Gen10 Plus Server
Page 7: ...10 5 Regulatory information 10 6 Documentation feedback ...
Page 8: ...Component identification Component identification 8 ...
Page 24: ...Device numbers 8 SFF device bay numbering 8 SFF 2 SFF device bay numbering Device numbers 24 ...
Page 25: ...Drives Drives 25 ...
Page 29: ...Fan bay numbering Fan bay numbering 29 ...
Page 30: ...Operations Operations 30 ...
Page 45: ...Setup Setup 45 ...
Page 62: ...Hardware options installation Hardware options installation 62 ...
Page 78: ...Installing an 8 SFF optical drive 78 ...
Page 79: ...Universal media bay options Universal media bay options 79 ...
Page 97: ...Secondary PCI riser options Secondary PCI riser options 97 ...
Page 104: ...Full length Installing an expansion board in the secondary riser cage 104 ...
Page 118: ...Installing an HPE Smart Array P816i a SR Gen10 Controller option 118 ...
Page 119: ...Processor and heatsink options Processor and heatsink options 119 ...
Page 147: ...Installing the Trusted Platform Module board Installing the Trusted Platform Module board 147 ...
Page 156: ...Software and configuration utilities Software and configuration utilities 156 ...
Page 185: ...Keeping the system current Keeping the system current 185 ...
Page 198: ...Troubleshooting Troubleshooting 198 ...
Page 200: ...Cabling Cabling 200 ...
Page 217: ...Support and other resources Support and other resources 217 ...


