HP Data Vault User's Guide
Note
The location for the backup is on the server at \\hpstorage\Mac\Backup. If the Mac shared folder
has been deleted from the server , you must create it. At a PC, double-click the Windows Home
Server icon
in the system tray and log on. Or at a Mac, select
Launch Home Server Console
from the
Server
menu
. Click the
Shared Folders
tab and
Add
a shared folder named
Mac
.
4.
Click
Apply
.
This process can take quite some time based on the size of the backup disk and server activity.
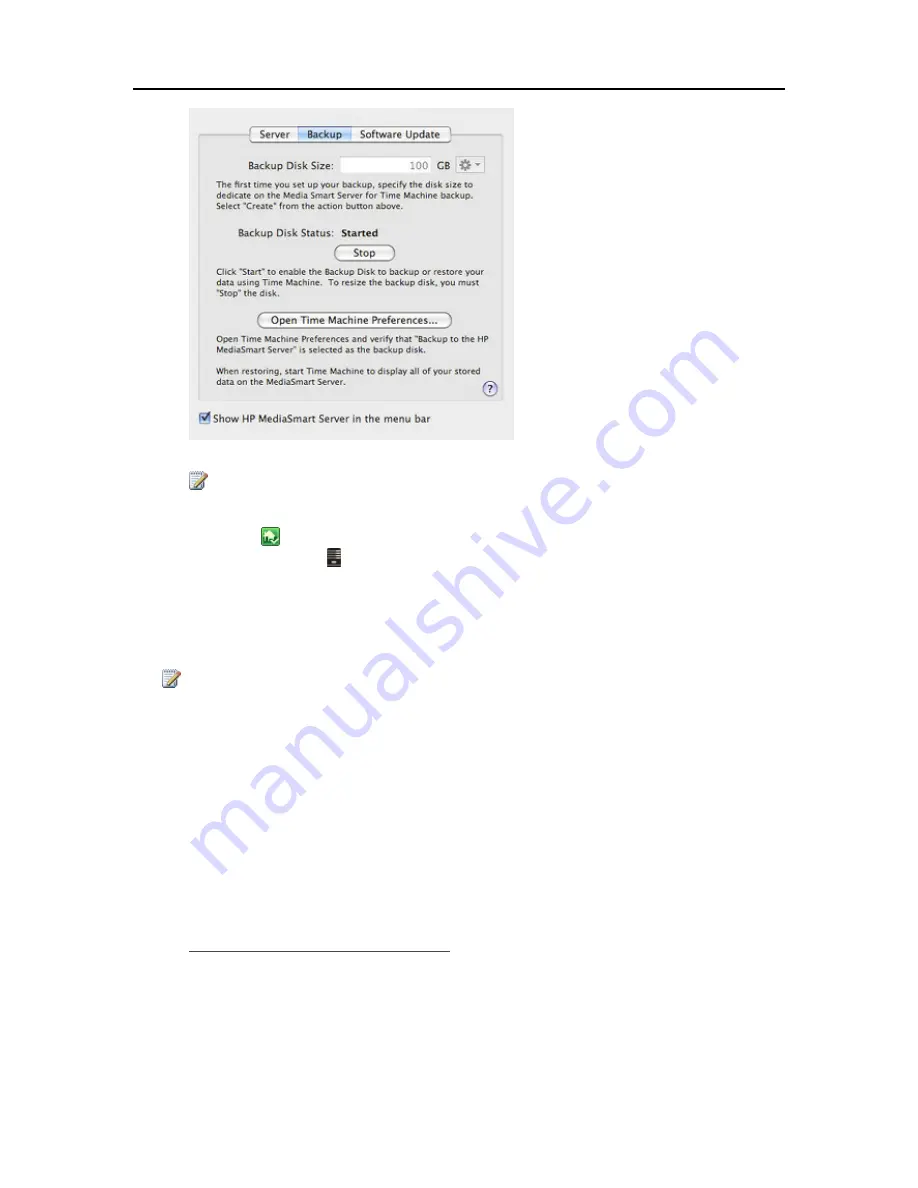
Once the formatting process is complete, the Backup Disk Status changes to
Started
.
Note
The backup file will be located at \\<server name>\Mac\Backup. The file name is based on the
serial number of the Mac system, and cannot be changed. Do not manually delete or rename this
file.
5.
Click
Open Time Machine Preferences
, click
Choose Backup Disk
and select
Backup to HP
Data Vault
as the backup disk.
Backup to HP Data Vault
may already be selected. You may have to change the backup location
to the HP Data Vault if you had a previous Time Machine backup that pointed to a different
location.
Change the Backup Disk Size
1.
From the HP Data Vault menu, select
Open Preferences
.
2.
Click the
Backup
tab.
62
Summary of Contents for Data Vault
Page 1: ...HP Data Vault User s Guide ...
Page 2: ......
Page 24: ...HP Data Vault User s Guide 2 On the Personal Firewall page click Add 18 ...
Page 60: ......
Page 94: ......
Page 108: ......
Page 143: ...Media Streaming Media Player From the down the Player shows these features 137 ...
Page 156: ...HP Data Vault User s Guide 150 ...
Page 180: ...HP Data Vault User s Guide 174 ...
Page 185: ...HP Photo Publisher and HP Photo Viewer 6 Choose the album to add photos to 179 ...
Page 186: ...HP Data Vault User s Guide 7 Select photos and click Finish 180 ...
Page 187: ...HP Photo Publisher and HP Photo Viewer 8 Select the photo album to view 181 ...
Page 189: ...HP Photo Publisher and HP Photo Viewer 3 Choose the album to add photos to 183 ...
Page 190: ...HP Data Vault User s Guide 4 Select photos and click Finish 184 ...
Page 204: ...HP Data Vault User s Guide 198 ...
Page 207: ...HP Photo Publisher and HP Photo Viewer 201 ...
Page 208: ......
Page 224: ......
Page 240: ......
Page 259: ...Network and Firewall 2 On the Personal Firewall page click Add 253 ...
Page 262: ......
Page 272: ......
Page 288: ......
Page 318: ......


