2 - 5
Selecting Programs
Tapping Start opens the drop-down menu, which provides access to the most common system functions
and programs. To open a program, tap
Start
>
Programs
. Then, tap the program icon on the menu.
Using the Stylus
The terminal comes with a stylus inserted into the
Stylus Slot
(see page 3-10), Use this stylus (or your
finger) to select or enter information on the touch screen. The stylus functions as a mouse; generally, a
tap is the same as a click.
Tap
Tap the touch screen once to open menu items and select options.
Drag
Hold the stylus on the screen and drag across the screen to select text and images.
Tap & hold
Tap and hold the stylus on an item and a pop-up menu appears. On the pop-up menu, tap
the action of the task you want to perform.
Use of other objects other than the stylus, such as paper clips, pencils, or ink pens can damage the touch
screen and may cause damage not covered by the warranty.
For more information about the touch screen, see
Touch Screen Display
on page
3-4.
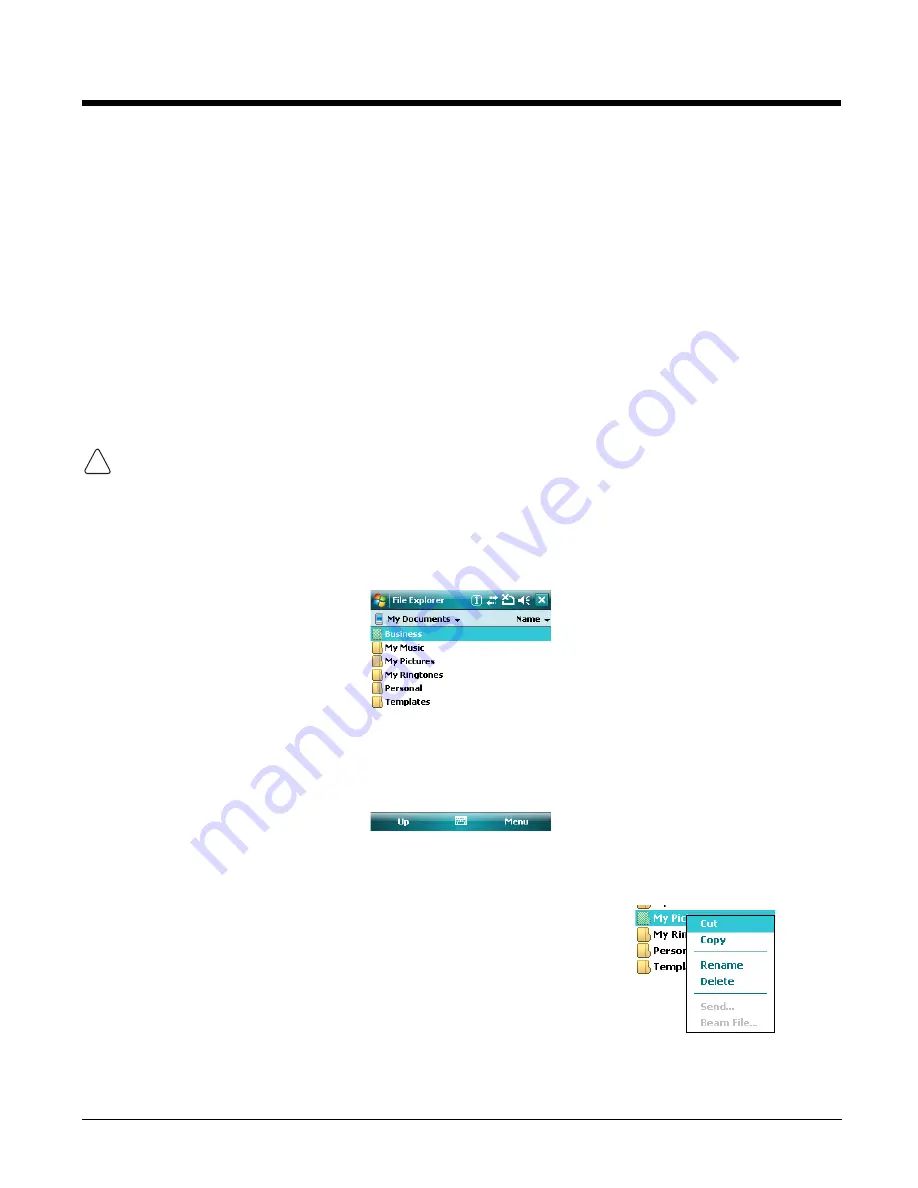
Using File Explorer
Use File Explorer to navigate through the files on your terminal. Tap
Start
>
Programs
>
File Explorer
.
Move files by tapping and holding on the file, then tapping
Cut
,
Copy
or
Paste
on the pop-up menus that
appear.
Pop-Up Menus
With pop-up menus, you can quickly choose an action for an item.
1.
Tap and hold the stylus on the item name. The pop-up menu appears.
2.
Lift the stylus, and tap the action you want to perform.
Note: The contents of pop-up menus change according to the program you’re in.
!
Summary of Contents for 7600BP-112-B6EE - Hand Held Products Dolphin 7600
Page 1: ...Dolphin 7600 Mobile Computer with Windows Mobile 6 User s Guide ...
Page 8: ...viii ...
Page 18: ...2 6 ...
Page 53: ...4 9 Red 9 F9 Red 0 F10 Key Combination Function ...
Page 57: ...4 13 Special Functions Key Character A Volume up F Volume down E SP ...
Page 58: ...4 14 ...
Page 64: ...5 6 ...
Page 80: ...6 16 ...
Page 104: ...8 12 ...
Page 116: ...10 4 ...
Page 124: ...11 8 ...
Page 134: ...13 4 Then you attach the rest of the RAM mount Then fasten the RAM mount to a stable surface ...
Page 143: ......


