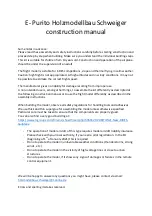
4
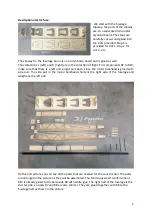
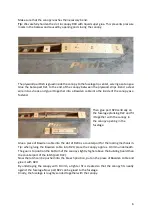
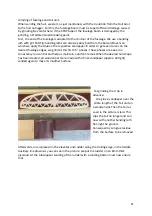
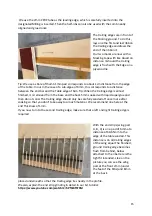
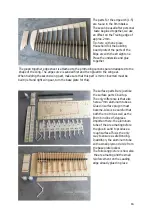
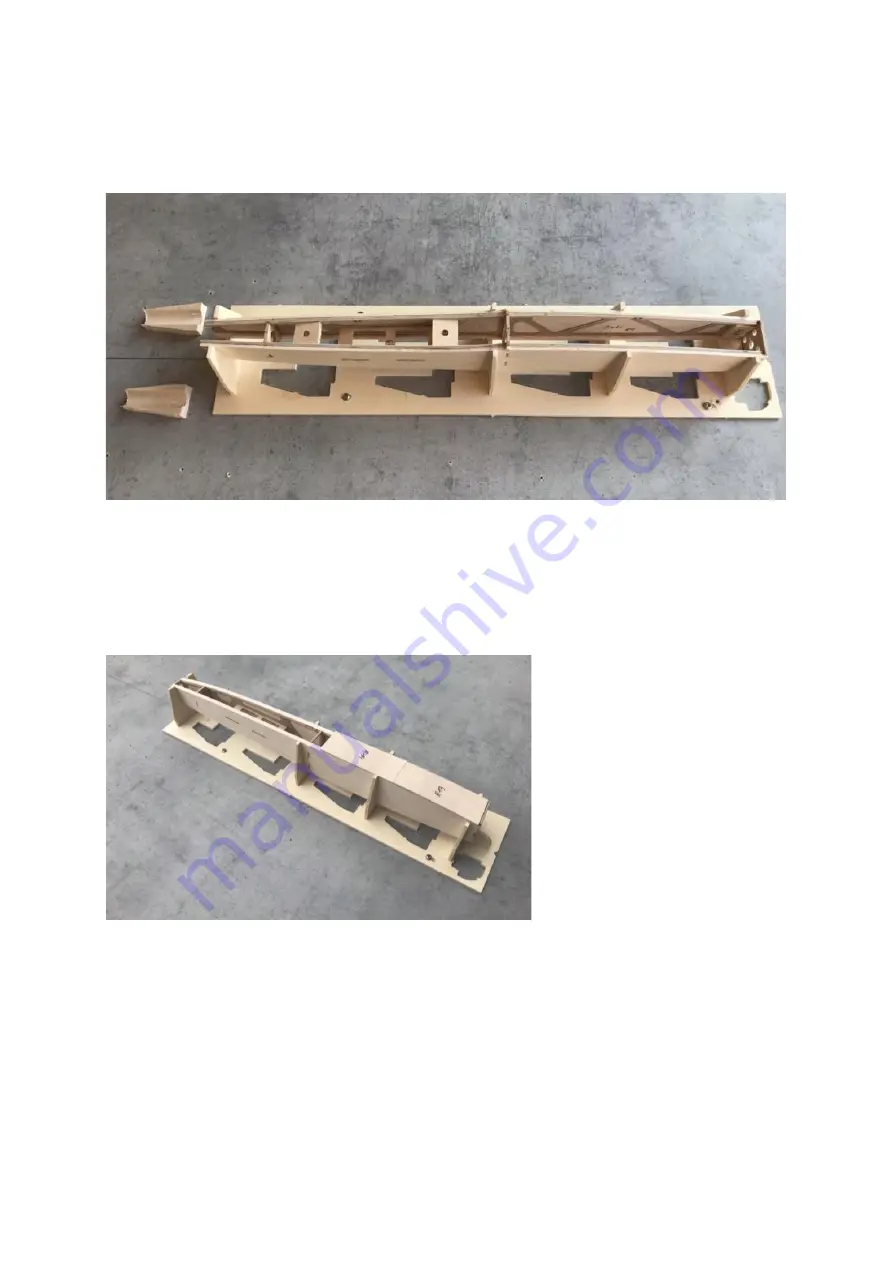
Now the fuselage can be test-fitted together.
The fuselage sides are assembled with all formers and the wing bolting and plugged into the
fuselage slipway.
Tip
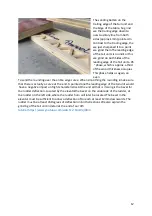
: We screw the fuselage slipway to our building board!
This ensures that it lies cleanly and the hull can be built up without distortion.
When all parts fit together properly in the slipway, they can be glued. Important here: frame
R4 must not be glued yet. In the same way, the parts of the wing bolts R11 and R12 are only
inserted into the slots provided for them, but not glued yet.
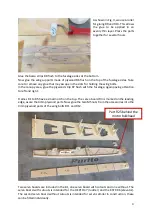
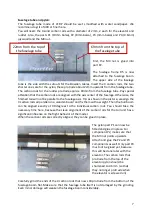
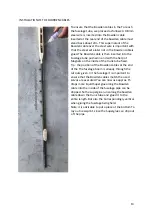
Now the hull boat can be taken
out of the slipway and inserted
with the bottom side facing
upwards.
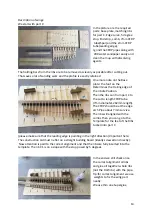
This is followed by the lower
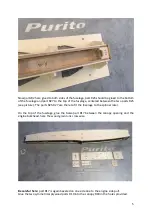
fuselage planking. We start with
part R13, which is glued to the
front of the fuselage (at the
motor bulkhead). Important
here: part R13 is slightly beveled
on one face due to the side draft.
Therefore, make sure that the
slanted side matches the motor bulkhead. Then parts R14 to R16a can be glued in place. For
part R16a, make sure that the fuselage bulkhead R5 is not glued down.

