17
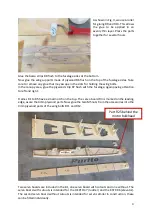
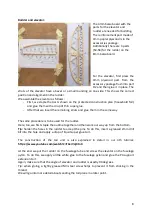
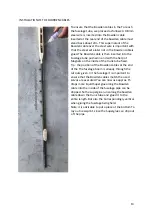
Be careful here: the leading edge
in Part A and B are 2.5 mm
thick.(In contrast to Part C: here
they are only 2mm thick).
The wing part B is also again on
the leading edge 2mm
(under the feet of the Ribs) and
on the trailing edge with 8mm
underlaid. Thus can the trailing
edge free of distortion be glued
on. At the end will still be the
great reinforcement between the
rib B1 and B4 glued in.
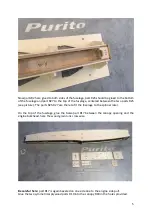
The reinforcements are made of 3mm poplar plywood.These reinforcements will help us
later to cover the wing without distortion.
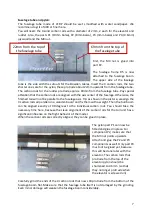
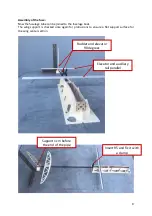
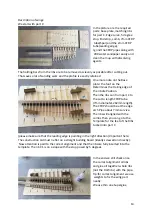
Area part A: All ribs are carefully separated from the building board and cleaned. We start
in the Middle with the ribs A1 (2mm plywood). These are placed on the CFRP pipe that has
been cut to length (12mm diameter, 695mm length) threaded. This is followed by the
remaining ribs of the Designation according to. All ribs are inserted into the A25 together
with the two end ribs Stencil inserted.
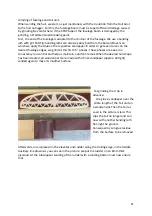
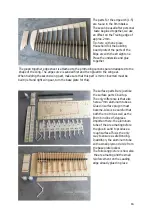
Tip : take enough Time for so
many Ribs, these too clean with
the combs on the Align the base
plate. The End ribs A25 need
again with the template 5
degrees at an angle.
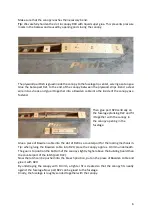
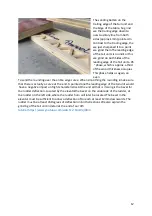
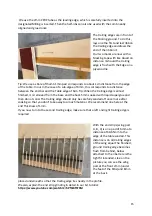
The distance between the two
ribs A1 in the middlei s greater
as the distance between the
remaining ribs. This fits not even
the comb in these Gap. To the
ribs therefore is a 90 degree
angle to each other
to align, we clamp the lining to the surface screw connection A2V (8mm Balsa board)
with the help of a clamp between the ribs. Thus are the two ribs fixed vertically

