❏ ❏
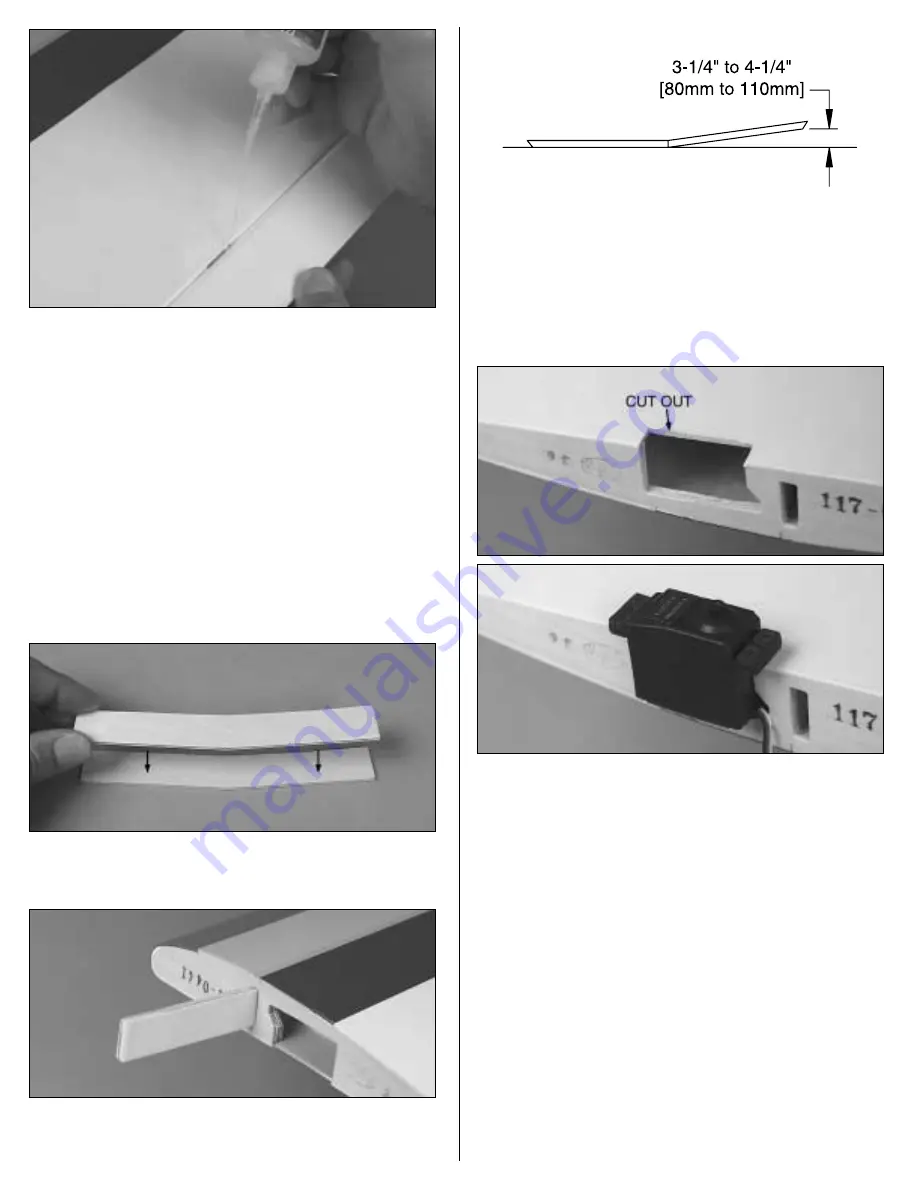
9. Position the aileron so there is a small gap between
the aileron and the wing–just enough to see light through or to
slip a piece of paper through. Add six drops of thin CA to the
top of each hinge. Wait a few seconds between drops to allow
the CA to fully soak in so it does not get into the gap. After
gluing the tops of all the hinges, flip the wing over and add six
drops of CA to the bottom of each hinge. Keep the paper towel
squares close by to absorb excess CA that doesn’t get into the
hinges.
❏
10. Return to step 1 and hinge the left wing the same way.
Join the Wing Halves
❏
1. Use epoxy to securely glue together both 1/8" [3mm]
plywood wing joiners. Clamp the joiners together and wipe
away excess epoxy that squeezes out.
❏
2. After the epoxy from the previous step has hardened, test
fit the joiner in one, then the other wing half. Test join the wings
with the joiner.
❏
3. Lay one wing panel flat on your workbench. Measure the
distance between the bottom of the raised end of the wing and
the workbench. The measurement should be 3-1/4" to 4-1/4"
[80mm to 110mm].
❏
4. Separate the wings. Cut out the sheeting so the servo can
go half-way in. If necessary, enlarge the cutout in the rib so the
servo will fit. Prepare the other wing half the same way.
❏
5. Mix up 1/2 oz. [15ml] of 30-minute epoxy. Working quickly,
pour a generous amount into one of the wing halves where the
joiner goes. Use a piece of stiff wire or something similar to
spread the epoxy all around the inside to coat all the surfaces.
Thoroughly coat one half of the joiner with epoxy as well. Insert
the coated end of the joiner into the wing. Coat the rib on the
end of the wing with epoxy (an epoxy brush works well for this).
❏
6. Use the remainder of the epoxy to coat the protruding end
of the joiner and the inside of the opening in the other wing half.
Join the wings and use your paper towel squares to wipe away
excess epoxy as it squeezes out.
7


