❏
4. If you are not able to achieve these settings, more or less
movement may be required from the throttle pushrod. The
same as the control surface throws, this is done by relocating
the screw-lock pushrod connector on the servo arm to another
hole, or by relocating the clevis on the carburetor arm to the
other hole.
❏
5. Install the muffler if you have not yet done so.
❏
6. Connect the fuel lines. If your tank was assembled as
shown in the photo on page 12, the fitting coming from the left
side of the fuel tank goes to the muffler (pressure line) and the
other fitting goes to the carburetor (fuel line) or to the needle
valve if you have a remote needle such as on the O.S.
®
MAX
LA .40 shown.
❏
7. Insert and tighten the screws that hold the servo
arms on all four servos. Install a silicone retainer on the
clevises on the elevator and rudder servo arms and on the aileron
torque rod horns.
Identify Your Model
Whether you fly at an R/C club site or somewhere on your own,
you should have your name, telephone number, address and
AMA number on or in your model so it can be identified and
returned in case it lands somewhere away from the flying site.
Fill out the I.D. tag on page 23 and use spray adhesive or tape
to attach it inside the fuselage.
Check the Ground Stance
Place the model on your workbench and view it from the side.
In order to taxi, takeoff and land well, the model must sit level
on the landing gear as shown. If the model does not sit level,
or, if after a hard landing the main landing gear has bent
upward, remove the main landing gear and use a bench vise
or pliers to bend it back down to achieve the correct ground
stance. If
(when) you bend the nose gear, it should be bent
back to its original position as well.
Balance the Model
This important step is also referred to as “checking the C.G.”
(center of gravity). Simply stated, the
center of gravity is the
point at which the model balances when lifted under the wing.
If the C.G. is too far forward, the model will be “nose-heavy”
and could be difficult to takeoff and land and lose some of its
self-correcting tendencies. If the C.G. is too far aft, the model
will be “tail-heavy” and the controls may be too sensitive,
making the model too difficult to control–especially for an
inexperienced pilot! DO NOT DISREGARD THIS STEP! Follow
the instructions to balance the model correctly, thus giving you
the greatest chances for success!
❏
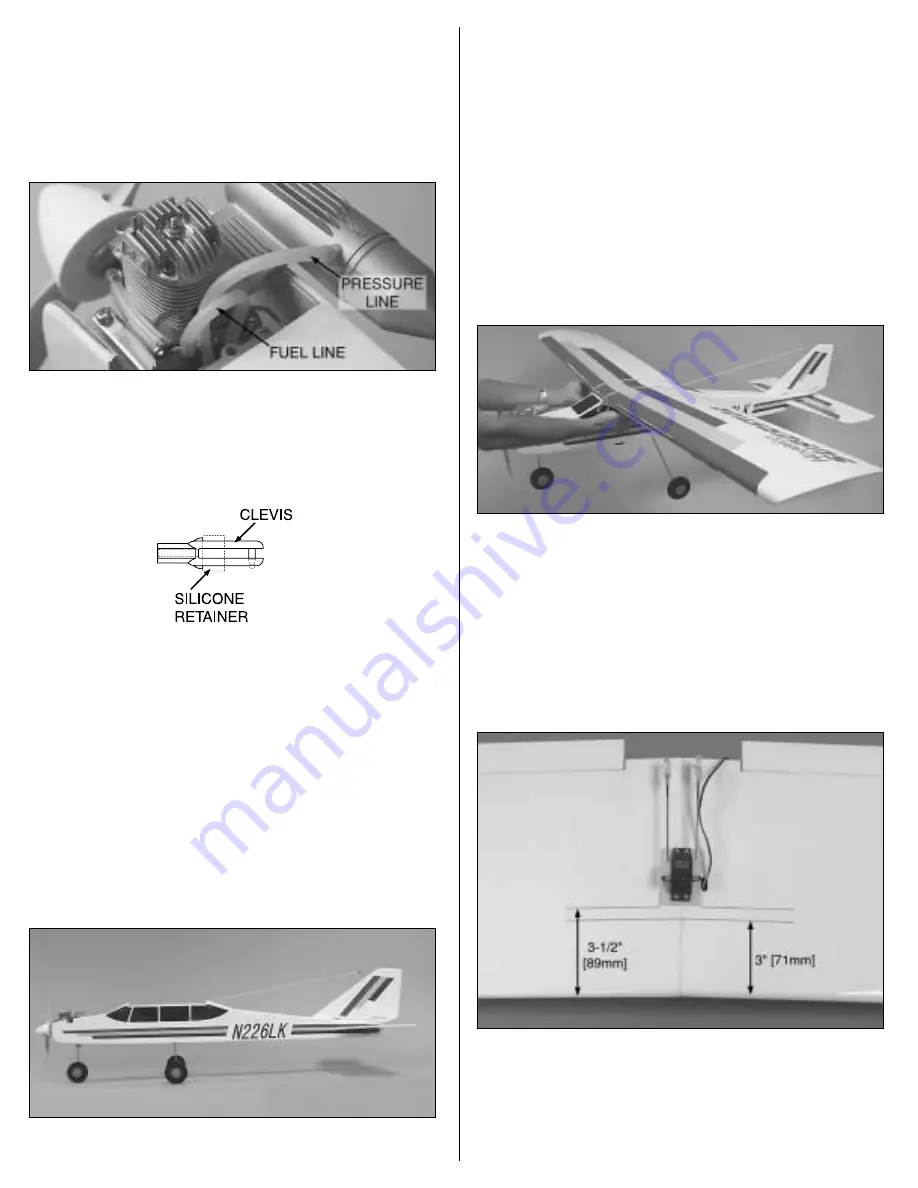
1. Use narrow tape or a felt-tip pen to mark two lines on the
bottom of the wing 3" [71mm] and 3-1/2" [89mm] from the
leading edge.
❏
2. Make certain the model is in “ready-to-fly” condition with
all components mounted and installed (propeller, spinner,
landing gear, etc.). The fuel tank must be empty.
19


