background image

by the model and tell you what the controls are doing to confirm
that they operate correctly. You should be able to walk
approximately 100 feet from the model and still have control
without any “glitching” or inadvertent servo operation.

2. If everything operates correctly, return to the model and start
the engine. Perform the range check with your assistant holding
the plane with the engine running at various speeds. If the
servos chatter or move inadvertently, there may be a problem.
Do not fly the plane! With the assistance of your instructor,
look for loose servo connections or binding pushrods. Also be
certain you are the only one on your frequency, and that the
battery has been fully charged.

Keep all engine fuel in a safe place, away from high heat,
sparks or flames, as fuel is very flammable. Do not smoke near
the engine or fuel; and remember that engine exhaust gives off
a great deal of deadly carbon monoxide. Therefore, do not run
the engine in a closed room or garage
.

Get help from an experienced pilot when learning to operate
engines.

Use safety glasses when starting or running engines.

Do not run the engine in an area of loose gravel or sand; the
propeller may throw such material in your face or eyes.

Keep your face and body as well as all spectators away from
the plane of rotation of the propeller as you start and run the
engine.

Keep these items away from the prop: loose clothing, shirt
sleeves, ties, scarfs, long hair or loose objects such as pencils
or screwdrivers that may fall out of shirt or jacket pockets into
the prop.

Use a “chicken stick” or electric starter to start the engine. Do
not use your fingers to flip the propeller. Make certain the glow
plug clip or connector is secure so that it will not pop off or
otherwise get into the running propeller.

Make all engine adjustments from behind the rotating propeller.

The engine gets hot! Do not touch it during or right after
operation. Make sure fuel lines are in good condition so fuel will
not leak onto a hot engine, causing a fire.

To stop a glow engine, cut off the fuel supply by closing off the
fuel line or following the engine manufacturer’s recommendations.
Do not use hands, fingers or any other body part to try to
stop the engine. Do not throw anything into the propeller of a
running engine.

The following flying instructions are in no way an endorsement
for learning to fly on your own, but are printed so you can know
what to expect and what to concentrate on while learning under
the tutelage of your instructor. Further, these flight instructions
may be referenced once you begin flying on your own.

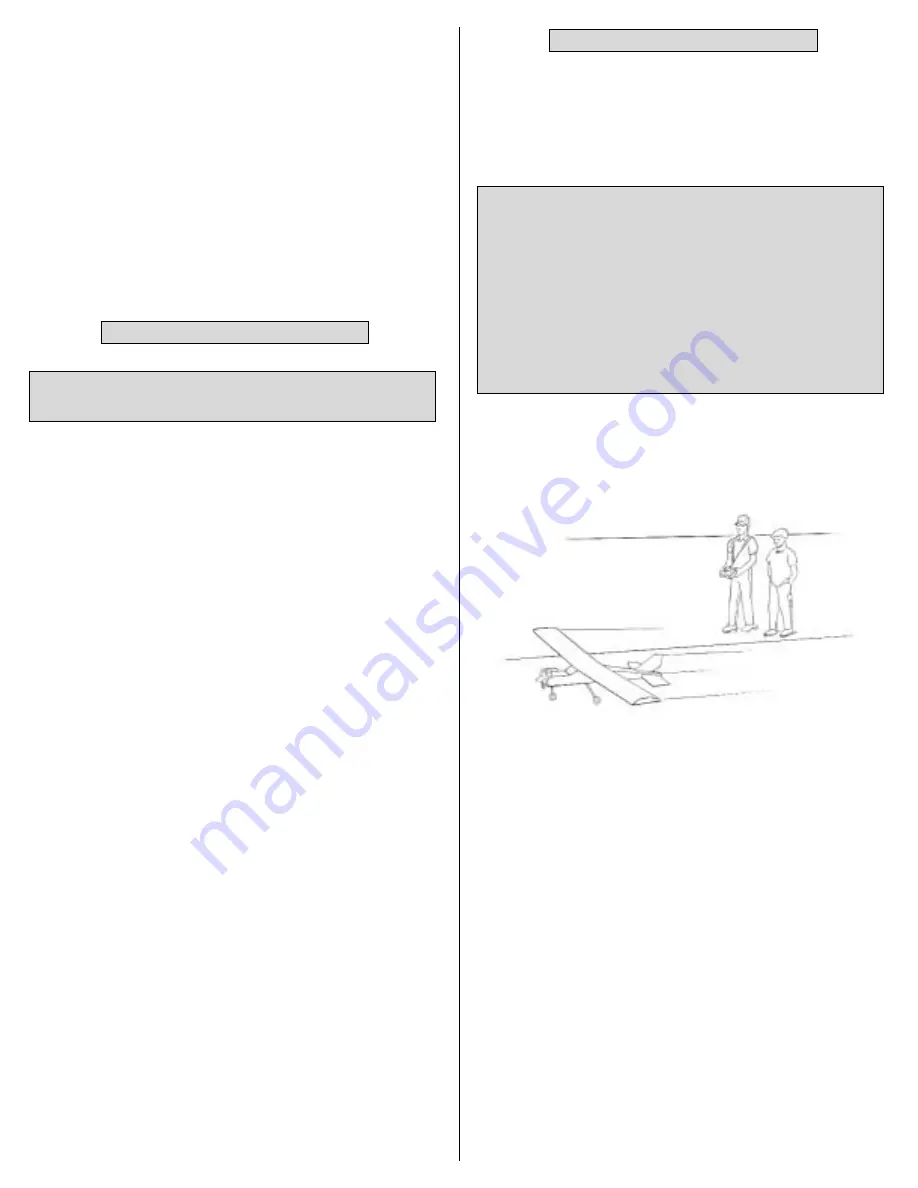
Taxiing

Remember, it is assumed that your instructor is operating
the model for you.

Takeoff
If possible, takeoff directly into the wind. If you are experienced,
taking off in a crosswind is permissible (and sometimes
necessary–depending upon the prevailing wind conditions and
runway heading). Taking off into the wind will help the model roll
straight and also reduces ground speed for takeoff. Taxi the
model onto the runway or have an assistant carry it out and set
it down pointing down the runway into the wind. When ready,
gradually advance the throttle while simultaneously using the
left stick (rudder/nose wheel) to steer the model. Gain as much
speed as the runway and flying site will practically allow before
gently applying up elevator, lifting the model into the air. Be
ready to make immediate corrections with the ailerons to keep
the wings level, and be smooth on the elevator stick, allowing
the model to establish a gentle climb to a safe altitude before
making the first turn (away from yourself). Do not “yank” back
the elevator stick forcing the plane into too steep of a climb
which could cause the model to stall and quit flying.

Flight 
Once airborne, maintain a steady climb and make the initial
turn away from the runway. When at a comfortable, safe altitude

IMPORTANT: If you do insist on flying on your own, you
must be aware of your proximity to R/C club sites. If there is
an R/C site within six miles of where you are flying, and if
you are operating your model on the same frequency at the
same time as somebody else, there is a strong possibility
that one or both models will crash due to radio interference.
There is great potential for an out-of-control model to cause
property damage and/or severe personal injury. We
strongly urge you to fly at a R/C club site where frequency
control is in effect so you can be assured you will be the only
one flying on your channel.

Flying

Failure to follow these safety precautions may result in
severe injury to yourself and others.

Engine Safety Precautions

22

Summary of Contents for Superstar 40 ARF

Page 1: ...anty without notice In that Hobbico has no control over the final assembly or material used for final assembly no liability shall be assumed nor accepted for any damage resulting from the use by the u...

Page 2: ...ify the model as doing so may result in an unsafe or unflyable model In a few cases the instructions may differ slightly from drawings or sketches In those instances the written instructions should be...

Page 3: ...right away Activator also known as accelerator is usually sprayed out of a small bottle One accessory recommended for applying CA is CA Applicator Tips HCAR3780 These small tips fit on the top of the...

Page 4: ...heir equipment but eventually you ll want to get your own Some of the items are photographed or listed on the side of the kit box cover Additionally a field box will be required to carry the equipment...

Page 5: ...leron torque rods 2 3 16 Gray pushrod tubes elevator rudder throttle antenna guide 5 Silicone retainers for clevises 7 6 32 x 1 8 Socket set screws 6 wheel collars 1 nose gear collar 1 6 32 x 1 4 Sock...

Page 6: ...ng and take out the hinges Cut a small strip of covering from the hinge slots in the aileron and the wing between the slits you cut Hint Use a small metal straightedge as a cutting guide 6 Lay a few p...

Page 7: ...ings with the joiner 3 Lay one wing panel flat on your workbench Measure the distance between the bottom of the raised end of the wing and the workbench The measurement should be 3 1 4 to 4 1 4 80mm t...

Page 8: ...ms off a four arm servo arm Install the arm on the aileron servo 4 Drill 1 16 1 6mm holes through the servo mount for the servo mounting screws then temporarily mount the servo using the eyelets rubbe...

Page 9: ...both main landing gear wires 2 Mount the wheels to the landing gear with a 5 32 wheel collar on both sides of each wheel Add a small drop of non permanent thread locking compound such as Great Planes...

Page 10: ...e Center the mark on the aft end of the fuselage then stick a pin through the fuselage and the stab to hold it in position 4 Use a fine point felt tip pen to mark both ends of the stab where the leadi...

Page 11: ...ely after inserting the fin and before the epoxy hardens use a builder s triangle to make certain the fin is perpendicular to the stab If it is not use masking tape to pull the fin to one side or the...

Page 12: ...her tube with the silicone tube that came in the tank Note that the silicone tube must be cut to the correct length so that when the tank is assembled the clunk does not contact the back of the tank O...

Page 13: ...should be long enough to accommodate the tubes at a small angle as shown in the sketch above 3 Guide the tubes through the holes up through the fuselage into the radio compartment 4 Fit the tubes thr...

Page 14: ...s in the control horn as a template drill 3 32 2 4mm holes through the rudder for mounting the horn Mount the horn with two 2 56 x 1 2 13mm screws and the mounting plate 12 Mount the elevator control...

Page 15: ...is large enough to allow the switch to fully turn on and off If necessary enlarge the opening 2 Connect the switch to the receiver and battery already mounted in the fuselage 3 Cut a piece of leftover...

Page 16: ...nd tighten any screws you may have removed from the servo arms 4 Move the right control stick on the transmitter to the right as shown in the diagram Observe the ailerons The right aileron should move...

Page 17: ...own in the Control Throws Chart on the next page the elevator should move up 1 2 13mm Measure the distance the elevator moves down 4 If the elevator moves up 1 2 13mm and down 1 2 13mm the elevator th...

Page 18: ...you for landing When after landing it is time to shut the engine off move the trim lever down to fully close the carburetor Here s how to set up the carburetor 1 With the transmitter and receiver on...

Page 19: ...age Check the Ground Stance Place the model on your workbench and view it from the side In order to taxi takeoff and land well the model must sit level on the landing gear as shown If the model does n...

Page 20: ...n t already done so refer to the instruction manual that came with your radio control system and charge the batteries in the plane and in the transmitter This should always be done overnight the night...

Page 21: ...ht of a new model It is not necessary to do a range check before every flight but is not a bad idea to perform a range check before the first flight of each day A range check is the final opportunity...

Page 22: ...op the engine Do not throw anything into the propeller of a running engine The following flying instructions are in no way an endorsement for learning to fly on your own but are printed so you can kno...

Page 23: ...er flying for the day use your fuel pump to drain excess fuel from the tank 2 Purchase spare 64 rubber bands for the wing HCAQ2020 1 4 lb box Do not reuse torn or oily rubber bands After flying remove...

Page 24: ...____________ Where Purchased _________________________ Date Construction Started __________________ Date Construction Finished _________________ Finished Weight __________________________ Date of Firs...

Reviews: