end of the channel. Square battery packs fit
nicely but most flat packs will also fit. Just
tape them flat onto the channel. The battery
should protrude approximately 1/8" past the
end of the channel to keep the fuel tank from
rubbing against the end of the channel.
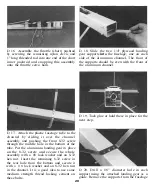
D 4. Use a small piece of coarse sandpaper
to scuff up the inner floor of the aluminum
channel in the area around the front 11/64"
bolt hole.
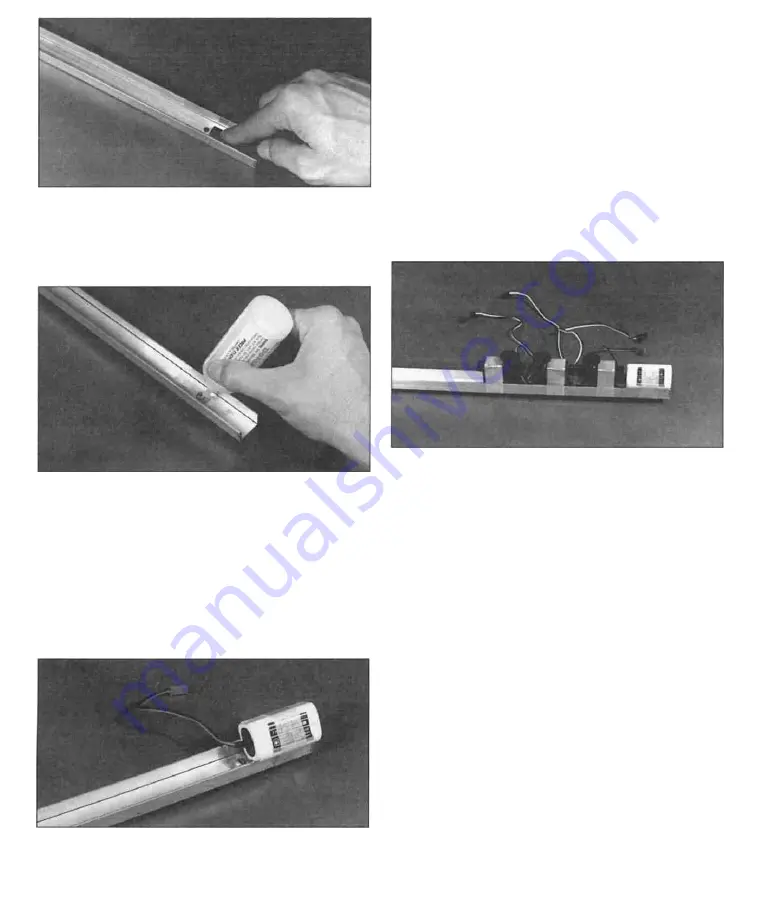
D 5. Insert one of the 8-32 x 1/2" machine
screws into the hole so that it sticks out the
bottom of the channel and glue it in place
with plenty of thick C A or epoxy. This screw
w i l l be covered by the b a t t e r y pack,
prohibiting a screwdriver from being used to
keep it from turning. Glue it securely, but be
careful not to get any glue on the threads.
D 6. Use some nylon reinforced strapping tape
to securely hold the battery pack on the front
D 7. The servos are "press fit" into the
aluminum channel and then held in place with
nylon strapping tape. Standard size servos
should fit very nicely and smaller servos can be
held in place by using a piece of wood to fill the
space between the servo sides and the channel.
Large servos will not work in the STURDY
BIRDY II. The servos should be placed as far
forward in the channel as possible and right
next to each other, but do not overlap the servo
mounting lugs. The front two servos should be
mounted with their servo output shafts
towards the back of the plane and the back
servo should have its output shaft towards the
front of the plane. The servo wires should be
routed out to the side of the servo without
going under any servos. Wrap two layers of
nylon strapping tape all the way around each
servo and the aluminum channel to hold it in
place. Hook up the entire radio system and
turn it on (see the instructions included with
your radio). Adjust the transmitter trims so
they are in the middle of their slots.
17

