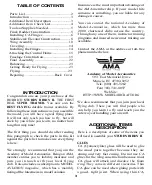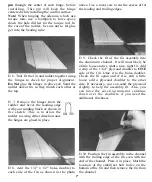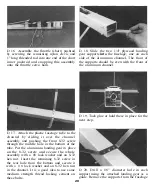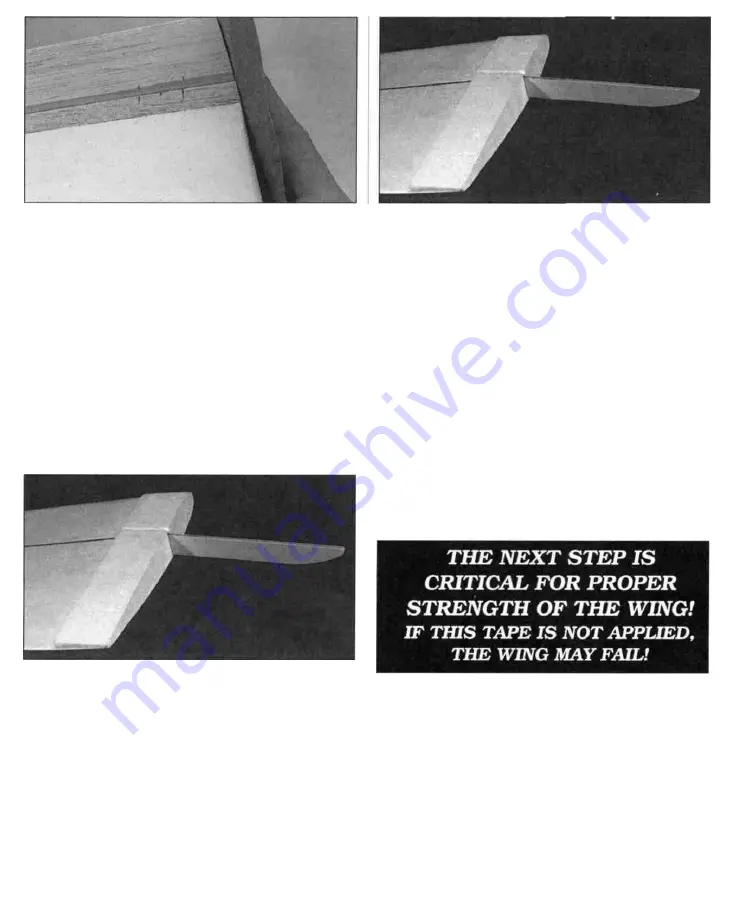
D 10. Insert the hinges into the slots and
trial fit the ailerons in place on the wing. Do
not glue the hinges until after you have
covered the wing. Sand the outboard edge of
the sub trailing edges and the ailerons to
match the foam wing tips.
JOIN THE WING PANELS
D 1. Use a sanding block with some fine grit
sandpaper (240 - 320 grit) to remove the little
nubs and any mold lines left on the wing
from the molding process.
D 2. Test fit the 1/8" plywood dihedral joiner
in the slots in the wing to make sure it fits
nicely. Mix up about 1/2 oz. of epoxy and
spread it throughout the slot in one wing
panel. With the wing panel upside down,
insert the joiner in place and squeeze out all
the excess epoxy so that the joiner is flush
with the bottom of the wing (which is facing
up). Try to use enough epoxy so that the slot
is completely full and level with the surface of
the wing.
D 3. Lay some wax paper down on the work
surface and mix up one ounce of epoxy.
Spread the epoxy throughout the slot and on
the root (middle end) of the other wing panel.
Slide the two wing panels together and line
them up as close as possible. Use several
T-pins and masking tape to help hold them in
alignment. Flip the wing assembly over so that
the bottom of the wings are facing up and
make sure that the joiner is seated properly in
the slot. Wipe off any excess epoxy before it
starts to cure. It is important that the wings
are joined with both panels being accurately
aligned with each other.
D 4. Allow the epoxy from the last step to
fully cure.
Note: The tape used in this step is 3/4" wide
nylon filament reinforcing tape. This is
self-adhesive tape with nylon filaments
running the length of the tape. It is also
referred to as "nylon filament strapping tape,"
or "nylon reinforced packaging tape." You can
obtain it at any store that sells stationery and
packaging materials or at most hardware
stores. Be sure to use 3/4" wide tape.
Narrower tape will not provide the wing with
12


