STABILIZER PREPARATION
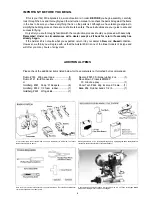
Locate the horizontal stabilizer Slide the stabilizer into the slot prepared in the
previous section Position the stabilizer so that it is centered in the fuselage and
that the trailing edge of the elevator is 90 to the center line of the fuselage
Insert a pin through a piece of string and attach the pin to the fuselage on the
center line as shown Stretch the string to the corner of the elevator The
distance from the pin to the corner must be equal on both sides This method
will adjust the stabilizer so it is 90° to the center line of the fuselage
INSTALLATION OF
HORIZONTAL STABILIZER
IMPORTANT: This next series of steps will determine how
well your Avistar 40 will fly So please read and reread these
steps so that you are totally familier with its sequence
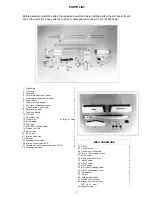
Using wing saddle tape apply a strip to the wing saddle area as shown
Mark on the stabilizer where the fuselage and the stabilizer touch Do this on the
top and the bottom of the stabilizer Remove the covering in between the two
lines This will allow a more secure glue joint when the stabilizer is epoxyed later
Do not cut the balsa wood under the covering
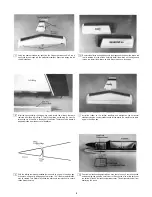
Using four rubber bands (#64) temporarily secure the wing to the fuselage This
becomes your basic reference point
Locate the vertical stabilizer Remove the covering on both sides as shown
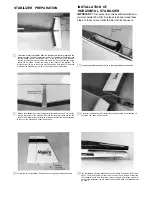
Lay the fuselage with wing attached on any flat surface Mix a batch of 30 minute
epoxy You will have plenty of time to work so don t hurry Using a scrap piece
of plywood left over from the aileron servo tray apply a generous amount of
epoxy to the inside area top and bottom and along the sides of the stabilizer slot
as shown
Summary of Contents for avistar 40
Page 20: ......


