


Note: You may proceed with fuselage preparation
and come back to here after the wing is ready.
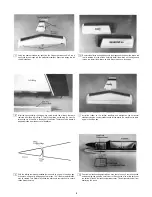
After the epoxy has fully cured (overnight) remove the masking tape and apply
the center tape Begin at the bottom trailing edge, wrap forward and around to
top trailing edge overlapping the beginning point
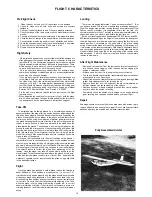
Remove the servo tray and, following the picture, remove the covering from area
"A".
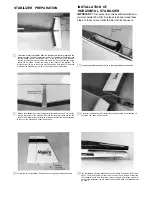
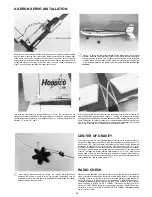
AILERON SERVO
TRAY INSTALLATION
Locate the pre-assembled #21 aileron servo tray with #42 balsa blocks and a
servo from your radio system Slip the servo into the tray and measure the
distance from the bottom of the servo to the bottom of the balsa block
Then remove the balsa wood from area "B" Remove enough balsa wood
accomodate the servo previously measured in Step 1.
Remove the servo from the servo tray Turn the servo tray upside down (balsa
blocks up) and lay the end of the tray on the line drawn in Step 5 of wing joiner
installation. Using a felt tip pen trace around the outside and inside of the servo
tray.
Set the servo in the servo tray and test fit the servo tray to the mounting area
When satisfied with the fit, remove the servo and epoxy the servo tray to the
mounting area.
7
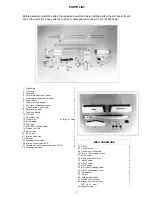
Summary of Contents for avistar 40
Page 20: ......


