17
Scene file setting
Light control mode setting
1) Press the Set button for longer than 2 seconds to
display the Main menu.
2) Use the Up and Down buttons to move the cursor to
LIGHT CONTROL
. [AVE]/[BLC]/[PK/AVE] flashes.
3) In this state, push the Set button to display
LIGHT
CONTROL MENU
.
4) When the cursor is at
MODE,
push the Set button to change
control modes
.
Set button
:
:
:
:
AVERAGE→BLC→PEAK/AVE
AVE (Average mode)
This mode measures the average luminance of the entire
screen and controls the exposure level. This is default mode.
BLC (Back Light Control mode)
This mode controls the exposure level at the luminance level
of the specified area. (It can be selected from 9 areas).
PK/AVE (Peak/Average mode)
This mode uses the peak luminance together with average
and controls the exposure level. (The ratio of peak level and
average level can be changed.)
Light control menu
◆
◆
◆
◆
LIGHT
LIGHT
LIGHT
LIGHT CONTROL
CONTROL
CONTROL
CONTROL MENU
MENU
MENU
MENU
◆
◆
◆
◆
>
>
>
>
MODE
MODE
MODE
MODE
:AVERAGE
:AVERAGE
:AVERAGE
:AVERAGE
LEVEL
LEVEL
LEVEL
LEVEL
:
:
:
: 000
000
000
000
AIE
AIE
AIE
AIE :
:
:
: O
O
O
OFF
FF
FF
FF
↑
↑
↑
↑
RET
RET
RET
RET
END
END
END
END
……
Light control mode display
……
Video level adjustment(-128
~
000
~
+127
)
……
AIE mode
……
Return to Main menu
……
End (Menu display off
)
Light control menu [
AVERAGE
]
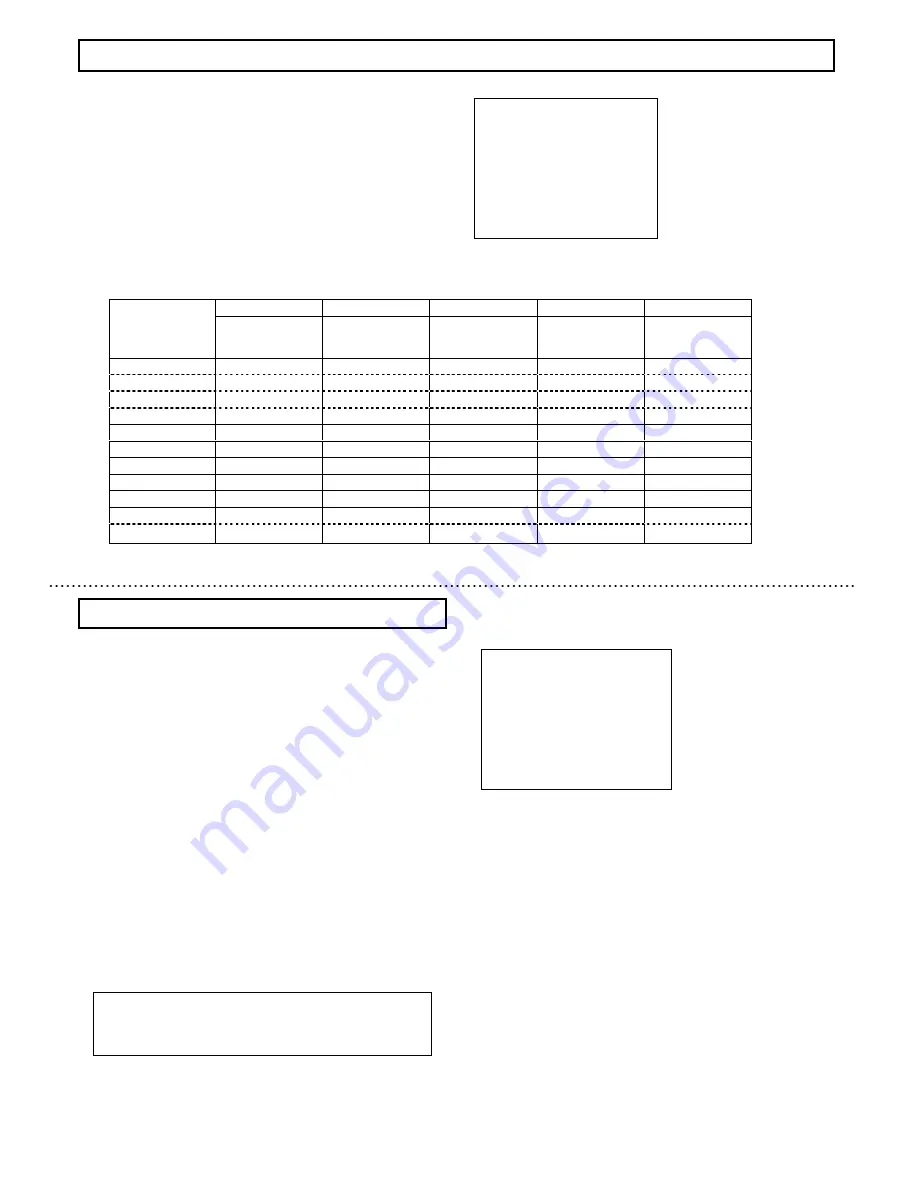
The Scene file is a function to record various mode settings and the
adjusted values of the camera at file.
1) Press the Set button for at least 2 seconds to display the
main menu on the monitor screen.
2) Use UP and Down buttons to move the cursor to
MAIN
MENU. The scene file setting data blinks. In this state, push
the Set button to change
the scene file.
Set button
:
:
:
:
FILE1→FILE2→FILE3
→FILE4→FILE5
Factory setting is FILE1.
Scene file factory setting
Note
In case of using a video signal type lens, follow the
manual to change setting of sensitivity of the lens.
Main menu
>
>
>
>
◆
◆
◆
◆
MAIN
MAIN
MAIN
MAIN MENU
MENU
MENU
MENU
◆
◆
◆
◆(FILE1)
(FILE1)
(FILE1)
(FILE1)
LIGHT
LIGHT
LIGHT
LIGHT CONTROL:
CONTROL:
CONTROL:
CONTROL:AVE
AVE
AVE
AVE
↵
↵
↵
↵
AGC
AGC
AGC
AGC
:ON
:ON
:ON
:ON
↵
↵
↵
↵
SHUTTER
SHUTTER
SHUTTER
SHUTTER SPEED:
SPEED:
SPEED:
SPEED:1
1
1
1/
/
/
/60
60
60
60
SENS
SENS
SENS
SENS UP
UP
UP
UP
:OFF
:OFF
:OFF
:OFF
B/W
B/W
B/W
B/W MODE
MODE
MODE
MODE
:OFF
:OFF
:OFF
:OFF
↵
↵
↵
↵
WHITE
WHITE
WHITE
WHITE BALANCE:ATW
BALANCE:ATW
BALANCE:ATW
BALANCE:ATW
↵
↵
↵
↵
CAMERA
CAMERA
CAMERA
CAMERA TITLE
TITLE
TITLE
TITLE :OFF
:OFF
:OFF
:OFF
↵
↵
↵
↵
ENHANCE
ENHANCE
ENHANCE
ENHANCE
↵
↵
↵
↵
SUB
SUB
SUB
SUB MENU
MENU
MENU
MENU
↵
↵
↵
↵
END
END
END
END
……
Scene file setting
……
Light control menu
……
AGC setting menu
……
Shutter speed setting
……
Sensitivity enhancement Setting
……
Color-B/W mode setting
……
White balance setting
……
Camera title menu
……
Enhance setting menu
……
Sub menu
……
End (Menu display off
)
Video level adjustment
The optimum video level is to factory setting(000).
If necessary, the level can be changed as foIIows.
1) Use the Up and Down buttons to shift the cursor to
LEVEL
and press the Set button. The adjustment value at the right
of
LEVEL
flashes.
2) Change the video level by pressing the Up and Down
buttons.
Adjustment value range : -128~000~+127
For factory setting(000), hold down both the Up and Down
buttons simultaneously for 2 seconds.
When the cursor is blinking, pressing Set button will stop
blinking and setting value will be fixed. In this case, the
cursor moves to
AIE
.
18
Scene file No
.
1
2
3
4
5
High sensitivity
setting
Fog
adjustment(color
)
setting
Fog
adjustment(B/W
)
setting
Back light
correction setting
Stored high
sensitivity setting
LIGHT CONTROL
MODE
AVERAGE
AVERAGE
AVERAGE
BLC
AVERAGE
AREA
---
---
---
NO.1
---
AIE
OFF
OFF
OFF
MID
OFF
AGC
51
31
31
31
51
DNR
HI
HI
HI
HI
HI
SHUTTER SPEED
1/60
1/60
1/60
1/60
1/60
SENS UP
OFF
OFF
OFF
OFF
AUTOx16
B/W MODE
OFF
OFF
ON
OFF
OFF
ENHANCE
FOG ADJUST
OFF
AUTO
AUTO
OFF
OFF
*
The other settings besides this table will be same as factory setting of file1.
Summary of Contents for KP-D5000
Page 2: ......


