16
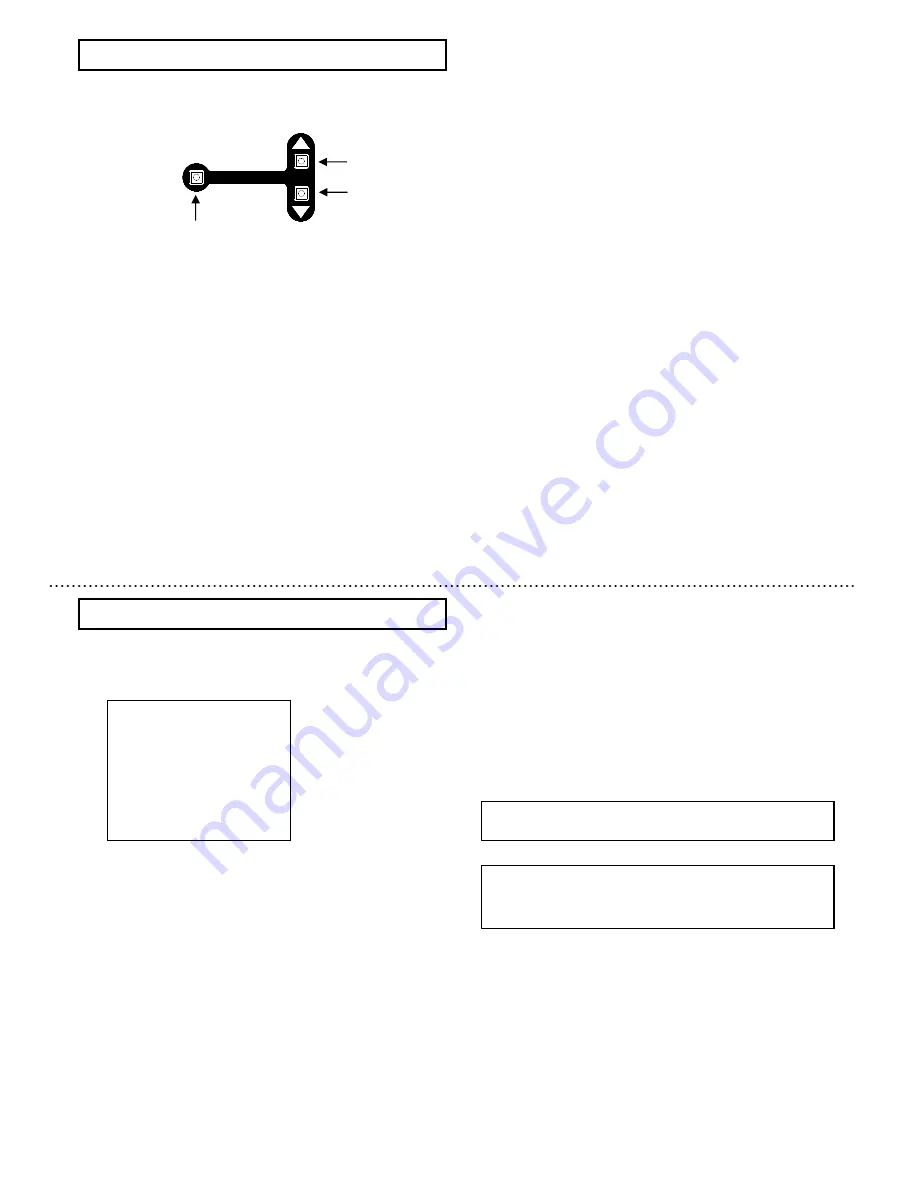
Three rear panel setup buttons are used to shift the cursor and
select items from the menus.
①
Up button:
Shift the cursor in the upward direction or increase an
adjustment value
②
Down button:
Shift the cursor in the downward direction or decrease an
adjustment value
③
Set button:
Press to display the main menu or to change a setting
Note
If any button is not pressed, the menu display disapears
automatically after about 5 minutes.
15
Setting menu operations
U
D
SET
①
②
③
Main menu
1) Press the Set button for at least 2 seconds to display the Main
menu on the monitor screen.
2) Check the current settings at the main menu.
3) Shift the cursor vertically by pushing the Up and Down
buttons, then press the Set button to change the setting of
the selected item.
4) To return to the normal screen, shift the cursor to
END
and
press the Set button.
5) Changed settings are stored in the camera memory
(EEPROM) and restored at the power on.
Main menu
>
>
>
>
◆
◆
◆
◆
MAIN
MAIN
MAIN
MAIN MENU
MENU
MENU
MENU
◆
◆
◆
◆(FILE1)
(FILE1)
(FILE1)
(FILE1)
LIGHT
LIGHT
LIGHT
LIGHT CONTROL:
CONTROL:
CONTROL:
CONTROL:AVE
AVE
AVE
AVE
↵
↵
↵
↵
AGC
AGC
AGC
AGC
:ON
:ON
:ON
:ON
↵
↵
↵
↵
SHUTTER
SHUTTER
SHUTTER
SHUTTER SPEED:
SPEED:
SPEED:
SPEED:1
1
1
1/
/
/
/60
60
60
60
SENS
SENS
SENS
SENS UP
UP
UP
UP
:OFF
:OFF
:OFF
:OFF
B/W
B/W
B/W
B/W MODE
MODE
MODE
MODE
:OFF
:OFF
:OFF
:OFF
↵
↵
↵
↵
WHITE
WHITE
WHITE
WHITE BALANCE:ATW
BALANCE:ATW
BALANCE:ATW
BALANCE:ATW
↵
↵
↵
↵
CAMERA
CAMERA
CAMERA
CAMERA TITLE
TITLE
TITLE
TITLE :OFF
:OFF
:OFF
:OFF
↵
↵
↵
↵
ENHANCE
ENHANCE
ENHANCE
ENHANCE
↵
↵
↵
↵
SUB
SUB
SUB
SUB MENU
MENU
MENU
MENU
↵
↵
↵
↵
END
END
END
END
……
Scene file setting
……
Light control menu
……
AGC setting menu
……
Shutter speed setting
……
Sensitivity enhancement Setting
……
Color-B/W mode setting
……
White balance setting
……
Camera title menu
……
Enhance setting menu
……
Sub menu
……
End (Menu display off
)
When an item indicated by a
↵
mark is selected, pressing
the Set button shifts to the next menu.
。
Summary of Contents for KP-D5000
Page 2: ......


