"@#
Remote control operation
Remote control operation
#
#
#
Storing adjustment data
#
%
The projector will automatically allocate the addresses of memory in which adjustment data is to be
stored (called “ mode number”), according to the resolution and frequency of input signal.
%
If the resolutions and frequencies are similar when multiple signals are adjusted, the same mode will
be allocated, and the previously adjusted signal data will be overwritten the later adjustment data.
%
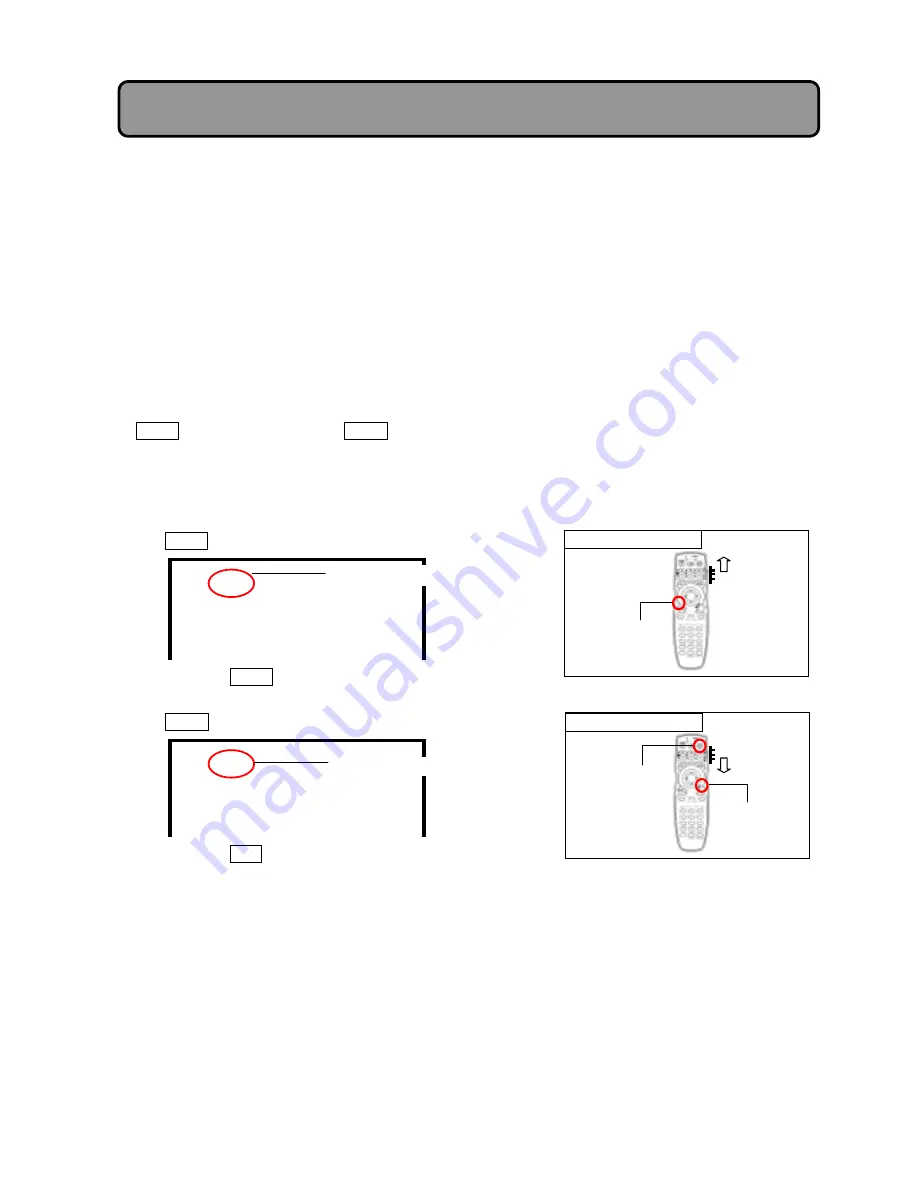
The allocated mode can be checked using the following procedure.
%
If the same mode number should be allocated (*) to different signals, use the following method.
%
Change Resolution or Refresh rate with Display Properties settings on PC, so that each mode
has a different number. The allocated modes can be checked using the following procedure.
&
If PC settings cannot be changed, mode numbers can be allocated to each signal in detail using
special settings: Consult your dealer.
#$
The mode number that the projector has automatically been allocated can be checked by pressing the
MENU key on remote control (or MODE key in case of “SERVICE” mode) and viewing the display on the
following screens.
#
#
#
Check the mode number in the Input signal
(When MENU key is pressed in case of “USER” mode.)
#
USER 120 (RGB1)
2
POSITION
SAMPLE CLOCK
SAMPLE PHASE
PICTURE
Pressing the MENU key will restore the original screen.
#
#
(When MODE key is pressed in case of “SERVICE” mode.)
#
MODE 120
H xx.xkHz
V xx.x Hz
Preset : S---
H xx.xkHz
Pressing the END key will restore the original screen.
#
#
*1
A
This number shows the scan mode allocated to the signal currently connected.
If this number is the same even when a different signal is connected, the adjustment data will be stored in
the same memory.
#
Adjustment Items and Functions:
Storing Adjustment data
!
Scan mode number (*1)
Scan mode number (*1)
MENU
Button
#
END
Key
SERVICE
Mode
MODE
Key
USER
Mode


