


!=#
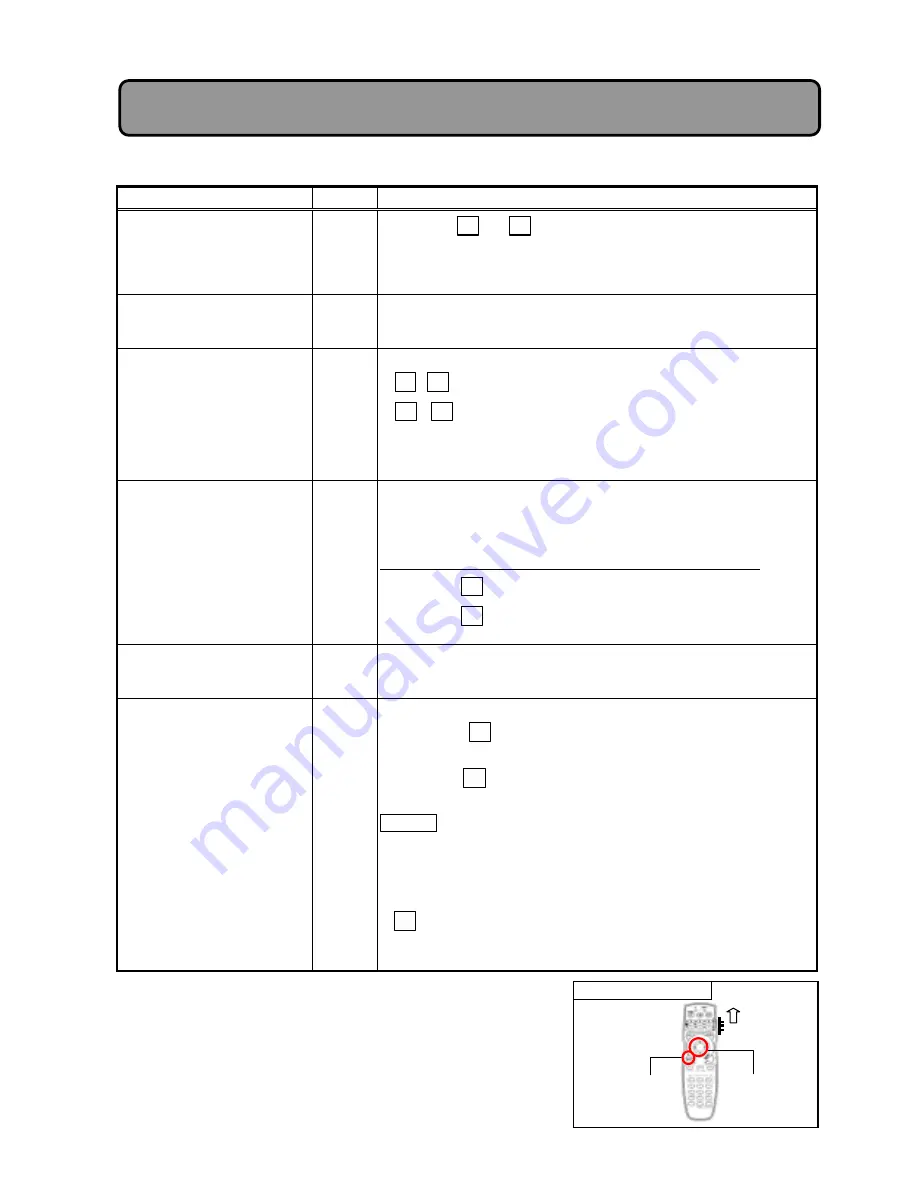
Remote control operation
#
#
#
Adjustment procedure (basic adjustment)
#
Item
Input
Procedure
ZOOM
Setting zoom magnification
RGB1
RGB2
RGB3
%
Use the
4
or
5
key to change the magnification.
%
The image can be magnified up to approx. 4 times.
%
After changing the magnification, use POSITION to adjust the
position of image on screen.
VOLUME
-
%
Has no function.
TIME SETTING
-
%
Adjust the time of projector.
% 4
5
key to change number of green display.
% 6
2
key to change position of green display. (Hours or
minutes)
%
If the projector is turned on and off, setup data can be erased.
%
Clock error: about
>
2 minutes every month.
DIGITAL I/0
?
RGB3
%
To select the polarity of trigger of digital input/output.
%
If this polarity is reversed, glittering noise may occur in image.
%
After entering this adjustment, use arrow keys to select “INPUT” or
“OUTPUT”.
:
Select only RGB3 in ”INPUT” and RGB1,2,3 in “OUTPUT”.
%
Press the
6
to select “RISE”.
%
Press the
2
to select “FALL”.
SPEAKER OUT
-
%
Has no function.
CLAMP POS
Adjusting the clamp position
of black level of video signal
RGB1
RGB2
%
To adjust the clamp position of black level (pedestal).
%
Press the
4
to move the clamp position to the left when the
image is too dark.
%
Press the
5
key to move the clamp position to the right when
only green is bright and floating.
Caution
%
This adjustment is not necessary when a normally bright image
appears.
%
Perform the CLAMP POS. adjustment after completing the H
SIZE adjustment.
% 5
key is held down to decrease the value, black vertical stripes
will appear on screen: Perform adjustment in the range where not
this phenomenon appears.
#
Adjustment Items and Functions:
Basic adjustment
!
MENU
Button
USER
Mode
DISK PAD
(
4526
)Key


