


!1#
Adjustment Method (Adjustment Using Menu Screen)
%
The following items can be adjusted for each input signal.
%
If multiple signals are switched and used, previously adjusted data may be overwritten when the
frequencies and resolutions of signals are similar.(See p.20)
%
Adjustments other than those listed must be left to service engineers.
#
#
&-
Adjustment Items
USER xxx
...
Shows user adjustments
2
POSITION
...
To adjust the position of image
SAMPLE CLOCK
...
To adjust the Horizontal image size
SAMPLE PHASE
...
To adjust if there is flickering noise in image
PICTURE
...
To adjust the brightness of the bright portion of image
BLACK LEVEL
...
To adjust the brightness of the dark portion of image
COLOR BALANCE
...
To adjust the brightness of red and blue
ZOOM
...
Zoom up a portion of image
VOLUME
...
Has no function
TIMESETTING
...
To adjust the time
DIGITAL I/0
...
To set the polarity of edge in digital input/output
MORE
2
3
...
To set the clamp pulse position that determines
#
When select the MORE
2
+
USER xxx
...
Shows user adjustments
SPEAKER OUT
...
Has no function
CLAMP POS.
...
To set the clamp pulse position that determines the black
# #
level of image
#
2. Basic Key Operations
#
2.1 Operating menu screen
#
Step
Details of operation
&
#$
Set the remote control to “USER” mode
#$
Press the MENU key. The above adjustment items will appear on the
screen.
#$
Use the
4
or
5
key to move the marker to the item to be
adjusted, and then press
2
to designate.
#$
Press the MENU key to return to previous items one by one.
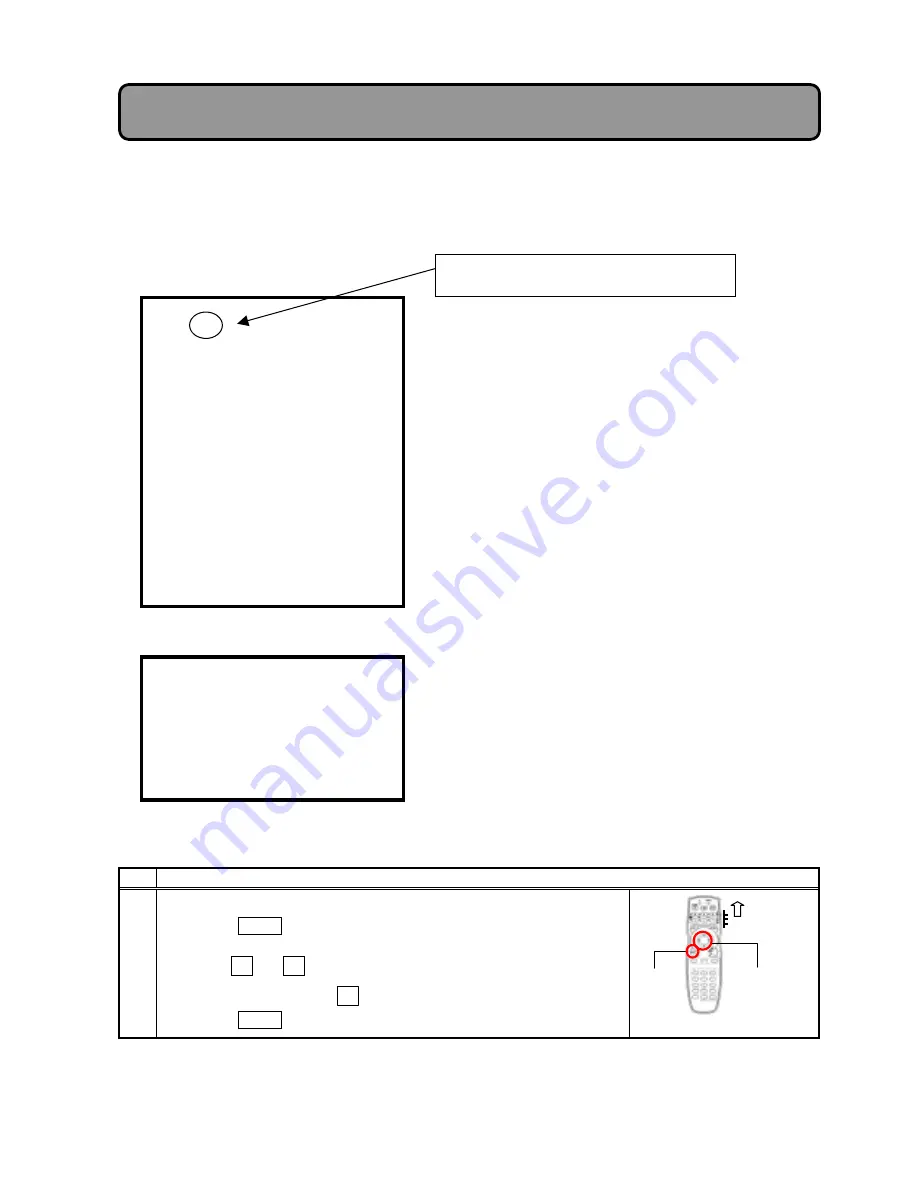
Adjustment Items and Functions :
Adjustment Menu On Screen Display
MENU
Button
USER
Mode
DISK PAD
(
4526
)Key
This number shows Scan Mode allocated to
the signal currently connected.


