


- 20 -
Picture Mode
Picture mode OSD is displayed when
button is pressed. Picture mode can be
changed to
Auto, 4:3, 16:9, Cinema, Sub-
title, Zoom
or
Panorama
by pressing
button.
Sleep Timer Indicator
It is displayed on the upper right of the
screen when a new programme is entered
by digit button or by pressing
P<P
,
-P/CH,
P/CH+
,
TV
,
AV
or
button. If sleep
timer is activated it is displayed with the TV
status and erased with it after 3 seconds.
Once the time set with the sleep timer has
elapsed, the set will go to standby.
Mute Indicator
It is placed in the upper middle of the screen
when enabled, and it stays there until it is
disabled.
To cancel mute, there
are two alternatives
;
the first one is pressing " " button,
the
vol-
ume is set to the preceding value.
The
sec-
ond one is increasing the volume level,
whereby
it starts at the minimum level to in-
crease. By decreasing the volume level in
mute state, mute will not be ignored, only the
volume level will decrease. If mute
is can-
celled
after decreasing the volume level, the
volume will
be set
the decreased level.
No-Signal Detection (TV)
If no valid signal detected, it takes 5 minutes
for the set to switch to Standby mode unless
a signal is detected or a command is re-
ceived from the remote control.
After a Remote Control command (if No-Sig-
nal Timer is active) the timer stops and if no
signal detected again the timer is initialized
to 5 minutes and starts 3 seconds later
again to count down.
It is not valid in AV mode.
No-Signal Detection (PC)
If no valid signal detected for 5 minutes sys-
tem goes to Stand-By mode. To switch on
the system press button.
As the last status feature, system starts from
TV or PC, whichever was the status before
stand-by or switch-off. Note that SCART in-
puts have the precedence on both TV and
PC.
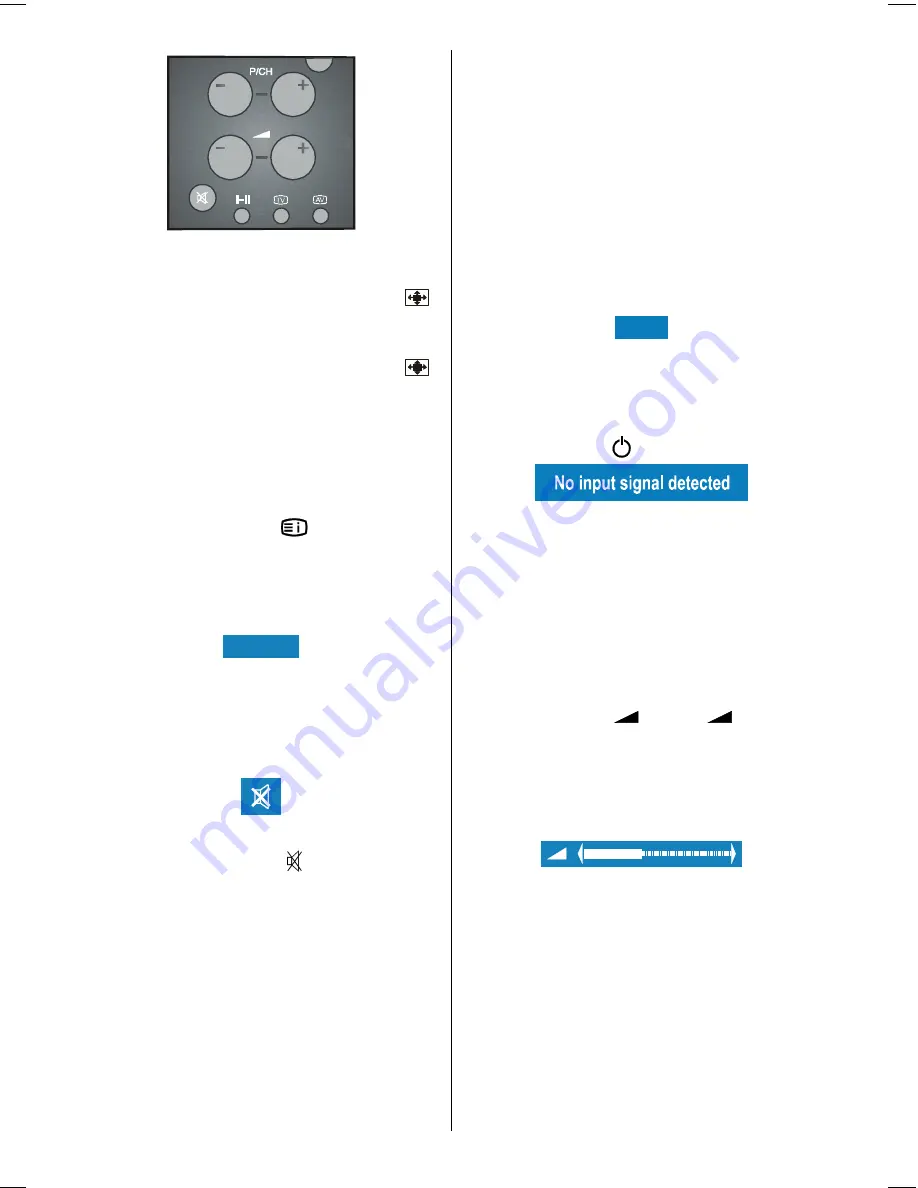
Volume Bar
It is displayed in the lower middle of the
screen. When a volume command is re-
ceived (pressing
+
or
-
by Re-
mote Control or Control panel at the top of
the TV) and no menu is active, it stays on the
screen for 3 seconds, after the last volume
command or until another command is re-
ceived in between.
AV Modes
By pressing the
AV
button you can switch
your TV to AV modes (except being in Tele-
text). Pressing this button will consecutively
switch the TV in one of the optional AV
modes: AV-1, AV-2, AV-3, S-VIDEO, PC.
In order to quit the AV mode press the
TV
,
digit buttons or
-P/CH
or
P/CH+
.
ENG-2200-1547UK-22 INCH TFT IB.p65
03.03.2004, 17:59
20
Summary of Contents for 22LD4200
Page 1: ...GB Instructions for use 22LD4200 ...
Page 34: ......
Page 35: ......
Page 36: ......
Page 37: ......


