


User Manual of 4-inch High Speed Dome
© Hikvision Digital Technology Co., Ltd. All Rights Reserved.
29
Task 2:
Preview the task.
Move the cursor to
TASK PREVIEW
and click
IRIS+
to view the time, action and status of the
scheduled task.
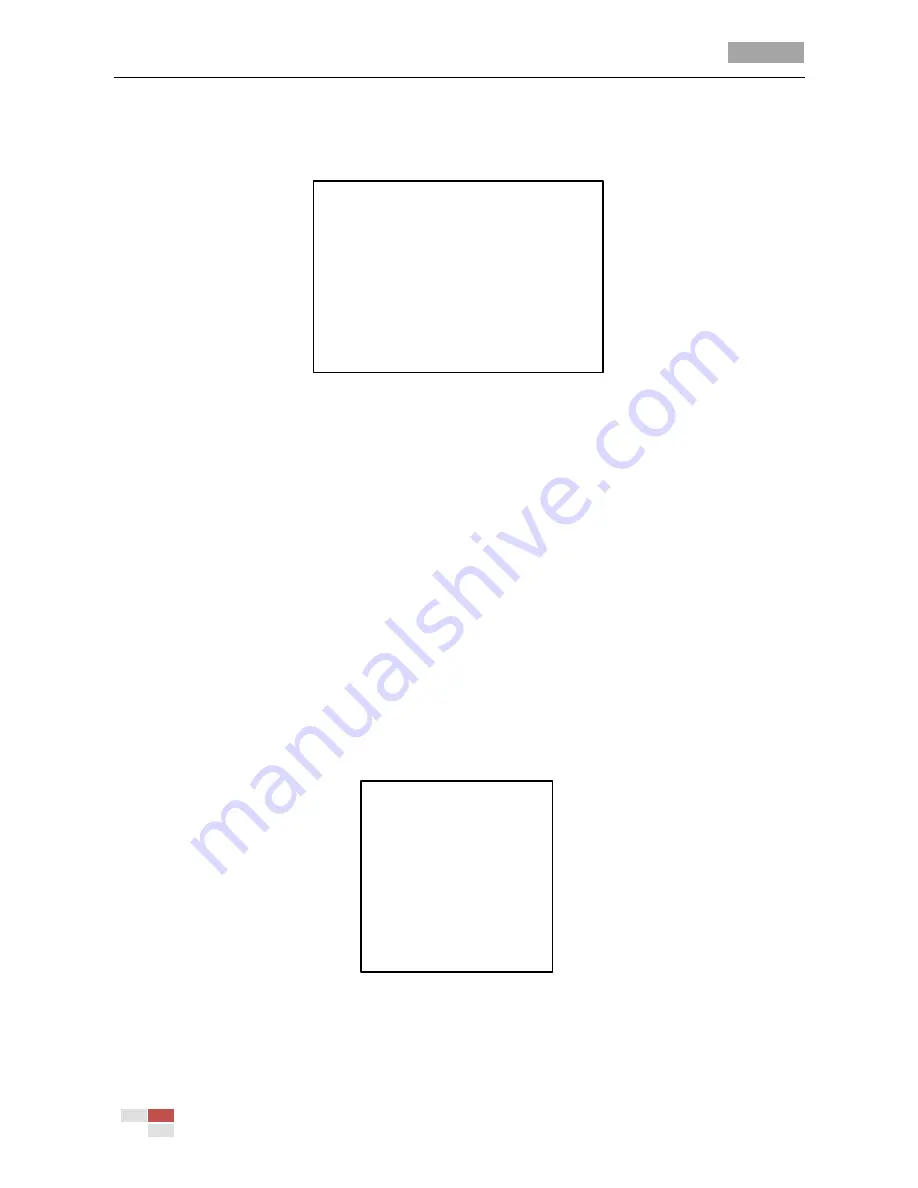
NUM TIME ACTION STATE
1 WHO 0 0 0 0 NONE OFF
2 WHO 0 0 0 0 NONE OFF
3 WHO 0 0 0 0 NONE OFF
4 WHO 0 0 0 0 NONE OFF
5 WHO 0 0 0 0 NONE OFF
6 WHO 0 0 0 0 NONE OFF
7 WHO 0 0 0 0 NONE OFF
8 WHO 0 0 0 0 NONE OFF
Figure 3-22
Preview the Time Task
Task 3:
Delete the task.
Move the cursor to
CLEAN TASK
and click
IRIS+
to delete the time and action of the current task.
3.4.6
Configuring Zones
Purpose:
ZONE
submenu is used to divide the scene into several parts with user-defined labels displayed on
the screen. You can also set the speed dome to scan in a zone automatically after a period of
inactivity.
Task 1:
Set a zone.
Steps:
1.
Move the cursor to enter the zone configuration submenu:
MAIN MENUS > DOME SETTINGS > ZONES
ZONES
ZONE NUM 1
[UNDEFINED ]
EDIT LABEL
EDIT ZONE
ZONE STATUS ON
SCAN STATUS ON
CLEAR ZONE
BACK EXIT
Figure 3-23
Zone Configuration
2.
Choose the zone number:
Move the cursor to
ZONE NUM
and click
IRIS+
button to enter. Click the up and down buttons to
choose the zone number to be configured.