CHAPTER 3
The Menu System
22
Studio Command Series User Manual
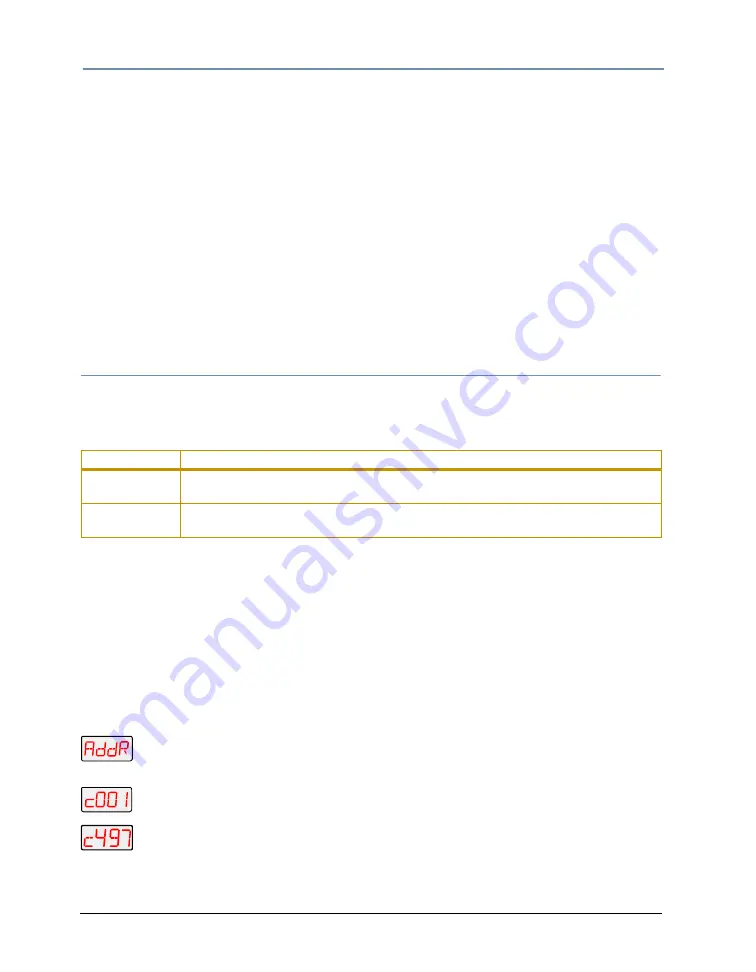
To access the menu system, press and hold the <Menu> button until AddR appears on the
display. The menu system is protected against inadvertent menu changes by requiring the
<Menu> button to be held for a few seconds before allowing entry to the menu system.
To return to the previous option or menu without changing the value, press the
<Menu> button.
To exit the menu system, keep pressing the <Menu> button until MENU appears on the
display. MENU is replaced, after a few seconds, with the default display cycling the fixture’s
software version, fixture type, and DMX start channel.
Note:
After you have accessed the menu system, the words AUTO and
LOCK appear briefly on the display after TOP as the fixture’s software
is locking the display.
Studio Command Menu Options
The sections below explain how to access the fixture options shown in the fixture’s menu map.
This manual uses the following conventions in the descriptions for menus and menu navigation
buttons:
Address Menu (AddR)
The DMX start channel identifies each fixture on a DMX link. If you plan to control your fixtures
with a DMX console (or using synchronized preset playback), you must assign a DMX start
channel to each fixture on the link.
The Address menu allows you to change the DMX start channel that is currently assigned to the
fixture. Be sure you do not overlap fixture channel ranges when changing the DMX start
channel. For more information, see Determining the DMX Start Channel on page 19.
To change the DMX start channel:
1. Press and hold <Menu> until AddR appears on the LED display. Press <Enter> to
select.
to
2. Select a new DMX start channel (C001–C497). The LED display flashes when a
new option is selected.
3. Press <Enter> to accept the new DMX start channel. The LED display stops
flashing when a new option is entered. If you do not press <Enter>, the new
option you selected is not stored.
Example
Meaning
<Button>
Press the appropriate LED display navigation button on the fixture. For example, the
<Enter> button on the LED display panel.
Menu Option
Italics are used to indicate the appropriate menu selection you should choose from the
on-board menu system. For example, the
AddR
menu option.
Summary of Contents for Studio Command 1200
Page 18: ...CHAPTER 1 Product Overview 8 Studio Command Series User Manual...
Page 30: ...CHAPTER 2 Setup and Configuration 20 Studio Command Series User Manual...
Page 64: ...CHAPTER 4 Fixture Programming 54 Studio Command Series User Manual...
Page 72: ...CHAPTER 5 General Maintenance 62 Studio Command Series User Manual...
Page 82: ...CHAPTER 6 Troubleshooting 72 Studio Command Series User Manual...
Page 92: ...Appendix A Studio Command DMX Protocol 82 Studio Command Series User Manual...
Page 102: ...Appendix C 92 Studio Command Series User Manual...
Page 108: ...Appendix D 98 Studio Command Series User Manual...


