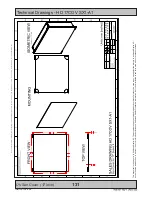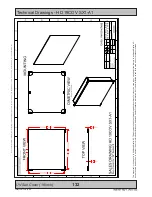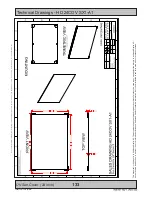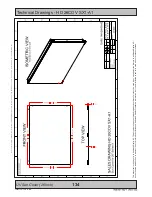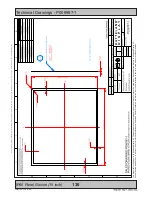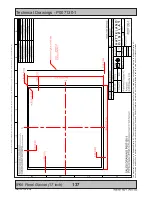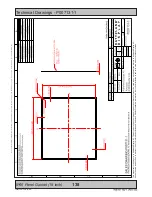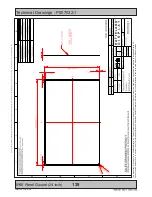
Pinout Assignments
145
IND100241-30
Appendix
External Power ON/OFF Control, 9-pin DSUB Male
5 4 3 2 1
9 8 7 6
PIN 01 +5V
+5V out
PIN 02 PWR
Power On / Off
PIN 03 Res.
Reserved, do not connect
PIN 04 Aref
For potensiometer
PIN 05 +12V
+12V out
PIN 06 BRT_POT Potmeter in
PIN 07 BRT –
Button in
PIN 08 BRT+
Button in
PIN 09 GND
Ground
External Power Button must be of “Push Button” type.
Instant-On. To turn off unit, Press & Hold down for 3 seconds.
Building your own Push Button for External Power Button:
Note: Requires soldering and assembly. It is expected that the
technician has experience in electronics, soldering and assembling
cables and connectors.
Pin 1 on your Connector
Pin 2
Pin 9
External Push Button 9-pin DSUB Female Add
Note: Example only Note Orientation!
Backshell
Cable
Use a cable that contains at least 2 wires (not 2 single wires). Heat Shrink
Tubes must be applied to soldered wire/pins. Test connection (beep) with
Voltage Meter.
----------------------------------------------------------------------------------------------------------
In order to activate the external Power ON/OFF control it must be enabled:
Via OSD Menu: “OSD Miscellaneous>External Power Button” and set to Enable.
or
Via SCOM (Serial Communication Control Interface):
“MCC” - OSD Control Functionality -> “External Power Button (0x74)”.
Usage for SCOM: Review the dedicated Technical Manual available from our
website:
http://www.hatteland-display.com/pdfl ink/inb100018-6.php
Potmeter Control, 9-pin DSUB Male
5 4 3 2 1
9 8 7 6
PIN 01 +5V
+5V out
PIN 02 PWR
Power On / Off
PIN 03 Res.
Reserved, do not connect
PIN 04 Aref
For potensiometer
PIN 05 +12V
+12V out
PIN 06 BRT_POT Potmeter in
PIN 07 BRT –
Button in
PIN 08 BRT+
Button in
PIN 09 GND
Ground
Potentiometer shall be
10kΩ LINEAR.
Connect like the illustrations shown below:
Fig #1
Fig #2
The BRT+ and BRT- can be used for controlling the brilliance by using external
buttons. Example for the BRT+ input in fi gure #2:
--------------------------------------------------------------------------------------------------------------------------
Building your own cable:
Note: Requires soldering and assembly. It is expected that the technician has
experience in electronics, soldering and assembling cables and connectors.
Pin 1 on product
Pin 1 on your Connector
Pin 6
Pin 4
Pin 9
External Potmeter 9-pin DSUB Female Add
Note: Example only Note Orientation!
Backshell
Cable
Use a cable that contains at least 3 wires (not 3 single wires). Heat Shrink Tubes must be
applied to soldered wire/pins. Test connection (beep) with Voltage Meter. Test connection
between power pin and other pins to ensure no short circuit is present prior to connecting
cable and power on Display unit. Finally, the 9-pin DSUB must be covered by a back shell.
-------------------------------------------------------------------------------------------------------------------------
In order to activate the external potmeter-control, the internal
“FHA (Feature Header,
Potentiometer)“
Serial Command has to be set fi rst via our SCOM (Serial Communication
Control Interface).
Usage for SCOM: Review the dedicated Technical Manual available from our website:
http://www.hatteland-display.com/pdfl ink/inb100018-6.php
Summary of Contents for HD 15T22 MMD-xxx-F series
Page 10: ...10 This page left intentionally blank...
Page 11: ...11 General...
Page 20: ...20 This page left intentionally blank...
Page 21: ...21 Installation...
Page 40: ...40 This page left intentionally blank...
Page 41: ...41 Operation...
Page 75: ...75 Operation Advanced DDC CI...
Page 78: ...78 This page left intentionally blank...
Page 79: ...79 Specifications...
Page 90: ...90 This page left intentionally blank...
Page 91: ...91 Technical Drawings...
Page 102: ...102 This page left intentionally blank...
Page 103: ...103 Technical Drawings Accessories...
Page 142: ...142 This page left intentionally blank...
Page 143: ...143 Appendixes...
Page 153: ...153 Appendix IND100077 24 User Notes...
Page 155: ...155 Revision History Appendix IND100077 170...
Page 156: ...www hatteland display com...

