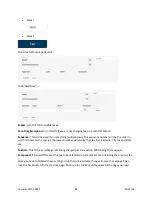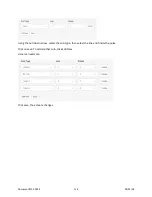
NOTE: This section is currently only used with the Hamilton Gate Sequence Software.
**NOTE: This software is an additional fee.
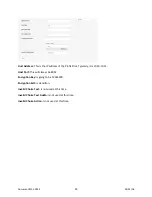
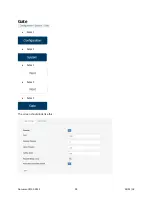
Enabled:
Is turned ON if you are going to use the Hamilton Gate Sequence Software. This software is for
controlling the sequence of a gated application. It controls and keeps track of the transaction order. This
allows the first transaction to complete and the car to pass the gated area while holding the second
transaction back until the first is complete.
Port:
8033 is the port used for the Hamilton Gate Sequence Software.
Release Timeout:
Is an allowed amount of time the HTK will wait before releasing the additional lanes
transactions, giving time to line the cars up in the correct order. If left blank, the transaction will be sent
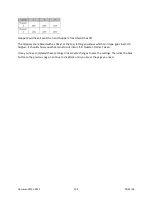
immediately, gate will go up and allow the car to pass. If 5 seconds is entered, the HTK will wait 5
seconds before releasing the transaction from the opposite lane(s).
*NOTE: Not used when “Requires Merge Loop” is selected.
Cycle Timeout:
This is how long the HTK will wait before it will timeout when it does not get a signal
from the gate safety loop. When the car passes over the safety loop, it will send the HTK a 24V signal
(cycle signal). Once the HTK receives that 24V signal, the HTK will then send the wash package to the Car
Wash. If the HTK does not receive the 24V signal in the amount of time entered, it will then go to “Sorry
Equipment is out of service”.
*NOTE: This is a required field.
Safety Alarm:
Is the amount of time before the HTK will go out of service if a car doesn’t pass over the
gate safety loop. If this occurs, the HTK will then go to “Sorry Equipment is out of service”.
Requires Merge Loop:
When turned ON, the HTK will require a 24V signal from the merge loop
indicating the previous car has passed over it before releasing the next transaction from the opposite
lane(s).
Raise Gate on Master Inhibit
is for if you need to engage the Master Inhibit. The HTK will raise the gate.
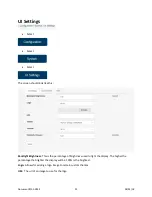
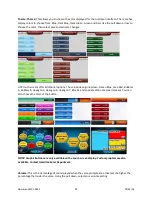
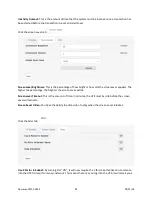
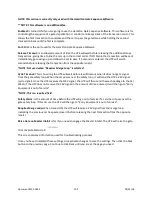
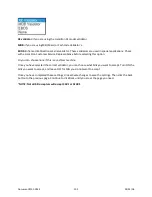
Click the Gate Status tab
This screen displays information used for troubleshooting purposes.
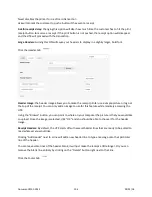
Once you have completed these settings, click activate changes to save the settings. Then click the back
button to the previous page. Continue to click Back until you are at the page you need.
Document #101-0243
100
02/01/18

