130
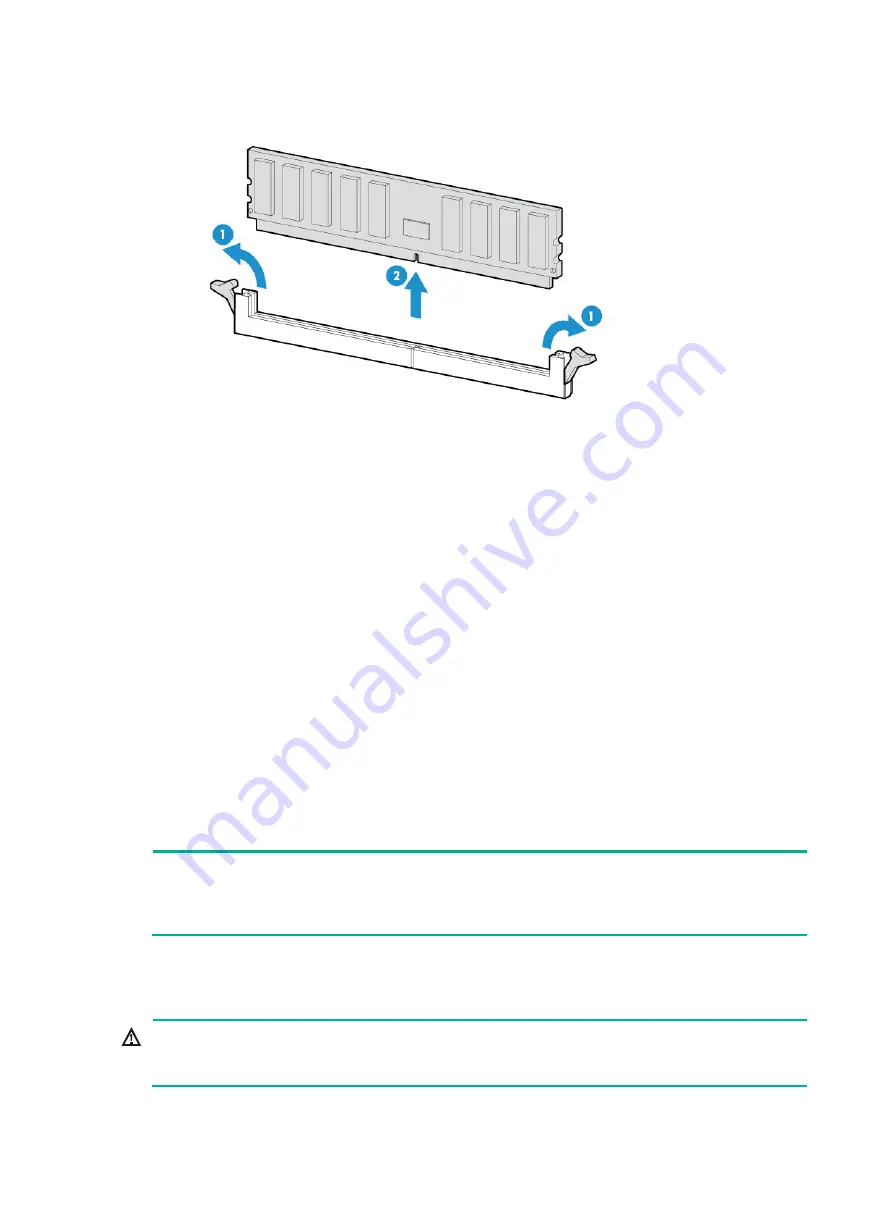
Figure 161 Removing a DIMM
6.
Install a new DIMM. For more information, see "
7.
Install the chassis air baffle. For more information, see "
8.
Install the access panel. For more information, see "
9.
Rack-mount the server. For more information, see "
10.
Connect the power cord. For more information, see "
11.
Power on the server. For more information, see "
During server startup, you can access BIOS to configure the memory mode of the newly
installed DIMM. For more information, see the BIOS user guide for the server.
Verifying the replacement
Use one of the following methods to verify that the memory size is correct:
•
Access the GUI or CLI of the server:
{
In the GUI of a windows OS, click the
Start
icon in the bottom left corner, enter
msinfo32
in
the search box, and then click the
msinfo32
item.
{
In the CLI of a Linux OS, execute the
cat /proc/meminfo
command.
•
Log in to HDM. For more information, see HDM online help.
•
Access BIOS. For more information, see the BIOS user guide for the server.
If the memory size is incorrect, re-install or replace the DIMM.
NOTE:
It is normal that the CLI or GUI of the server OS displays a smaller memory size than the actual size
if the mirror, partial mirror, or memory rank sparing memory mode is enabled. In this situation, you
can verify the memory size from HDM or BIOS.
Replacing a processor
WARNING!
To avoid bodily injury from hot surfaces, allow the server and its internal modules to cool before
touching them.


