Geophysical Survey Systems, Inc.
PaveScan® RDM 2.0
Manual
MN36-716 Rev A
13
3
If a connected sensor does not appear, press Detect Again to retry.
4
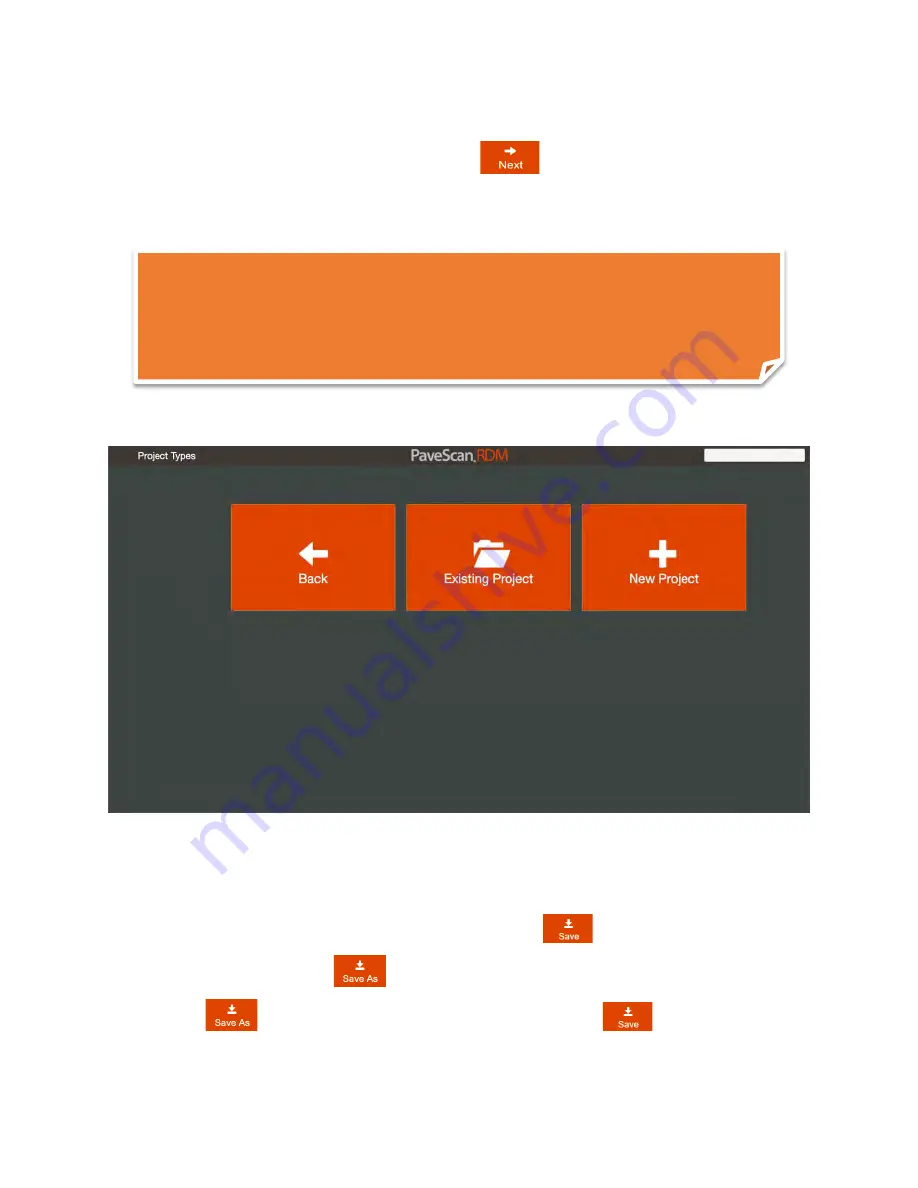
Once all sensors are detected press the
Next
button.
5
The following screen appears. The user selects an existing project or a new project. Only existing
projects containing the detected sensors are recalled.
Project Types Screen
6
After pressing the
Existing Project
or
New Project
buttons, the Project Settings screen appears. This
screen contains numerous items that the user can use to fill in project-specific information.
•
For New Projects, enter the new project name, then press
.
•
For Existing Projects, the
button is enabled.
•
When
is pressed, enter a new project name and then press
.
•
The “Save As” option is useful to create a new project from an existing project’s settings.
Note:
If the Status changes to “Sensor Not Found” (which may happen infrequently), turn
off the sensors by pressing the button on the top panel of the concentrator box, shutdown the
application as described in Chapter 4, then follow the Start-up procedure described in Section
2.1.
Summary of Contents for PaveScan RDM 2.0
Page 1: ...MN36 716 Rev A ...
Page 4: ...Geophysical Survey Systems Inc PaveScan RDM 2 0 Manual MN36 716 Rev A ...
Page 6: ...Geophysical Survey Systems Inc PaveScan 2 0 RDM Manual ...
Page 8: ...Geophysical Survey Systems Inc PaveScan RDM 2 0 Manual MN36 716 Rev A 2 ...
Page 34: ...Geophysical Survey Systems Inc PaveScan RDM 2 0 Manual MN36 716 Rev A 28 ...
Page 46: ...Geophysical Survey Systems Inc PaveScan RDM 2 0 Manual MN36 716 Rev A 40 ...
Page 50: ...Geophysical Survey Systems Inc PaveScan RDM 2 0 Manual MN36 716 Rev A 44 ...
Page 52: ...Geophysical Survey Systems Inc PaveScan RDM 2 0 Manual MN36 716 Rev A 46 ...
Page 64: ...Geophysical Survey Systems Inc PaveScan RDM 2 0 Manual MN36 716 Rev A 58 ...
Page 66: ...Geophysical Survey Systems Inc PaveScan RDM 2 0 Manual MN36 716 Rev A 60 ...
Page 67: ......