GV470S…
Allgemeiner T
eil / General
GRUNDIG
Servicetechnik
1 - 37
1
...
0
–––––––– Numbered buttons for different entries.
u
–––––––––––– Selects the picture/sound signal of a
satellite receiver connected to the
Ï
EURO-AV
¾
socket for recording
or record programming.
¢
SET
––––––––––––– Activates the remote control´s display
for Timer programming and switches
the display off again.
EW/ED
––––––––––– Select a "daily" or "weekly" recording
(when programming with the TIMER).
´
––––––––––––– Transmits timer data from the remote
control to the recorder.
OK
–––––––––––– Confirms data.
a
––––––––––– Selects the AV1 or AV2 programme
position for recording or record pro-
gramming.
z
––––––––––– For checking data entries (PROG,
START, etc.)
CL
–––––––––––– Clears data.
M;
–––––––– Starts recording.
ON/OFF
TIMER
––––––––––– Interrupts/activates the record stand-
by mode of the recorder.
∂
––––––––––– Eliminates picture interference when
playing back cassettes that were re-
corded with the S-VHS format.
W Q
–––––––– Selects the programme position (when
in stop mode); adjusts the track posi-
tion (in playback mode).
Selects a programme position for
checking or clearing it.
“
AUTO
–––––––––––– Activates the Auto Tracking function.
V
–––––––––––– Programming button for ShowView
l
–––––––––––– Activates the entry of total playing time.
k
––––––––––– Activates the Go-to and the APF func-
tions.
e
––––––––––– Selects the sound signal from the
AUDIO
Ï
LR sockets for recording or
record programming
w
––––––––––– switches over to Long Play and back to
Standard Play
AV/CV
TRACKING
PROGRAM
2
3
1
5
4
8
9
7
0
SAT
6
EW/ED
SET
;
OK
CL
CHECK
AUTO
p
o
:
Ç
HIFI
COUNT
0000
LP
*
8
V
RECORD
ON/OFF
TIMER
S-VHS
TV
AV
8
o
p
+
–
PROGRAM
e
RP 35
VIDEO 1
VIDEO 2
ATS
STOP
P
PAL/SEC
CODE
PICTURE
OK
TIP
VPT
INFO
)
#
<
3
4
w
q
1. Operating Elements
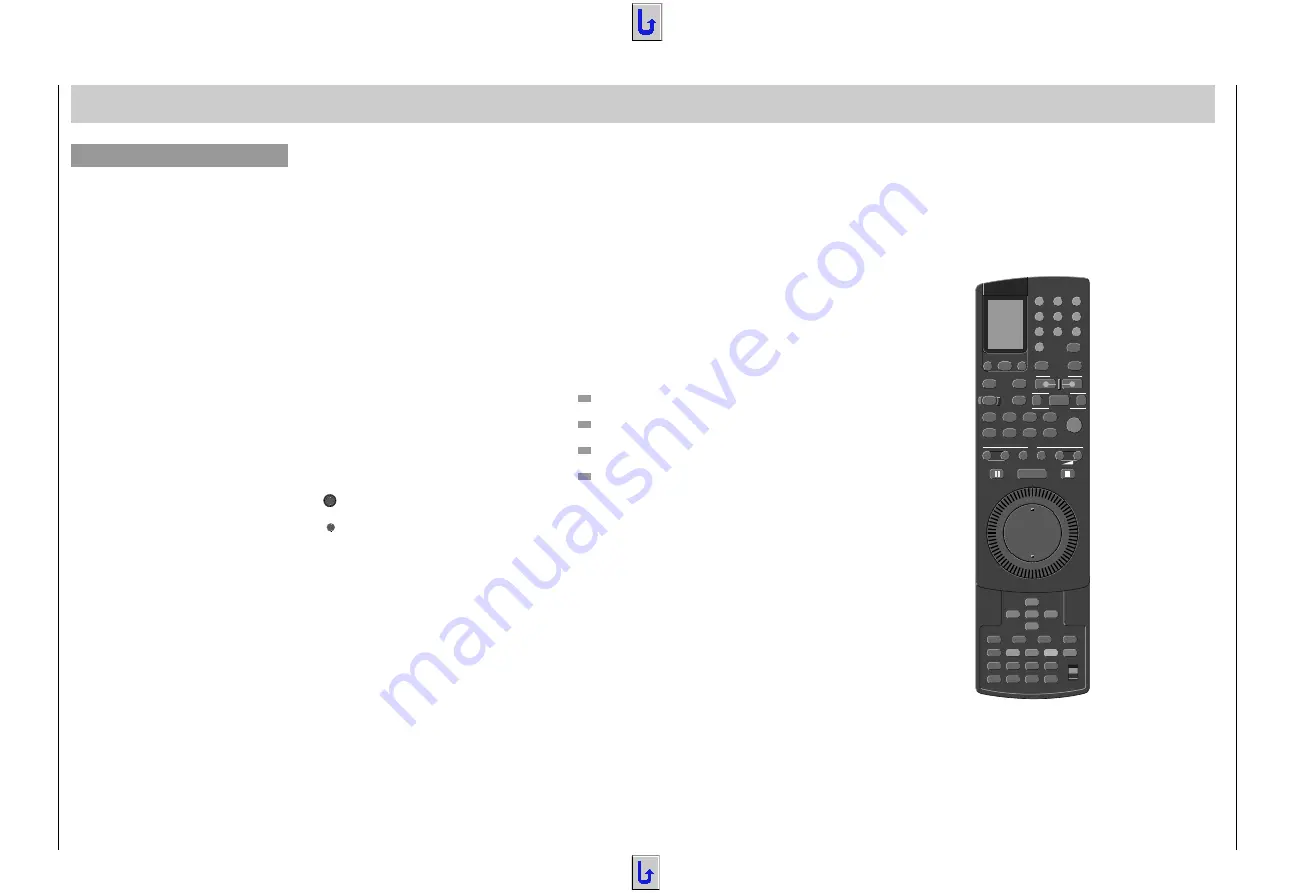
The Remote Control Handsets at a Glance
On this page, the buttons on the remote control handsets are
briefly explained. Please refer to the corresponding chapters
of the operating instructions for a detailed description.
o
––––––––––– Switches between the playing time and
tape length display.
p
––––––––––– Resets the tape length indication to
0000.
j
––––––––––– Selects the audio track in record and
playbackmode;
Switches the sound off and on when
using the on-screen dialogue.
¢
8
––––––––––––– Switches the recorder to stand-by.
Buttons for operating a suitable GRUNDIG TV set
¢
p
PROGRAM
¢
o
––––– Selects a programme position.
¢
8
––––––––––––– Switches the TV to stand-by.
¢
AV
––––––––––––– Selects the AV programme position
(for video recorder playback).
¢
+
V
¢
–
––––––– Adjusts the volume.
Drive mechanism buttons and the Jog/Shuttle
K
–––––––––––– Pause in recording mode,
freeze-frame in playback mode.
J
–––––––––––– Starts playback.
`
–––––––––––– Stops all functions.
–––––––––––– Shuttle-ring, for selecting various
playback speeds.
–––––––––––– Jog-knob, advances to the next freeze-
frame and changes the slow motion
speed.
Buttons on the second level
Q
E R
W
Cursor buttons for moving the cursor
and selecting various functions;
for finetuning the picture.
O
––––––––––– Confirms data.
=
––––––––––– Calls up the contents of the inserted
cassette.
*
––––––––––– For adding/removing a title line to/from
the recording.
π
––––––––––– For record programming with Text-pro-
gramming:
displays the Teletext page that is stored
in the Station Table on the TV screen.
ø
––––––––––– Switches to the Info menu and back to
the TV picture.
$
–––––––––––– Selects page 100 (summary) in
Teletext mode.
“
(red) –––––––– In Teletext mode, this button calls up
the previous page.
“
(green) –––––– In Teletext mode, this button calls up
the next page.
“
(yellow) –––––– In Teletext mode, this button selects
chapters.
“
(blue)–––––––– In Teletext mode, this button selects
subject fields.
%
–––––––––––– In Teletext mode, this button calls up
"hidden" information, e.g. answers to
quizes.
&
–––––––––––– In Teletext mode, this button increases
the character size.
⁄
–––––––––––– In Teletext mode, this button allows
you to view pages for a prolonged peri-
od of time.
“
PICTURE
––––––––––– Activates the picture definition setting
mode.
“
I
I
II
1 VIDEO 2
––––––––––– Switches the remote control for the
control of a second video recorder.
“
ATS
–––––––––––– Selects the ATS euro plus function.
U
–––––––––––– Switches the colour standard (PAL or
SECAM).
D
–––––––––––– Activates the code number entry.
Z
–––––––––––– For re-selecting various special
functions.
PROGRAM
TRACKING


