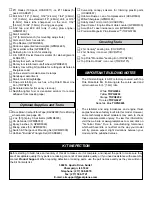
in the photo. Swing the string over to the same position on
the other end of the stab. Pivot the stab on the T-pin in the
trailing edge and slide the tape along the string until the
arrow aligns with both ends of the stab.
❏
8. Use a fine-point felt-tip pen such as a Top Flite
®
Panel
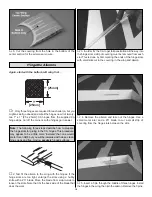
Line Pen (TOPQ2510) to mark the outline of the fuselage all
the way around both sides of the stab.
❏
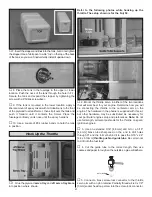
9. Remove the stab from the fuselage. Use a single-edge
razor blade, a sharp, new #11 blade or follow the Expert Tip
below to cut the covering from the stab along the lines. Use
care to cut only into the covering and not into the wood.
Cutting into the balsa will weaken the structure.
How to Cut Covering from Balsa
To avoid cutting into the balsa, use a soldering iron instead
of a hobby knife to cut the covering. The tip of the soldering
iron doesn’t have to be sharp, but a fine tip does work best.
Allow the iron to heat fully. Use a straightedge to guide the
soldering iron at a rate that will just melt the covering and not
burn into the wood. The hotter the soldering iron, the faster
it must travel to melt a fine cut.
❏
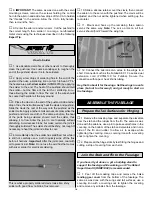
10. Peel the covering from the center of the stab. Remove
any ink with one of your paper towel squares dampened with
denatured alcohol. Re-seal the ends of the covering to the
stab where it may have lifted while peeling off the covering
in the middle.
❏
11. Wrap one side of the stab with a thin plastic bag or
cellophane to protect it from epoxy when it’s time to glue it
into position.
❏
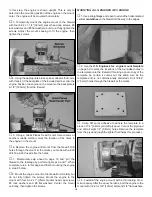
12. Thoroughly coat the top and bottom of the stab saddle
area in the fuselage where the stab fits and the top and bottom
of the stab with 30-minute epoxy. Slide the stab into position.
Remove the plastic wrap and use your paper towel squares to
wipe off excess epoxy. Check the stab alignment the same way
you did before by viewing the alignment with the wing,
centering the trailing edge and using the pin and string. Do not
disturb the fuselage until the epoxy has hardened.
16


