❏
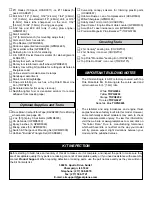
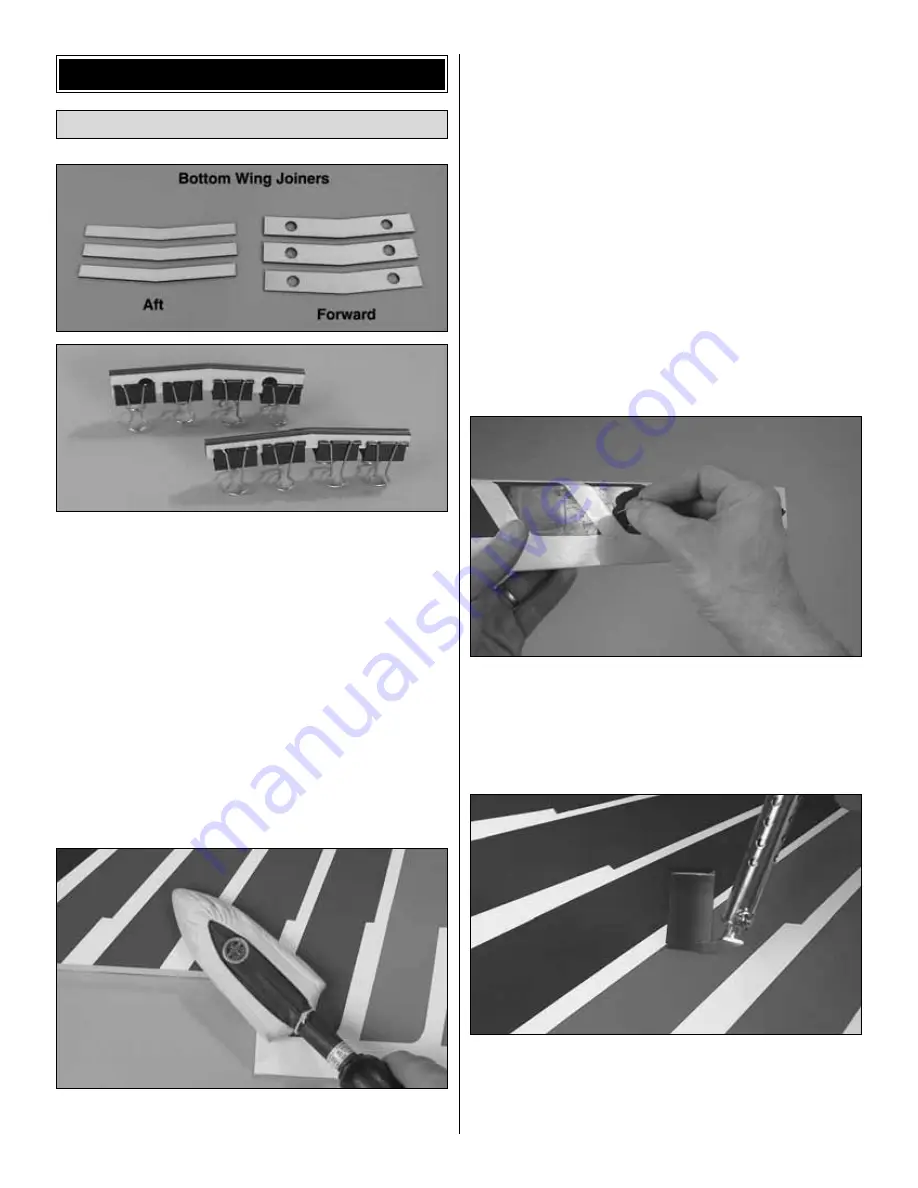
1. Use 30-minute epoxy to glue together the three
plywood aft bottom wing joiners and the three plywood
forward bottom wing joiners. Clamp the joiners together
and wipe away excess epoxy. (Steel spring clamps are ideal
for holding the joiners together.) Note: If you happen to
notice that one of the joiners is thinner than the other two, it
doesn’t matter where in the “stack” it is positioned.
Now the joiners will be ready when it’s time to glue together
the bottom wings.
Start with the bottom, left wing panel first so yours
looks like the photos the first time through.
❏
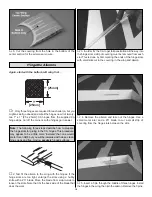
2. Carefully remove the masking tape holding the aileron
to the wing. Residual adhesive from the tape may be
removed with naphtha lighter fuel or denatured alcohol.
❏
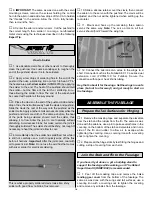
3. Use a covering iron with a covering sock to thoroughly
bond the covering to the structure and remove any wrinkles in
the wing and aileron. The best way is to glide the iron over the
covering until the wrinkles disappear, then push down on the
iron to bond the covering to the wood. If you come across a
wrinkle that won’t go away, the balsa in that area may be
bending inward. If this is happening, do not apply pressure.
Simply let the heat of the iron shrink the covering. If the
wrinkles momentarily disappear, then immediately reappear,
the iron may be too hot, thus causing air bubbles. Lower the
temperature of the iron or use a sharp #11 blade to puncture
several small holes in the covering, then reheat. The
suggested iron temperature is around 360 degrees F. Hint:
Any MonoKote pigment that gets smeared on other areas
may be removed with a tissue lightly dampened with
MonoKote Trim Solvent or CA debonder. Trim solvent and
debonder are powerful, so using too much may loosen the
covering if it gets under the seams. To avoid this, immediately
wipe away excess solvent using another tissue dampened
with household spray cleaner (Windex
®
, Formula 409
®
).
Suggestion: Before tightening the covering over the ailerons,
use a pin to poke six to eight holes in the covering over each
lightening hole on the bottom. (Where possible, poke the holes
in colored areas where there are two layers of covering.) When
heating the covering, expanding air will escape through the
holes, thus allowing the covering to fully tighten.
❏
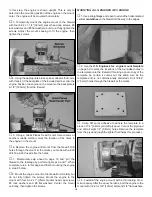
4. While you’ve got your covering tools out, use a
straightedge and a hobby knife to cut the covering 1/8"
[3mm] inside the edges of the opening in the bottom of the
wing panel for the aileron servo. Use a trim seal tool to iron
the covering down inside the edges of the opening.
Prepare the Wings
ASSEMBLE THE WINGS
9


