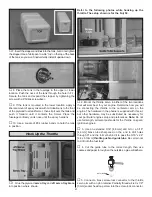
required, use Great Planes (GPMQ4485) “stick-on” lead. A
good place to add stick-on nose weight is to the firewall. Never
attach weight to the cowl—it is not intended to support weight.
Begin by placing incrementally increasing amounts of weight
on the cowl over the firewall or on the stab until the model
balances. Once you have determined the amount of weight
required, it can be permanently attached with wood screws
and/or epoxy. If tail weight is required it could be permanently
glued to the balsa tail block inside the bottom of the fuselage.
Note: Do not rely upon the adhesive on the back of the lead
weight to permanently hold it in place. Over time, fuel and
exhaust residue may soften the adhesive and cause the
weight to fall off. Use #2 sheet metal screws, RTV silicone or
epoxy to permanently hold the weight in place.
❏
4. IMPORTANT: If you found it necessary to add any
weight, recheck the C.G. after the weight has been installed.
❏
1. Turn on the transmitter and receiver and center the
trims. If necessary, remove the servo arms from the servos
and reposition them so they are centered. Reinstall the
screws that hold on the servo arms.
❏
2. With the transmitter and receiver still on, check all the
control surfaces to see if they are centered. If necessary, adjust
the clevises on the pushrods to center the control surfaces.
❏
3. Make certain that the control surfaces and the carburetor
respond in the correct direction. If any of the controls respond in
the wrong direction, use the servo reversing in the transmitter to
reverse the servos connected to those controls. Be certain the
control surfaces have remained centered. Adjust if necessary.
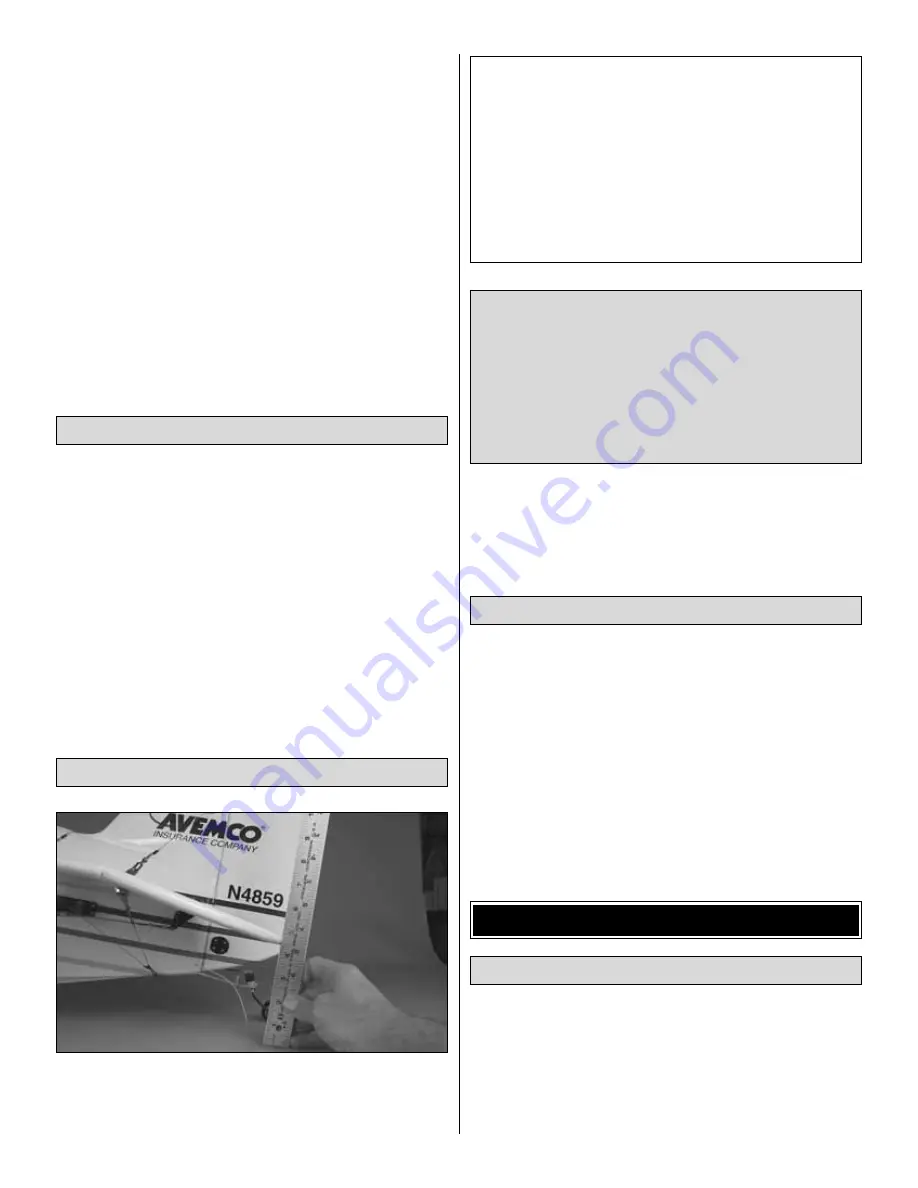
Use a Great Planes AccuThrow or a ruler to accurately
measure and set the control throw of each control surface as
indicated in the chart. NOTE: The throws are measured at
the widest part of the elevators, rudder and ailerons.
Once the control throws have been set, be certain to tighten
all the 4-40 nuts against the clevises on the pushrods.
❏
1. With the wings level, have an assistant help you lift the
model by the engine propeller shaft and the bottom of the
fuselage under the trailing edge of the fin. Do this several times.
❏
2. If one wing always drops when you lift the model, it
means that side is heavy. Balance the airplane by adding
weight to the bottom wing tip on the other side of the model.
An airplane that has been laterally balanced will track
better in loops and other maneuvers.
No matter if you fly at an AMA sanctioned R/C club site or if
you fly somewhere on your own, you should always have
your name, address, telephone number and AMA number
on or inside your model. It is required at all AMA R/C club
flying sites and AMA sanctioned flying events. Fill out the
identification tag on the decal sheet and place it on or inside
your model.
Identify Your Model
PREFLIGHT
Balance the Model Laterally
IMPORTANT: The Great Planes Christen Eagle II ARF
has been extensively flown and tested to arrive at the
throws at which it flies best. Flying your model at these
throws will provide you with the greatest chance for
successful first flights. If, after you have become
accustomed to the way the “Eagle” flies, you would like to
change the throws to suit your taste, that is fine. However,
too much control throw could make the model difficult to
control, so remember, “more is not always better.”
These are the recommended control surface throws:
High Rate
Low Rate
ELEVATOR:
1-7/8" [48mm] up
1-3/8" [35mm] up
1-5/8" [41mm] down 1" [25mm] down
RUDDER:
2-1/2" [64mm] right
1-1/2" [38mm] right
2-1/2" [64mm] left
1-1/2" [38mm] left
AILERONS:
1-1/8" [29mm] up
5/8" [16mm] up
1-1/8" [29mm] down 5/8" [16mm] down
Set the Control Throws
Check the Control Directions
43


