FC9000-UM-251-9370 8-19
8 Electrical Adjustment
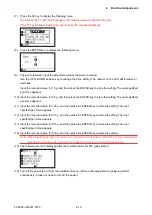
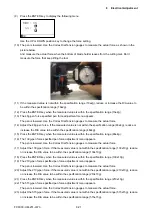
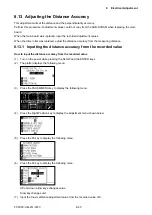
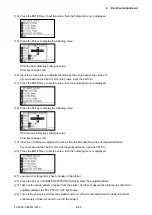
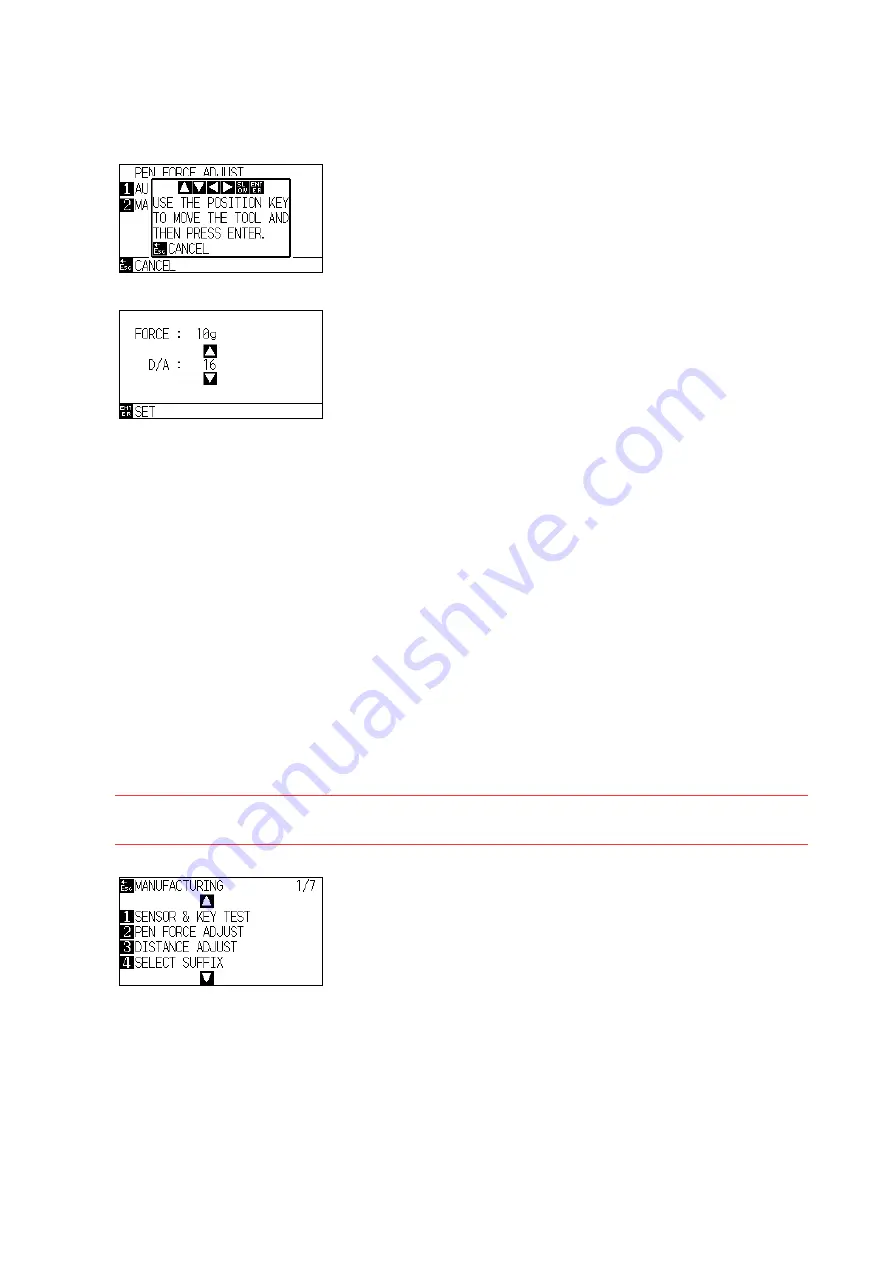
(7) Press the F2 key to display the following menu.
Don’t press the F1 (AUTO with gauger), this mode is used at production line only.
If the F1 key pressed, readjust the pen force by the manual adjustment.
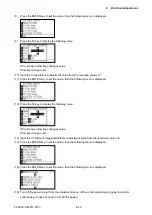
(8) Press the ENTER key to display the following menu.
(9) The pen is lowered. Input the adjustment values that were recorded.
Use the UP or DOWN position key to change the force setting. The number on the LCD will increase or
decrease.
Input the recorded value for 10 g, and then press the ENTER key to store the setting. The next specified
pen force appears.
(10)
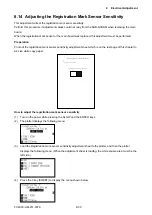
Input the recorded value for 48 g, and then press the ENTER key to store the setting. The next specified
pen force appears.
(11) Input the recorded value for 130 g, and then press the ENTER key to store the setting. The next
specified pen force appears.
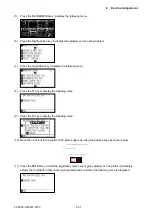
(12) Input the recorded value for 210 g, and then press the ENTER key to store the setting. The next
specified pen force appears.
(13) Input the recorded value for 515 g, and then press the ENTER key to store the setting. The next
specified pen force appears.
(14) Input the recorded value for 618 g, and then press the ENTER key to store the setting..
Note: When inputting the pen force value, it is important to do it quickly. When the pen force adjustment
was performed slowly, the coil will be over heated, and then the coil will be damaged.
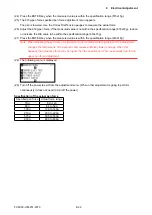
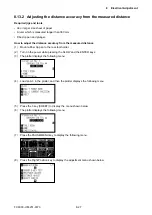
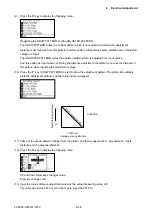
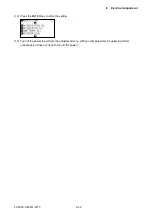
(15) The following menu is displayed after the recorded value for 618 g was stored.
(16) Turn off the power to exit from the adjustment menu. (When other adjustment is going to perform
continuously it does not need to turn off the power.)
Summary of Contents for FC9000-100
Page 1: ...CUTTING PLOTTER SERVICE MANUAL FC9000 75 100 140 160 FC9000 UM 251 01 9370...
Page 2: ......
Page 4: ...FC9000 UM 251 9370 II...
Page 38: ......
Page 201: ...FC9000 UM 251 9370 10 2 10 PARTS LIST Outer Casing 1 2 3 4 10 7 11 5 16 15 6 12 12 9 13 14 8...

