CE7000-UM-251-9370 8-21
8 Electrical Adjustment
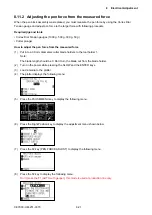
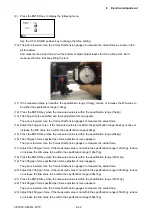
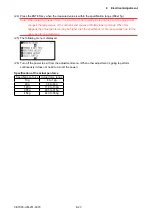
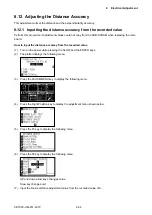
8.11.2 Adjusting the pen force from the measured force
When the pen block assembly was replaced, you must measure the pen force by using the Correx Dial
Tension gauge and adjust pen force to the target force with following procedure.
Required jigs and tools
• Correx Dial Tension gauges (1000 g, 500 g, 300 g, 50 g)
• Cutter plunger
How to adjust the pen force from the measured force
(1) Put into a 0.9 mm diameters cutter blade holders to the tool holder 1.
Note:
The blade length should be 0. Don’t turn the blade out from the blade holder.
(2) Turn on the power while pressing the SLOW and the ENTER keys.
(3) Load a media to the plotter.
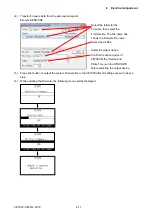
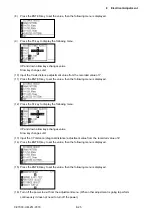
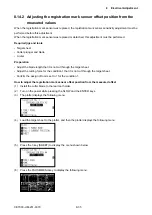
(4) The plotter displays the following menu.
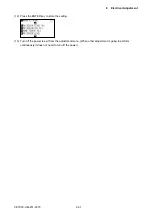
(5) Press the PAUSE/MENU key to display the following menu.
(6) Press the Right Position key to display the adjustment menu shown below.
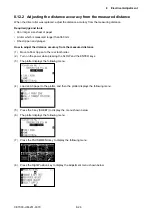
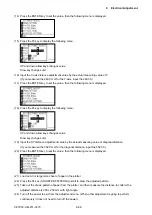
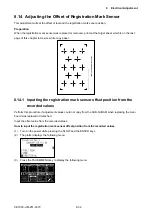
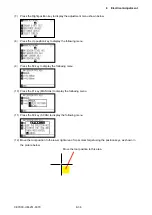
(7) Press the F2 key (PEN FORCE ADJUST) to display the following menu.
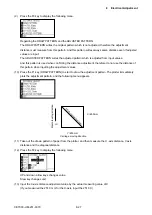
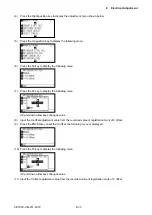
(8) Press the F2 key to display the following menu.
Don’t press the F1 (AUTO with gauger), this mode is used at production line only.
Summary of Contents for CE7000-130
Page 1: ...CE7000 UM 251 00 9370 CUTTING PLOTTER SERVICE MANUAL CE7000 40 60 130 160 130AP ...
Page 2: ......
Page 4: ...CE7000 UM 251 9370 II ...
Page 72: ...CE7000 UM 251 9370 5 2 5 RECOMMENDED PARTS LIST ...
Page 74: ......

