


18
308770
Maintenance
Preventive Maintenance Schedule
The operating conditions of your particular system
determine how often maintenance is required. Estab-
lish a preventive maintenance schedule by recording
when and what kind of maintenance is needed, and
then determine a regular schedule for checking your
system.
Flushing
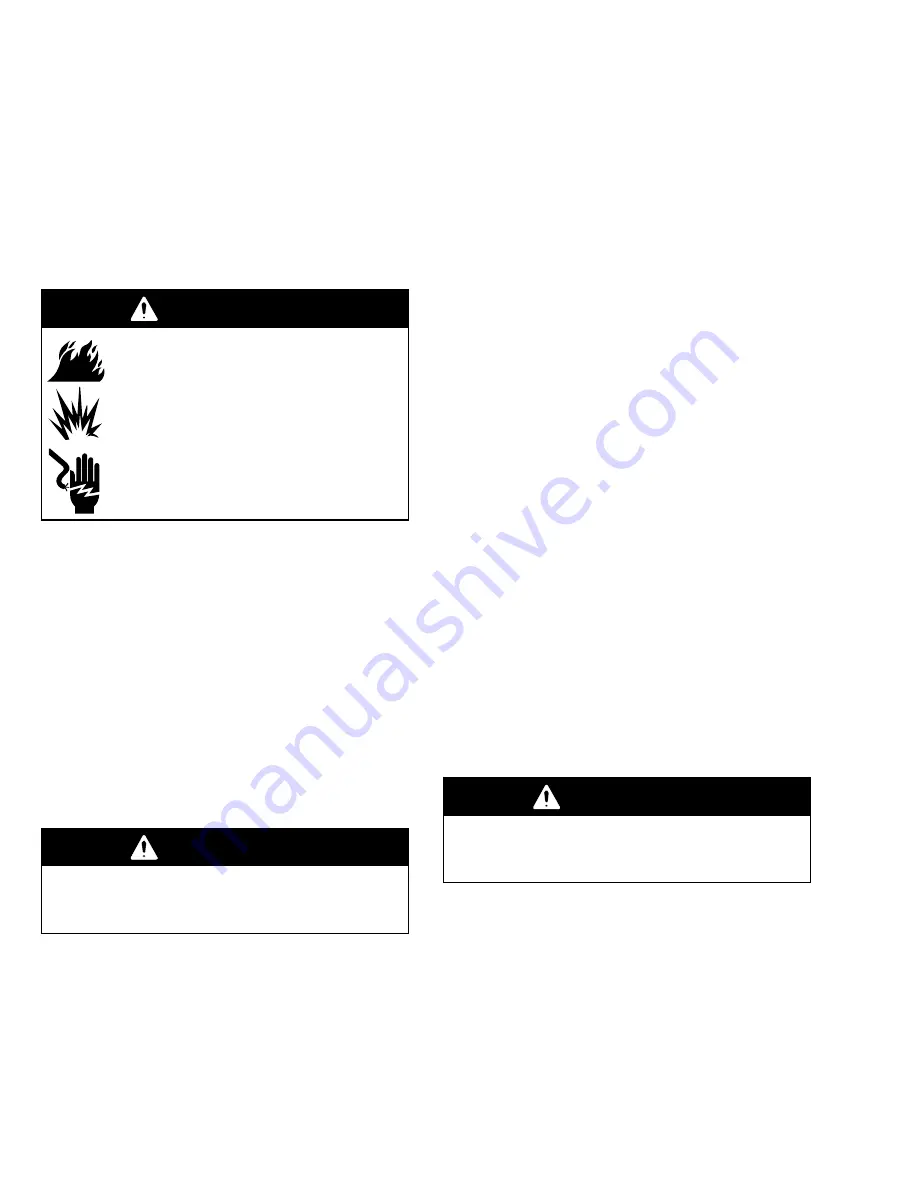
WARNING
FIRE, EXPLOSION, AND
ELECTRIC SHOCK HAZARD
Before operating the pump, ground the
system as explained below. Also read
the section
FIRE, EXPLOSION, AND
ELECTRIC SHOCK HAZARD
on page
4.
Flush the pump:
D
Before the first use
D
When changing colors or fluids
D
Before fluid can dry or settle out in a dormant pump
(check the pot life of catalyzed fluids)
D
Before storing the pump.
Flush with a fluid that is compatible with the fluid you
are pumping and with the wetted parts in your system.
Check with your fluid manufacturer or supplier for
recommended flushing fluids and flushing frequency.
WARNING
To reduce the risk of serious injury whenever you
are instructed to relieve pressure, always follow the
Pressure Relief Procedure
on page 14.
1.
Relieve the pressure.
2.
Remove the air cap and spray tip from the gun.
See the gun manual.
3.
Remove the filter element from the fluid filter (206).
Reinstall the filter bowl.
4.
Open the back pressure regulator (12). Set the
3-way recirculation valve (19) to the circulation
position.
5.
Lower the agitator (102) into a container of solvent.
Start the agitator and run it slowly.
6.
Hold a metal part of the gun firmly to the side of a
grounded
metal
pail.
7.
Start the pump. Always use the lowest possible
fluid pressure when flushing.
8.
Trigger the gun. Flush the system until clear
solvent flows from the gun.
9.
Release the gun trigger and lock the trigger safety.
The pump will continue to cycle as long as air is
supplied and the back pressure regulator (12) is
open.
10. Direct the drain hose (42) into a waste container.
Set the 3-way recirculation valve (19) to the drain
position. Continue flushing until clear fluid comes
from the hose.
11. Relieve the pressure.
12. Clean the air cap, spray tip, and fluid filter element
separately, then reinstall them.
Air Filter Service
Repair Kits are available. Refer to page 19.
Every day, drain contaminants from the bowl before
reaching the baffle level by opening the drain (P) at the
bottom of the bowl (N).
WARNING
To reduce the risk of serious injury whenever you
are instructed to relieve pressure, always follow the
Pressure Relief Procedure
on page 14.
Clean the air filter regularly to maximize filtering effi-
ciency and to avoid excessive pressure drop. Fully
relieve pressure to remove the bowl (N).
Clean the filter element (311) and bowl using house-
hold soap and water or denatured alcohol. Use com-
pressed air to blow out the filter body. Blow the filter
element out from the inside.
Clean the sight glass (309) thoroughly. Do not leave
solvent residue in the sight glass as it may attack or
weaken the glass. If the sight glass appears damaged,
replace it immediately.
Summary of Contents for President 232090
Page 12: ...12 308770 Notes...


