


09
3.2 Equipment Installation
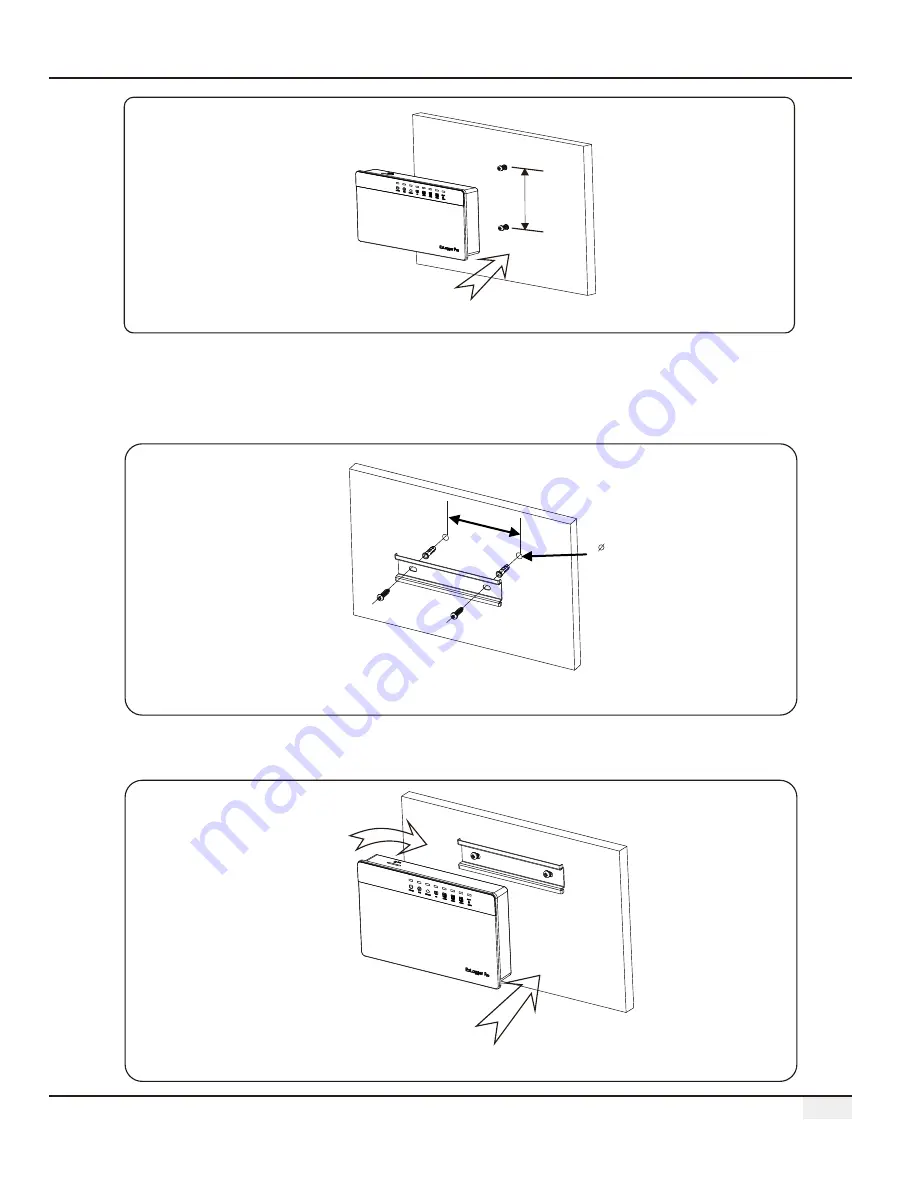
2. Install the guide rail on the wall.
3. Install EzLogger Pro on the guide rail.
Installation method 3: Rail mounting
Steps:
1. Drill two circular holes in the wall, the distance between the two circular holes is 100mm,
the hole diameter is 8mm, and the hole depth is 40mm.
100
mm
=8mm
D=40mm
Figure 3.2.2-2 Schematic Diagram of Rail Mounting
Figure 3.2.2-3 Schematic Diagram of Installation of Ezlogger Pro onto Guide Rail
Figure 3.2.2-1 Schematic Diagram of Wall Mounting of EzLogger Pro
70mm